An alternate RC network adds extra brightness compared with the original amp voicing.
Small Amp • Circuit Development • Salvaged Speaker
1/4-Watt LM386 Amp.
It started inside a wall.
What started as a salvaged department-store PA speaker and a simple test cabinet eventually became a self-contained little guitar amp — developed on the breadboard, built around an LM386, and upgraded over time as I found new things I wanted it to do.
01 • The Speaker
It started inside a wall.
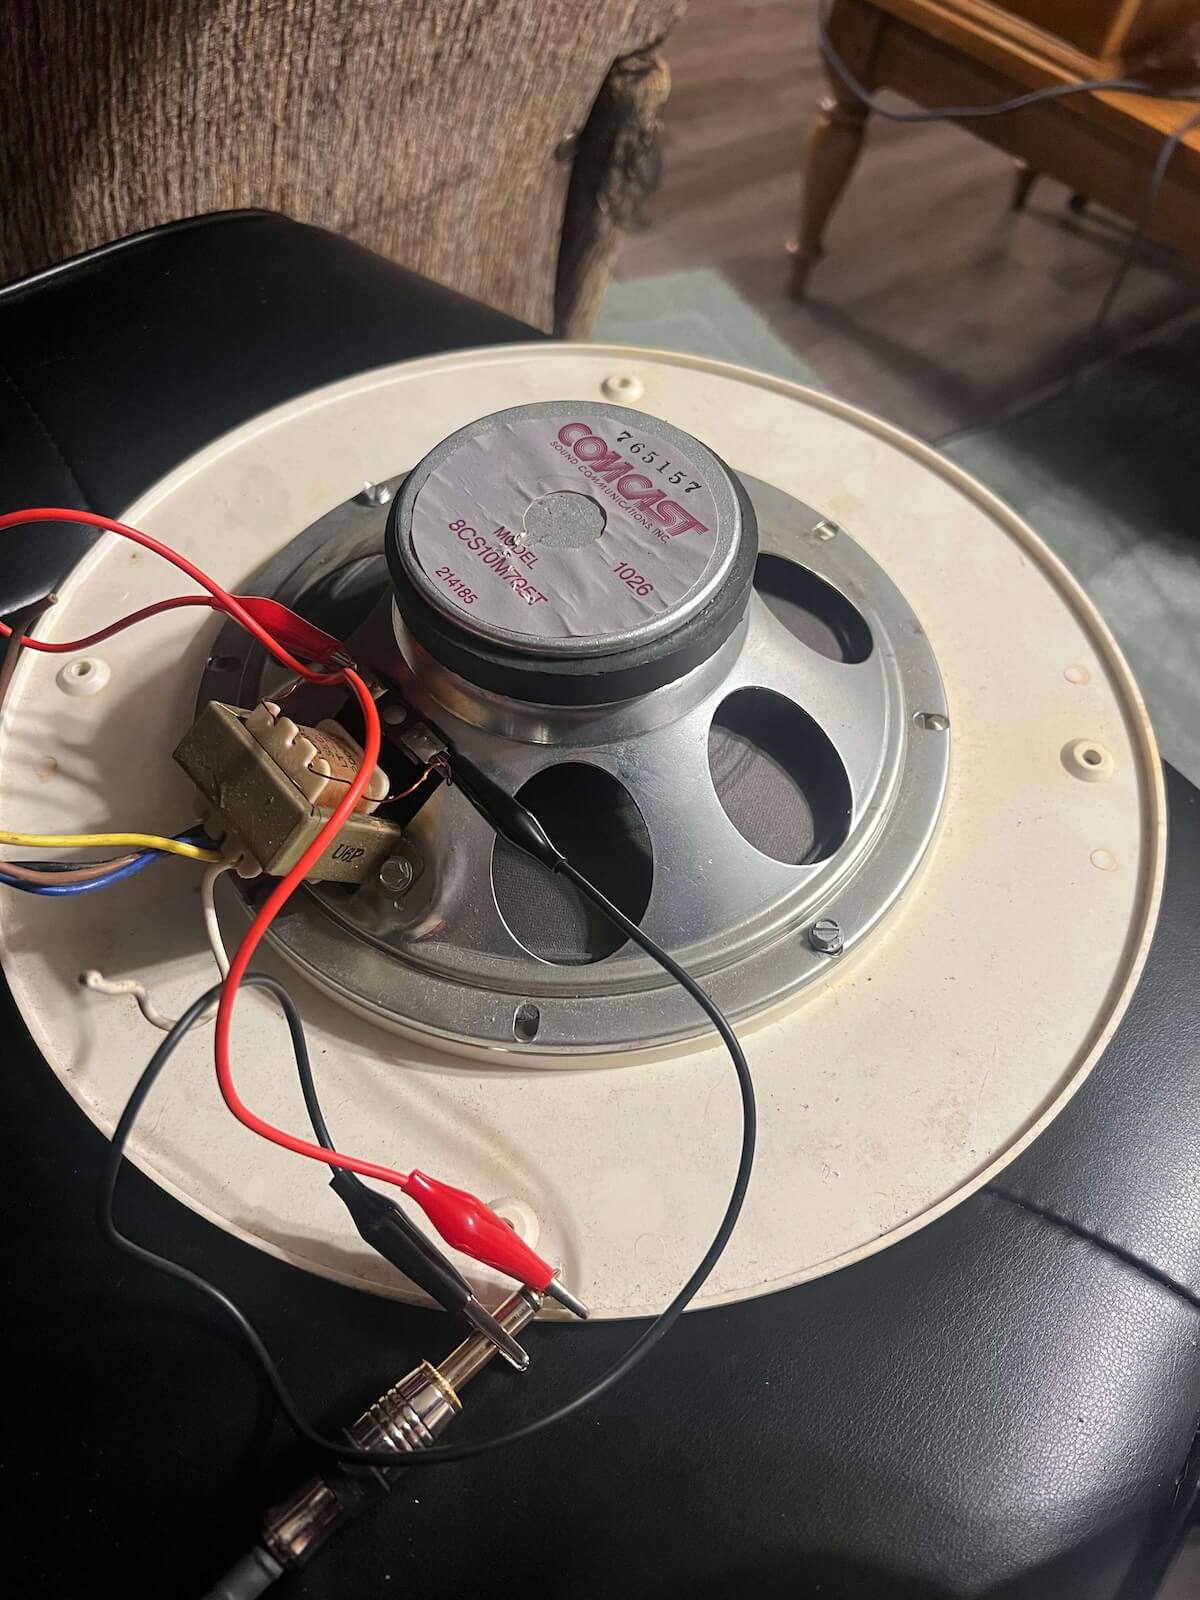
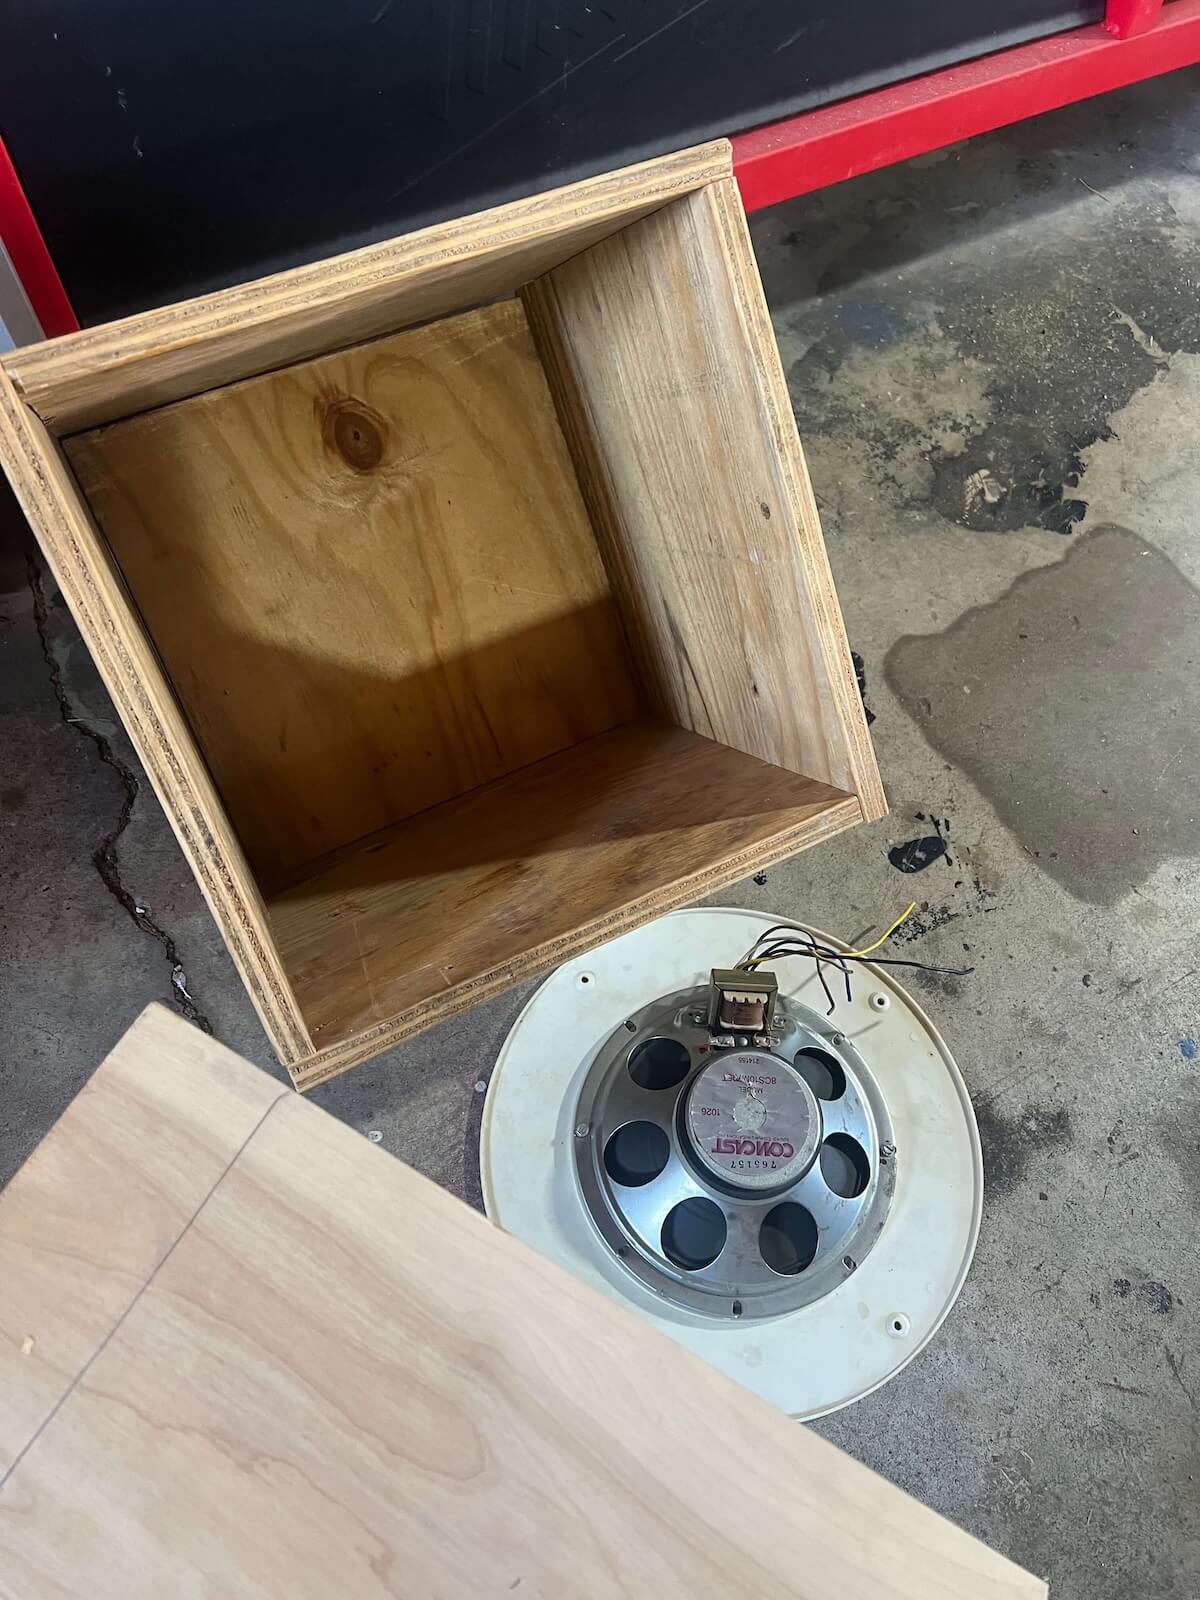
The speaker came out of an old department store. The company I worked for had taken over the vacant building for overflow storage, and while opening up a wall for easier access we found several old PA speakers mounted inside it.
Instead of throwing them away, we kept them. One of those old 8-ohm Quam speakers eventually became the starting point for this project.
02 • First, Just a Cabinet
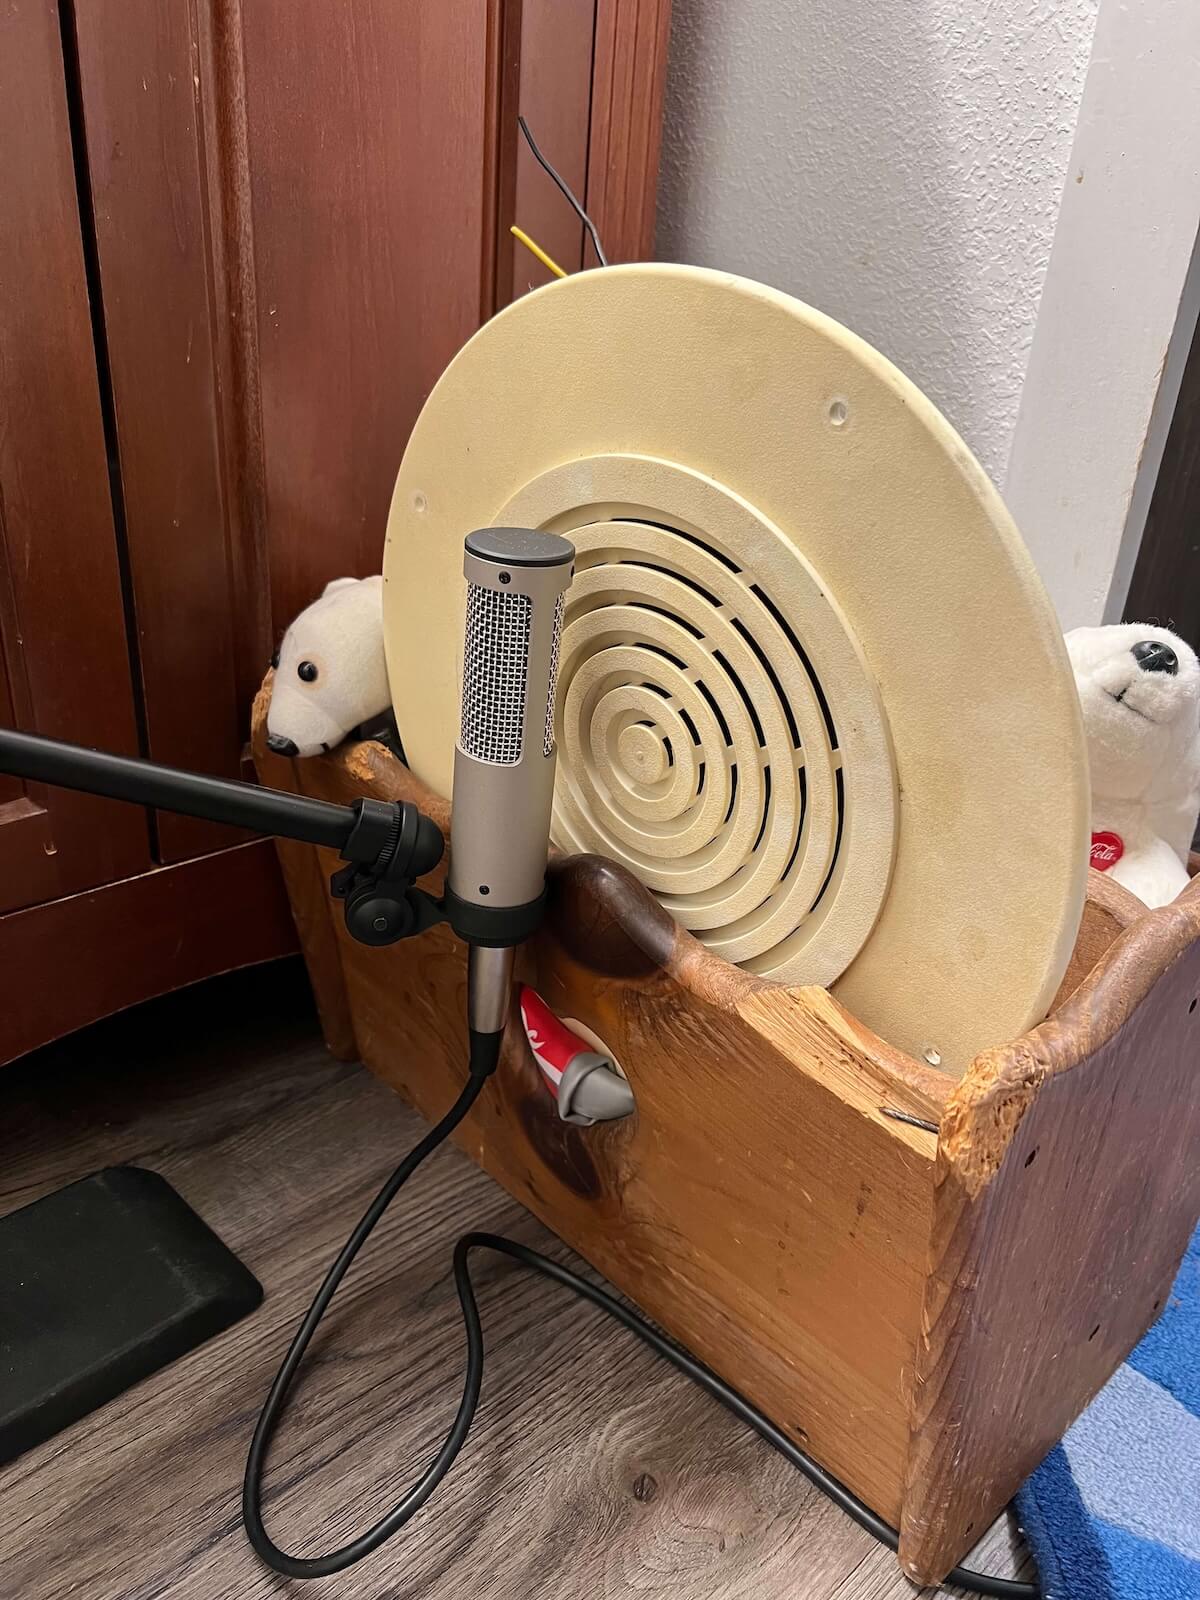
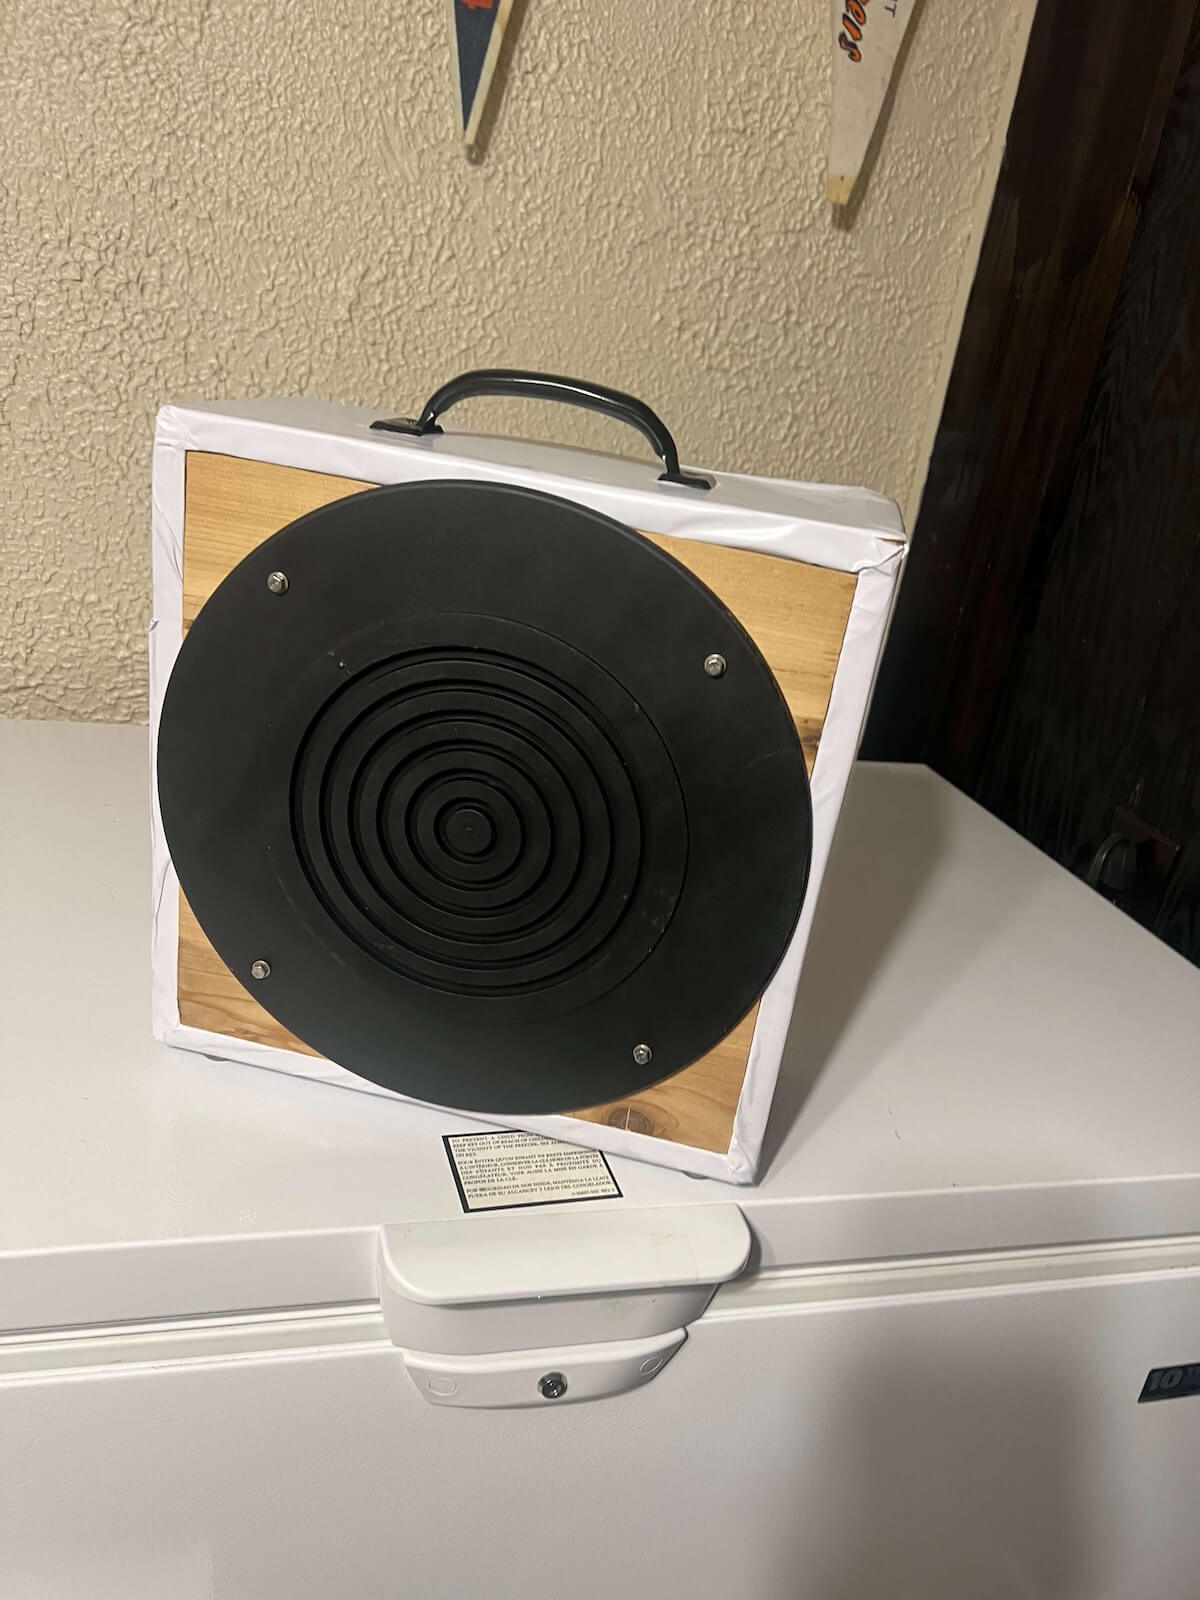
A portable speaker for the electronics bench.
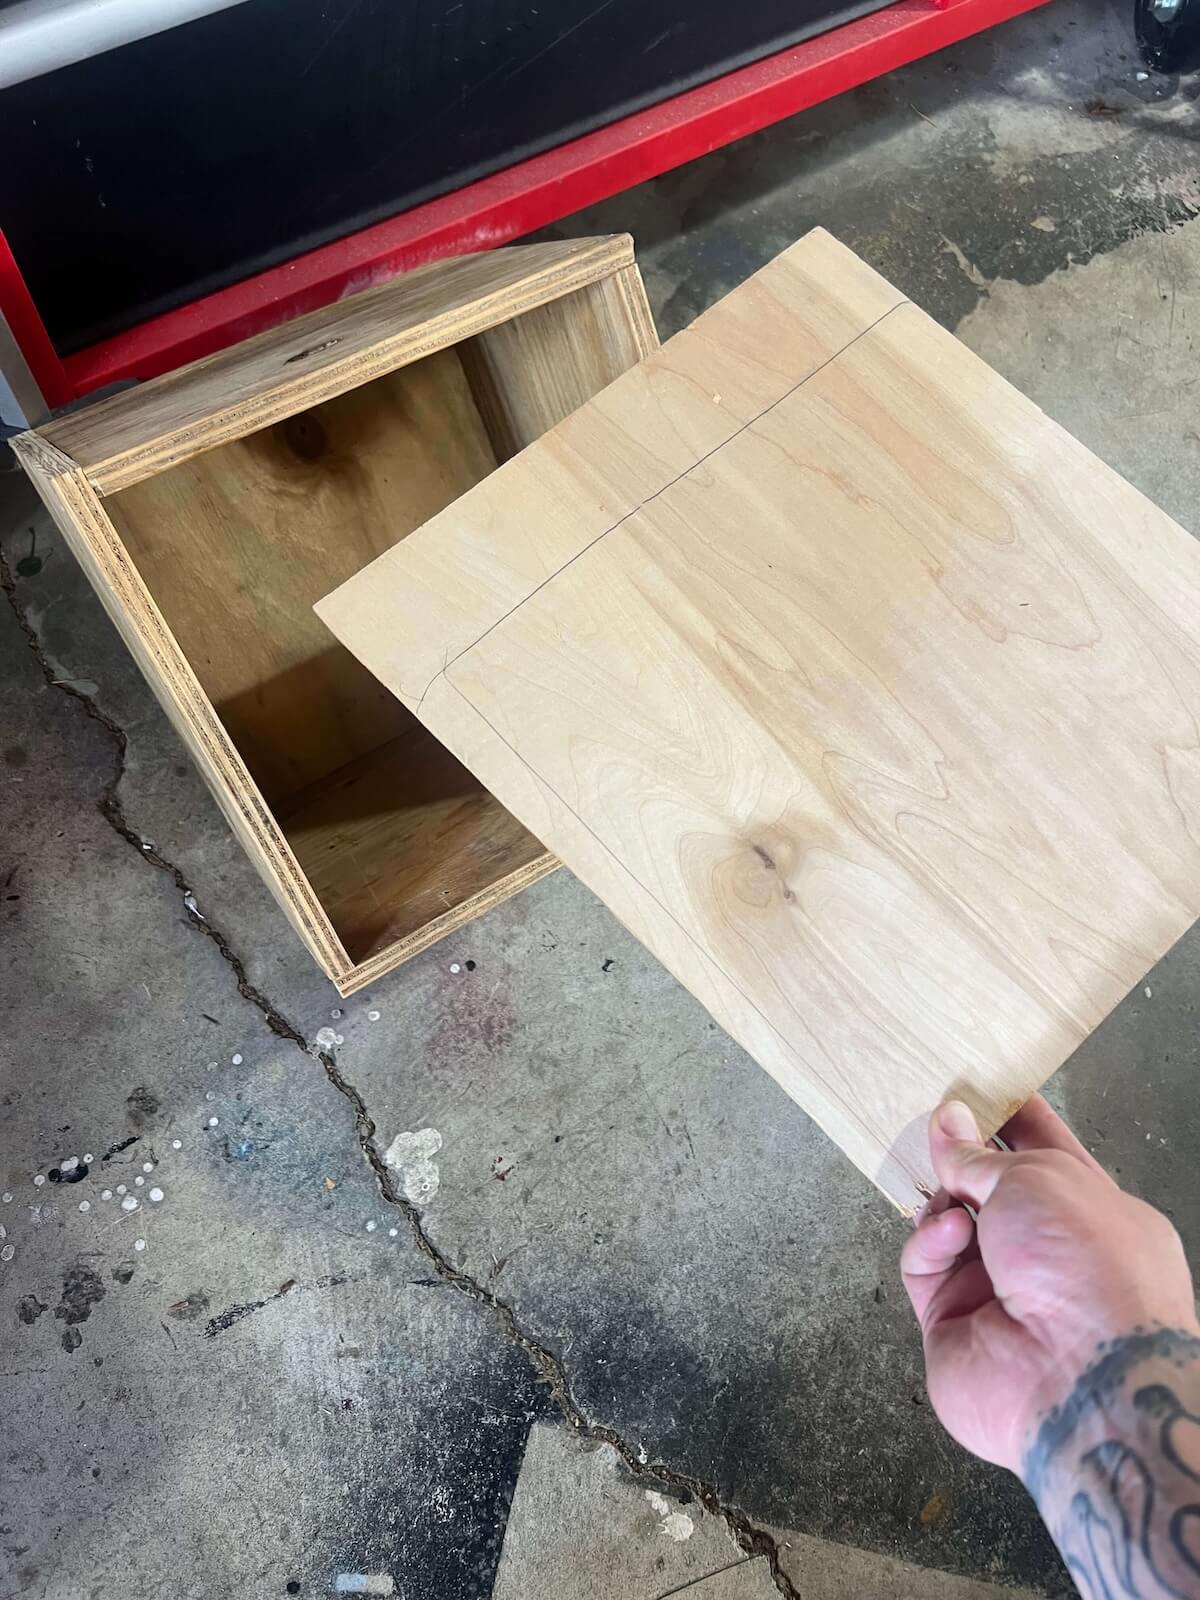
The first idea wasn’t to build an amplifier at all. I wanted a small speaker cabinet I could plug a little amp head into, or use while testing breadboard amplifier circuits without dragging out a larger cabinet.
03 • Then It Needed an Amp
From test cabinet to LM386 amplifier.
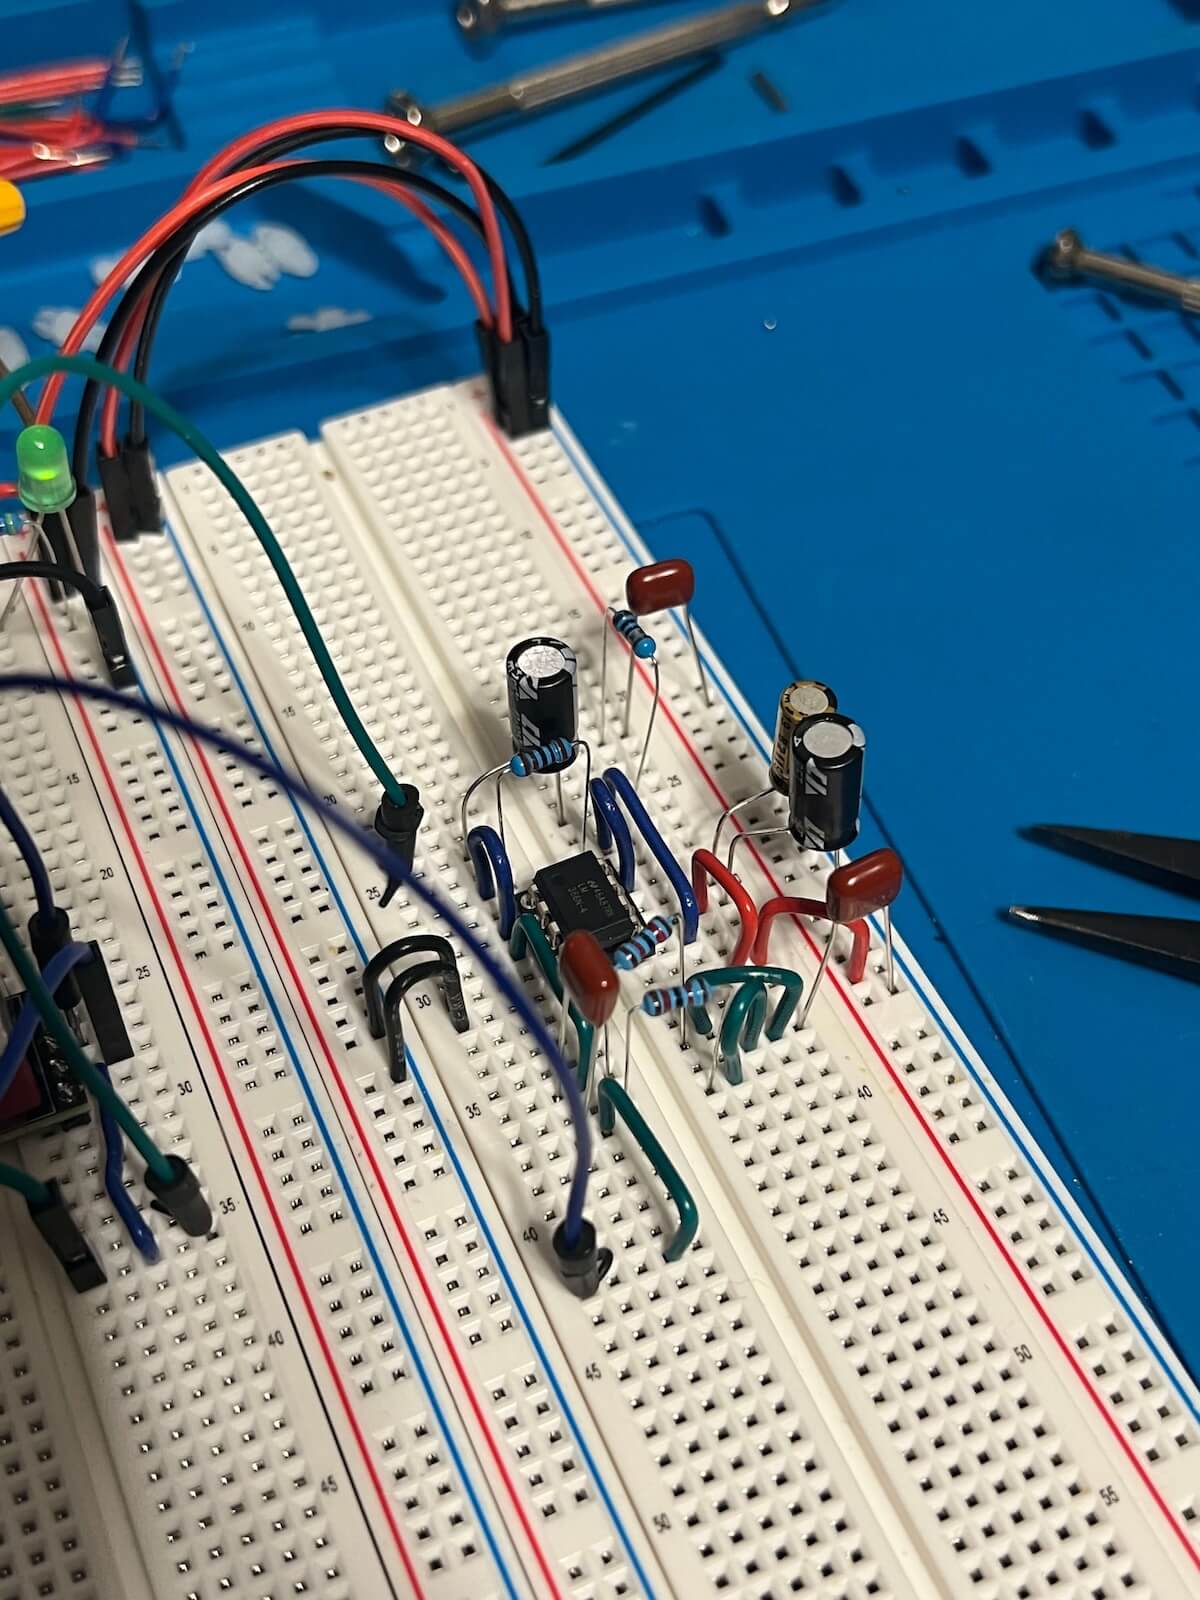
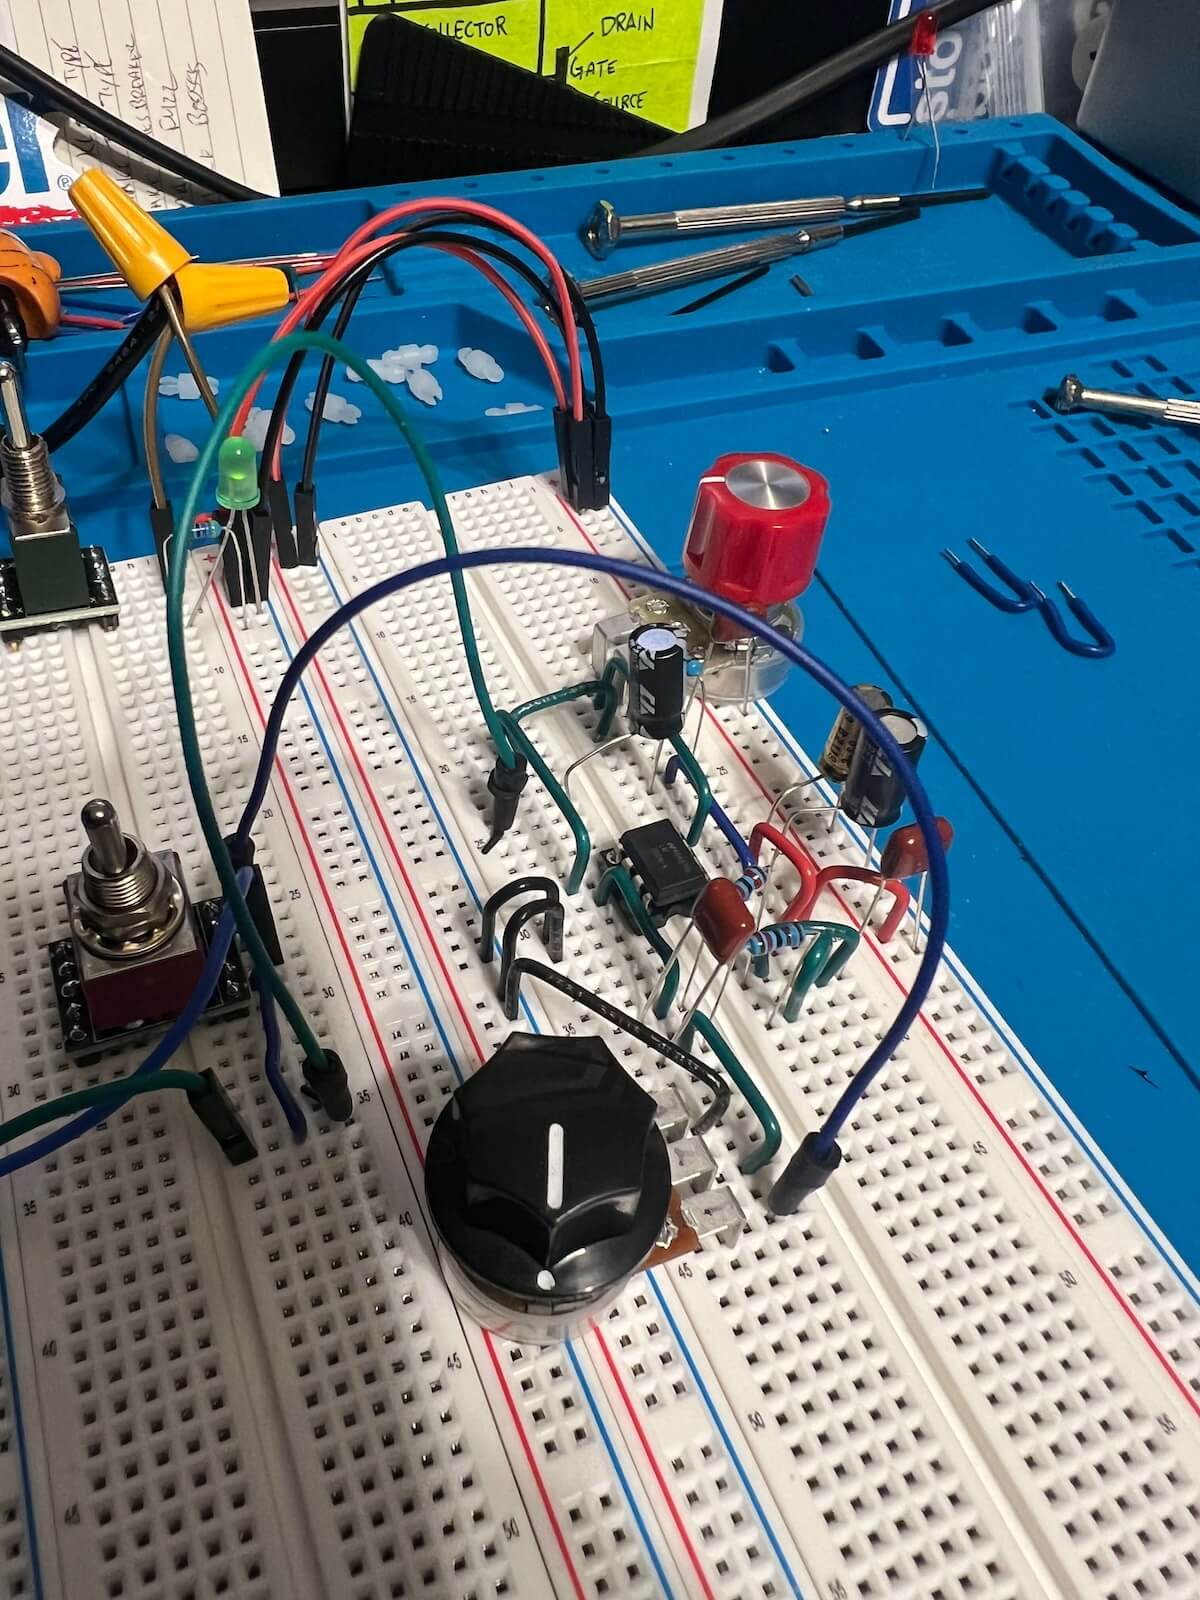
Once the cabinet was useful on the bench, I started developing a small LM386-based power amp to go with it. The original plan was a separate pedal-sized amp head, but the project changed direction while the circuit was still being worked out.
04 • Making It Permanent
The messed-up enclosure found another job.
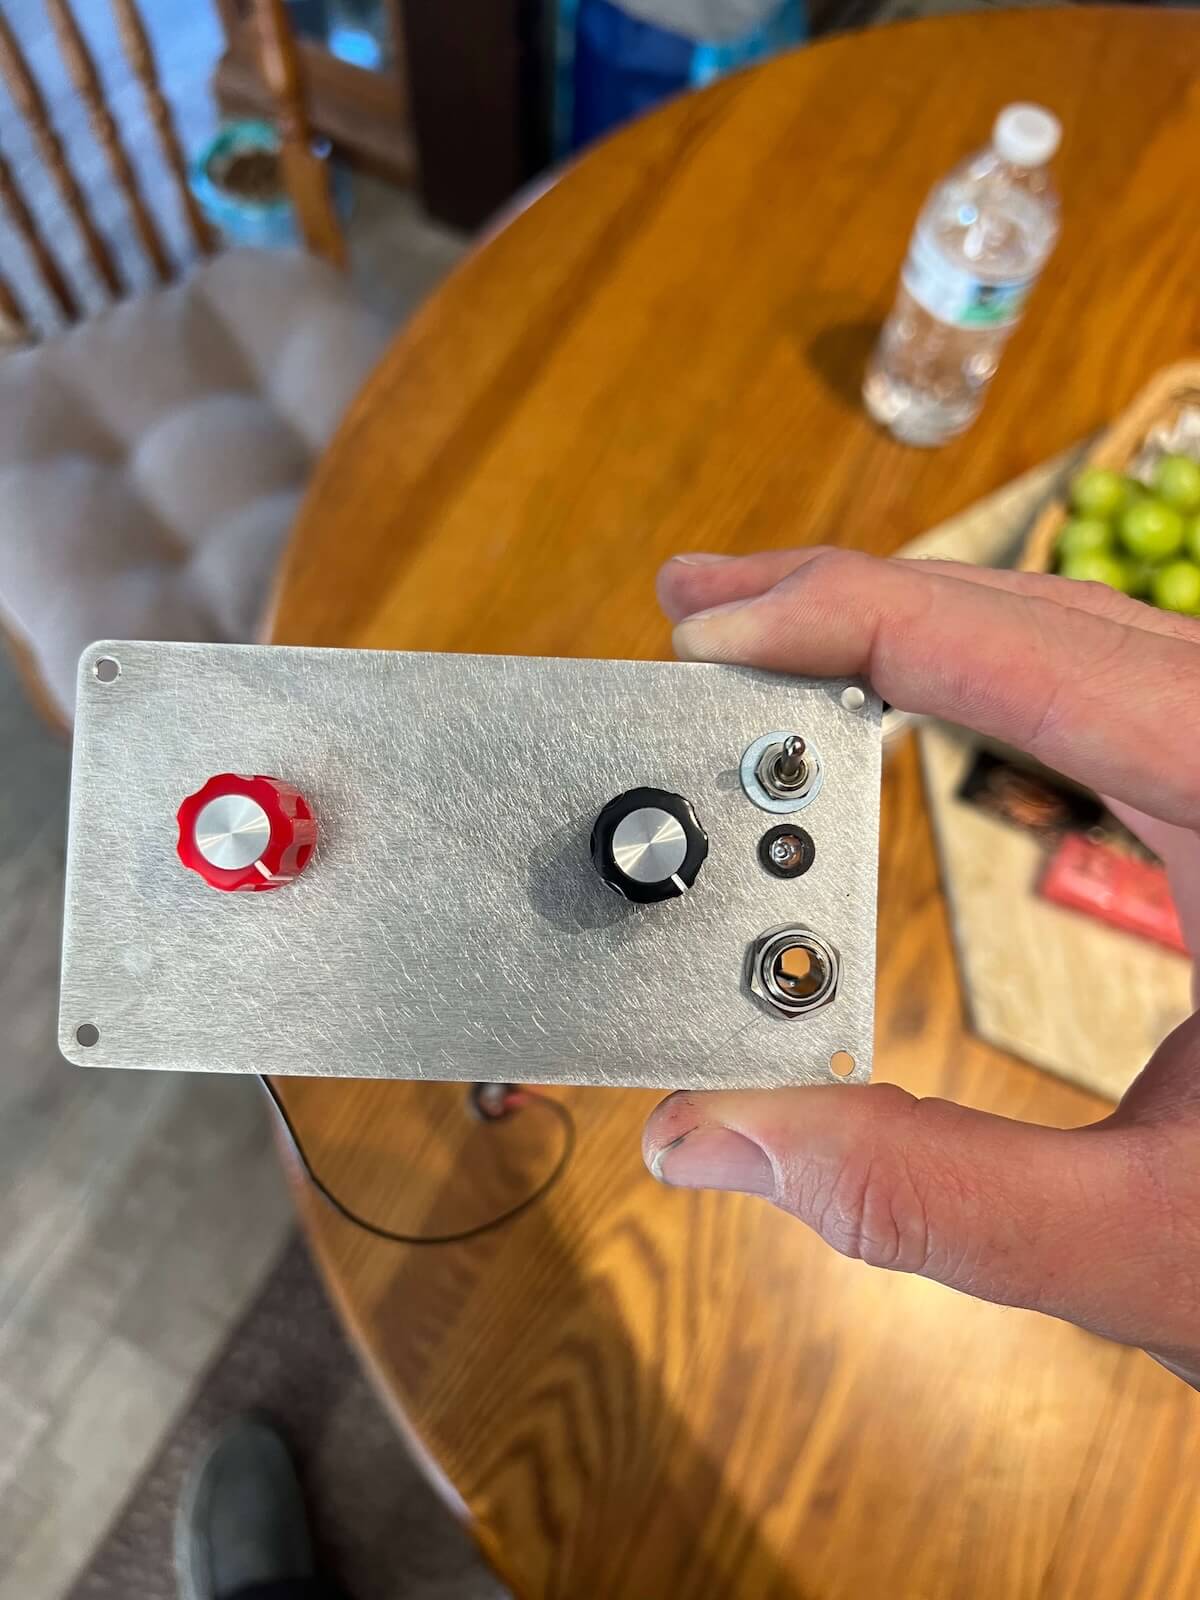
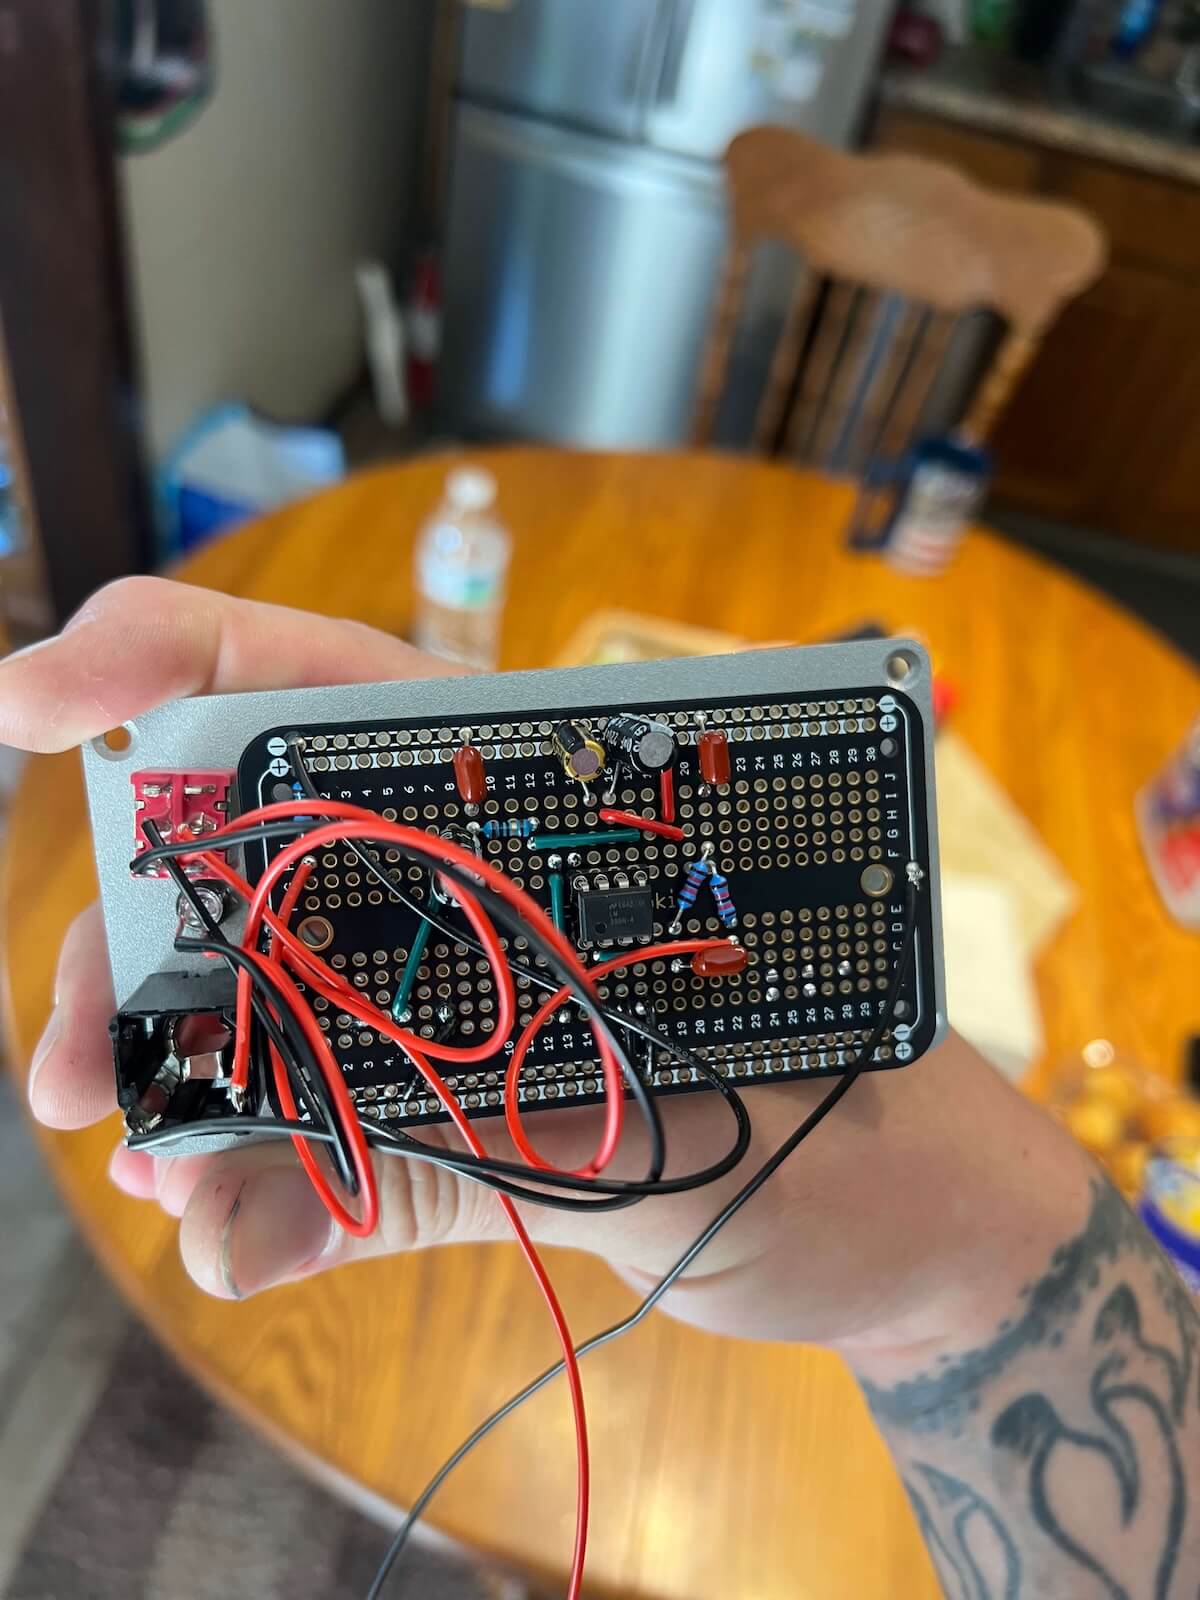
I had a pedal enclosure that had gotten messed up during drilling. Rather than throw it away, I reused the aluminum panel as the control plate for the amp.
The cabinet was routed to accept the controls and electronics, and the breadboard circuit was transferred to a permanent board mounted behind the panel. What had started as a separate mini-head idea became a self-contained amp instead.
05 • Version One
Gain. Level. Done.
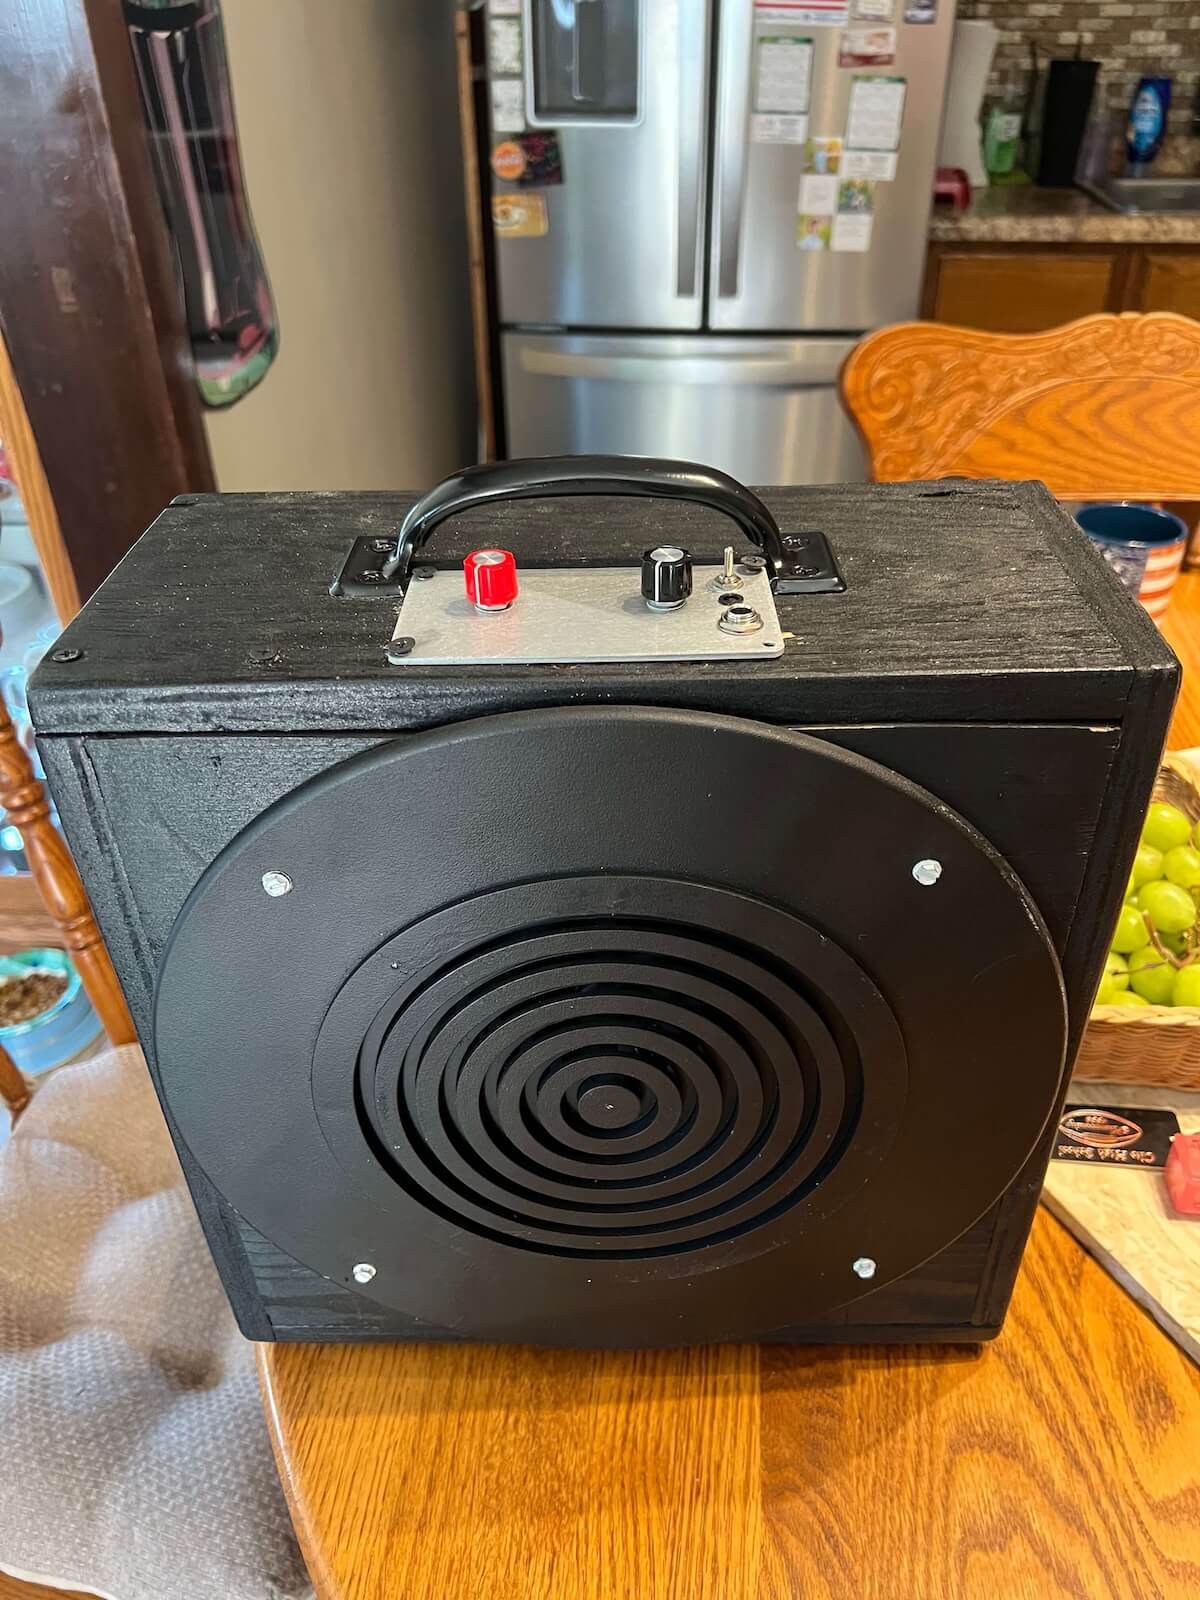
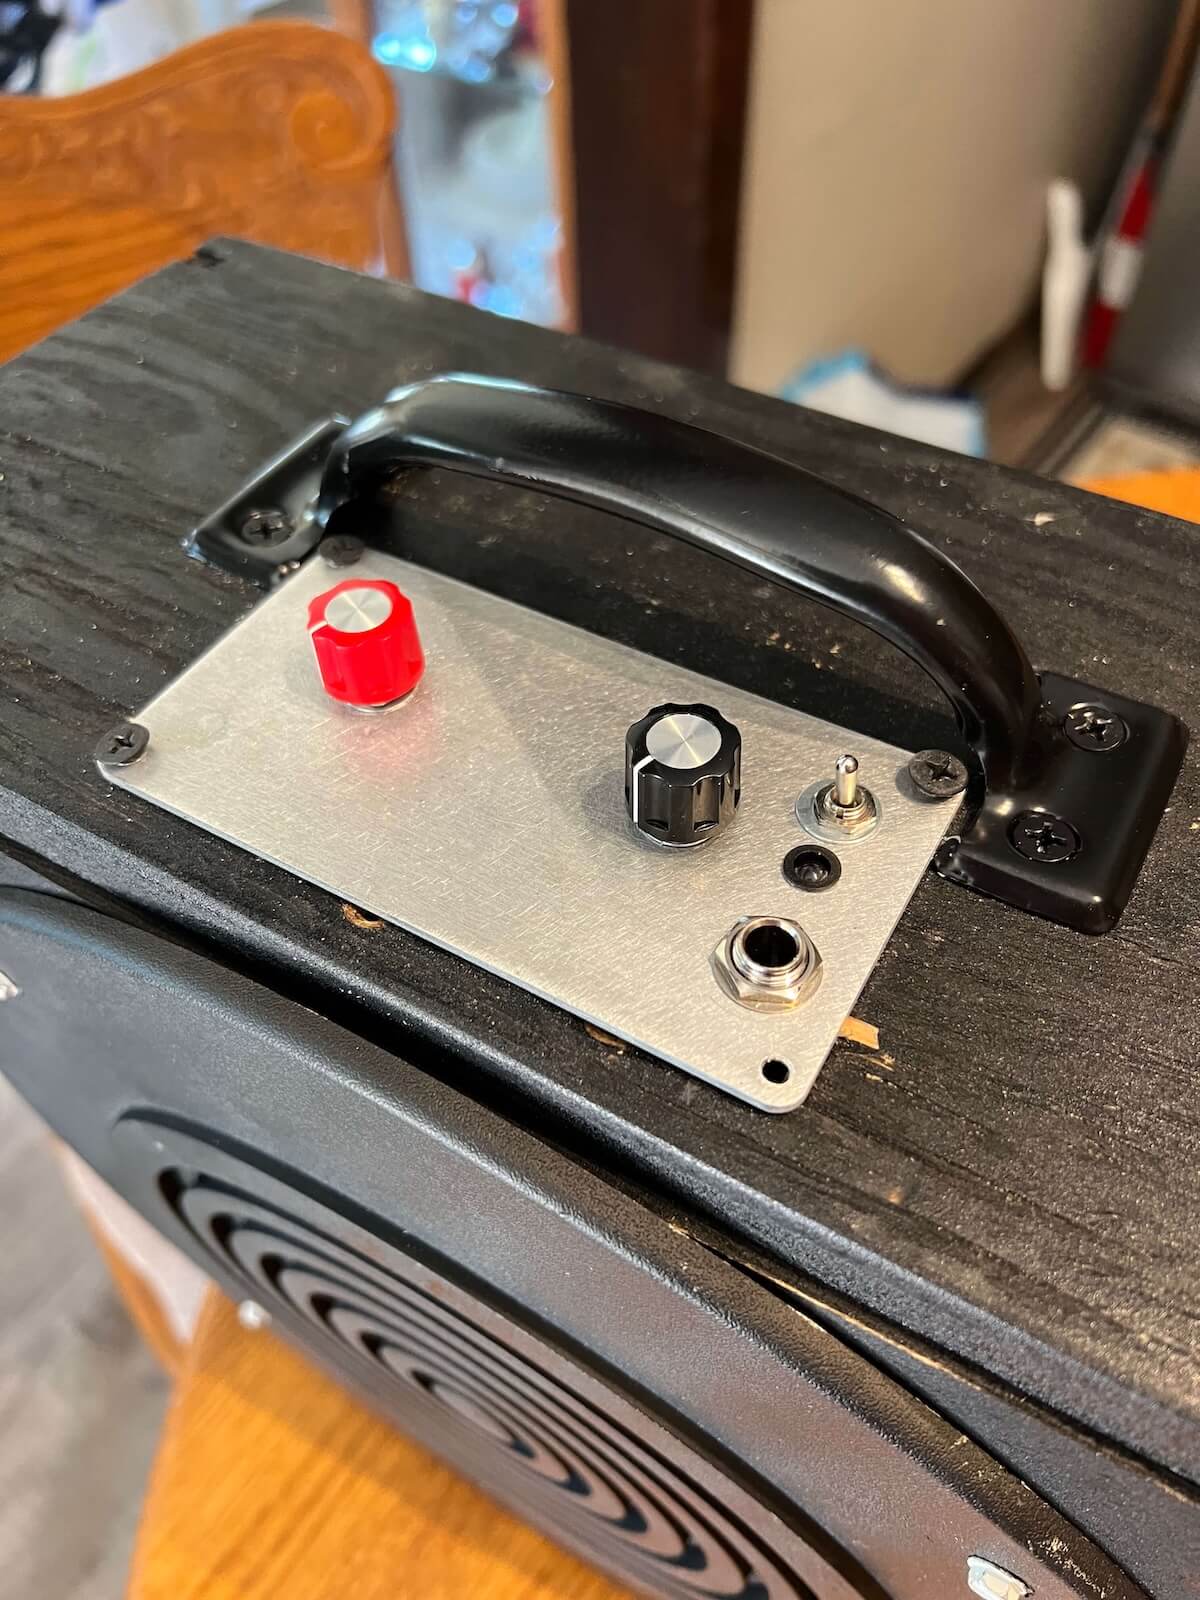
The first integrated version stayed simple: Gain and Level controls, input and power, all mounted directly into the cabinet. It was already doing what the original speaker box was meant to do — only now it had its own amp built in.
06 • Three-Way Tone
Bright. Natural. Presence.
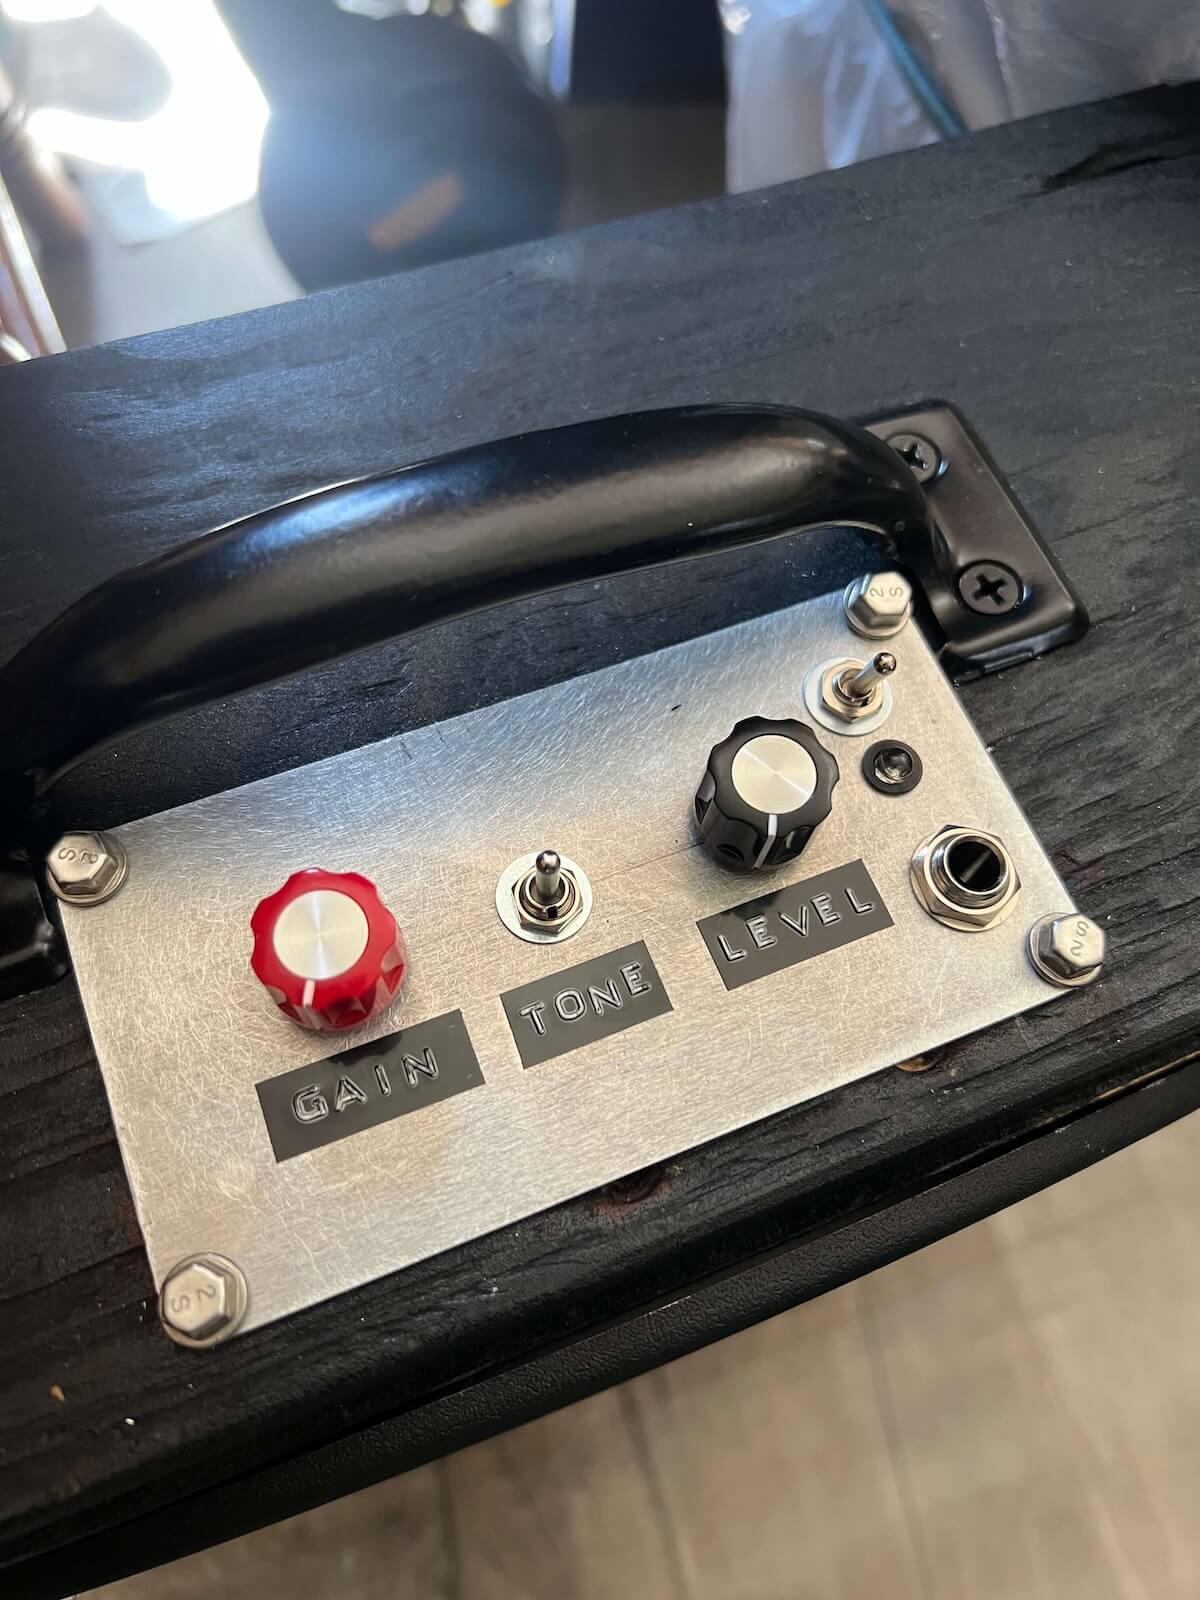
The amp kept evolving. A three-position tone switch was added using two different resistor-and-capacitor networks around the original voicing. The center position leaves the original sound intact, while the other two positions add progressively different upper-frequency emphasis.
The center position keeps the original LM386 amp response with the added tone networks out of the way.
The second RC network adds the strongest upper-frequency emphasis of the three positions.
07 • More Headroom
Two 9V batteries. 18 volts.
A dual 9V battery compartment was added with the batteries wired in series for 18V operation. That gave the little amp more supply voltage while keeping the whole thing portable and self-contained.
Like the tone switch, it was another change that came after using the amp rather than something planned from the first sketch.
08 • The Finished Amp
Salvaged, repurposed and developed as it went.
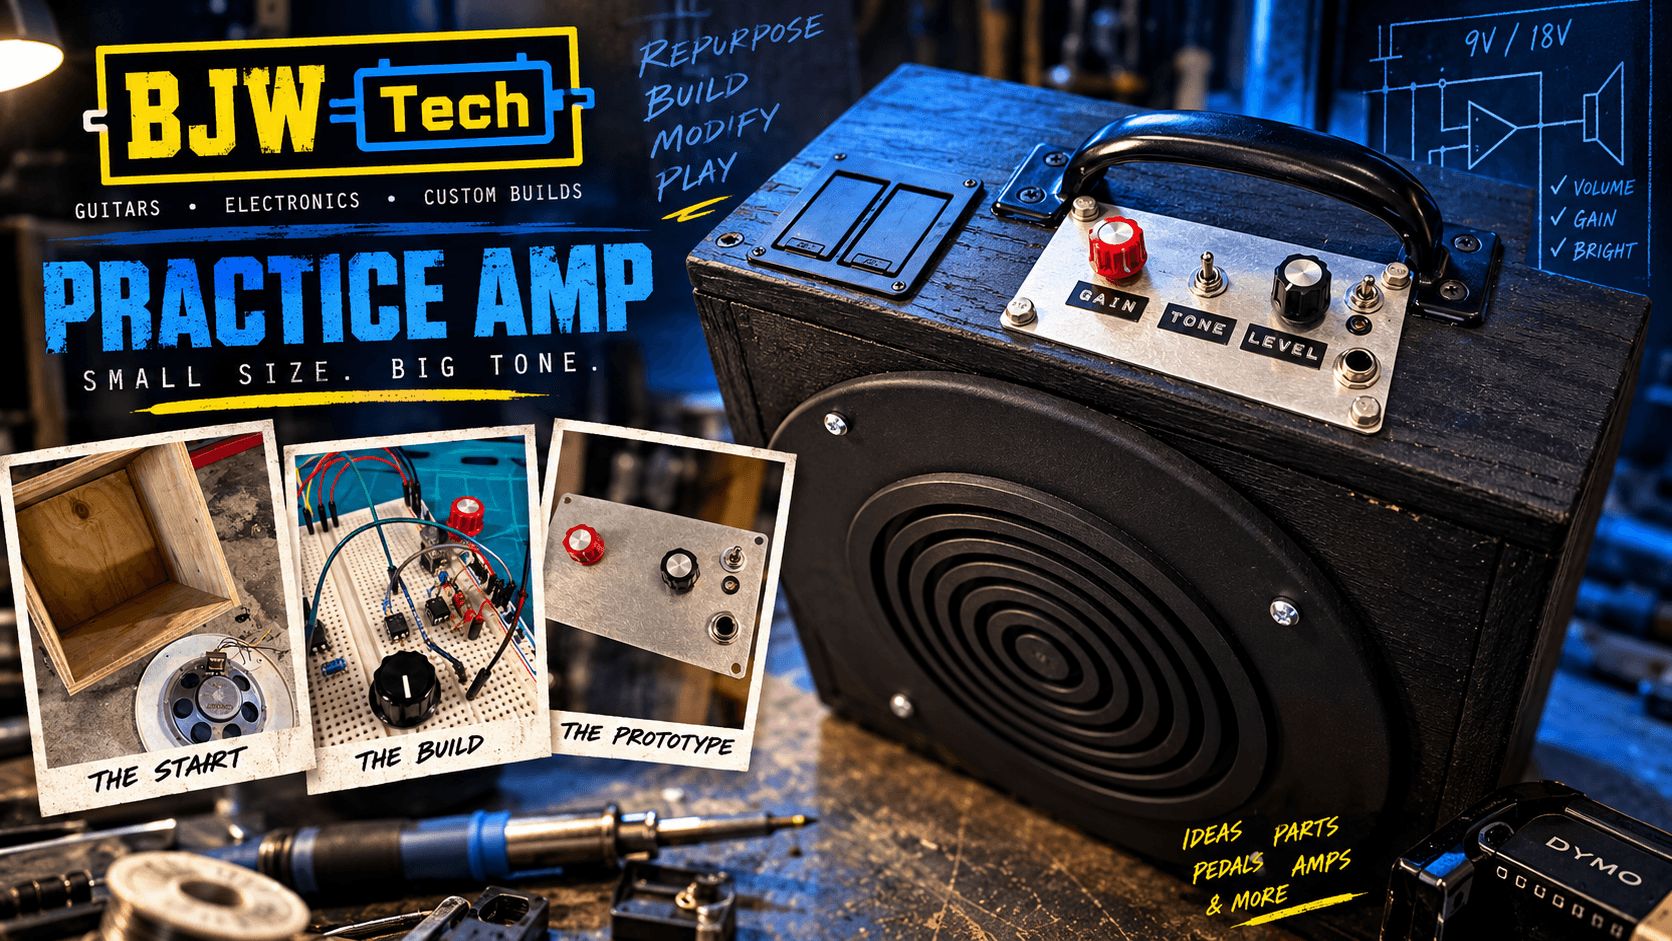
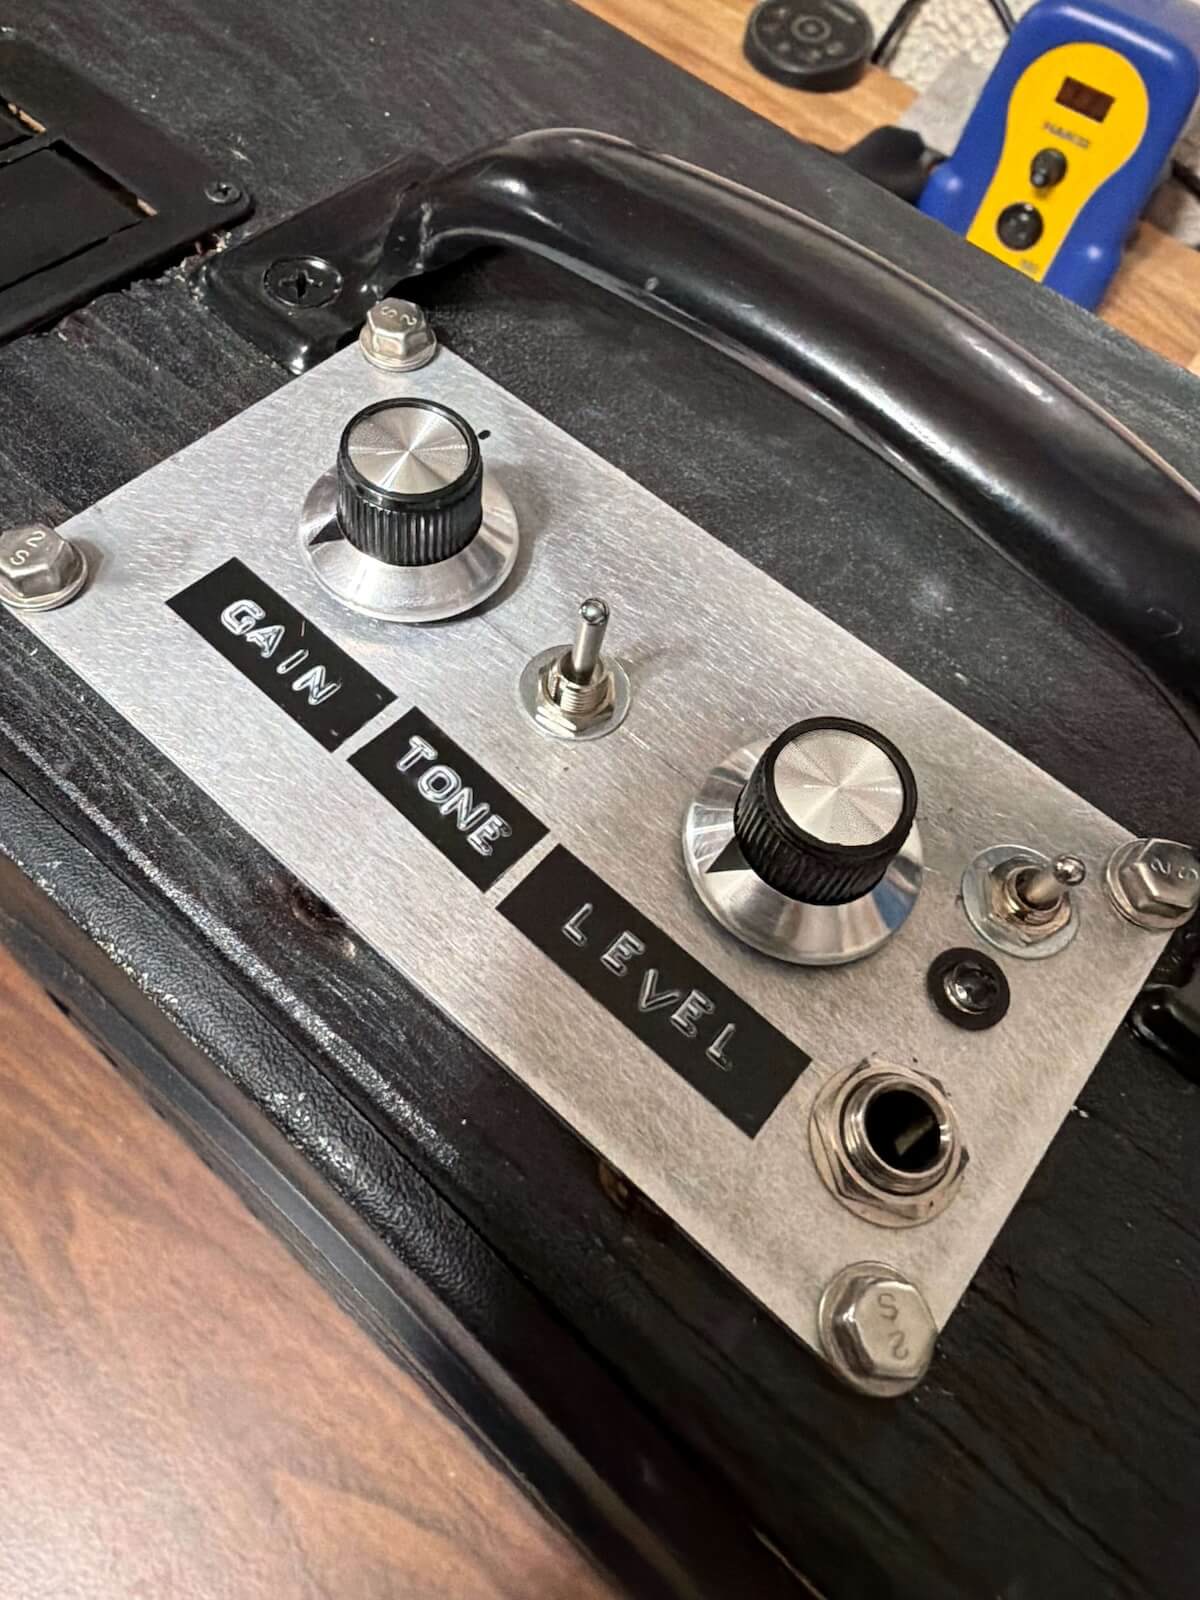
The final build combines a speaker rescued from a department-store wall, a purpose-built cabinet, a breadboard-developed LM386 power amp, a repurposed control panel, Gain and Level controls, three selectable tone voicings and 18V battery power. Paint, a carrying handle and the embossed labels finished it off.
Bench Video
Have an Idea?
Small electronics projects can start almost anywhere.
If you’ve got an idea for a custom pedal, small amp or electronics build, get in touch and we’ll talk through what’s possible.
Discuss a Project