Restoration • Guitar Electronics • Custom Circuit
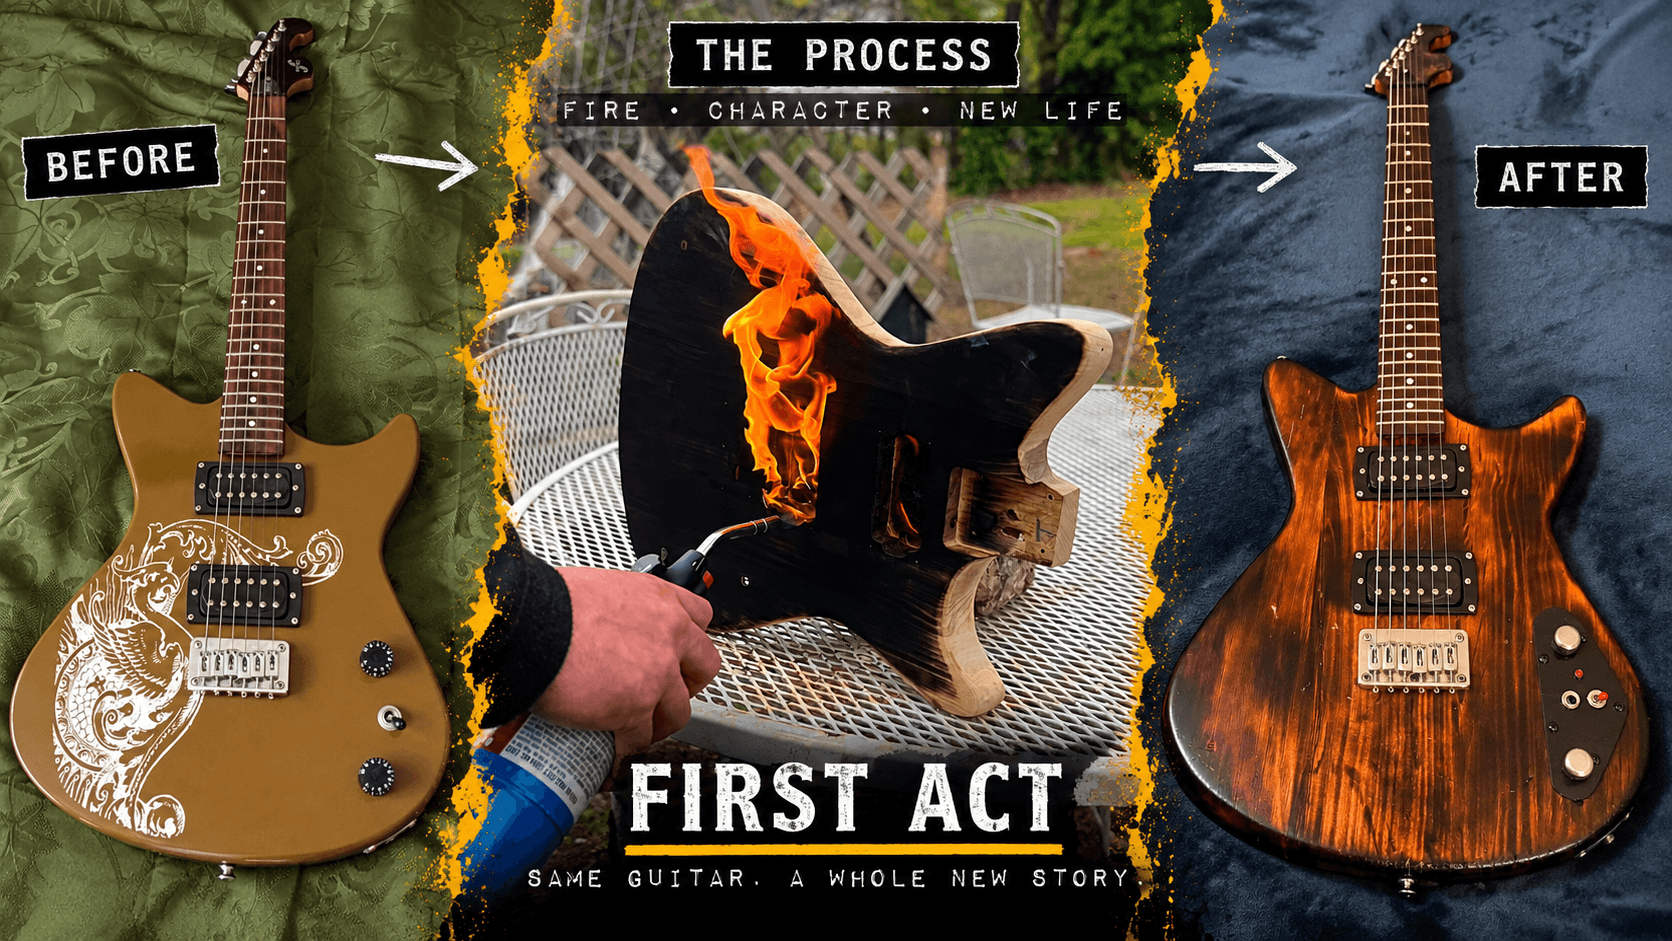
First Act ME4016.
Burned, rebuilt & rewired.
A free guitar that looked, sounded and played rough became a long-running experiment in refinishing, repair and custom electronics — including a torch-burned finish, fretboard work, aged hardware, a rebuilt control area and an onboard JFET preamp tuned around the original pickups.
01 • The Starting Point
A free guitar with nowhere to go but up.
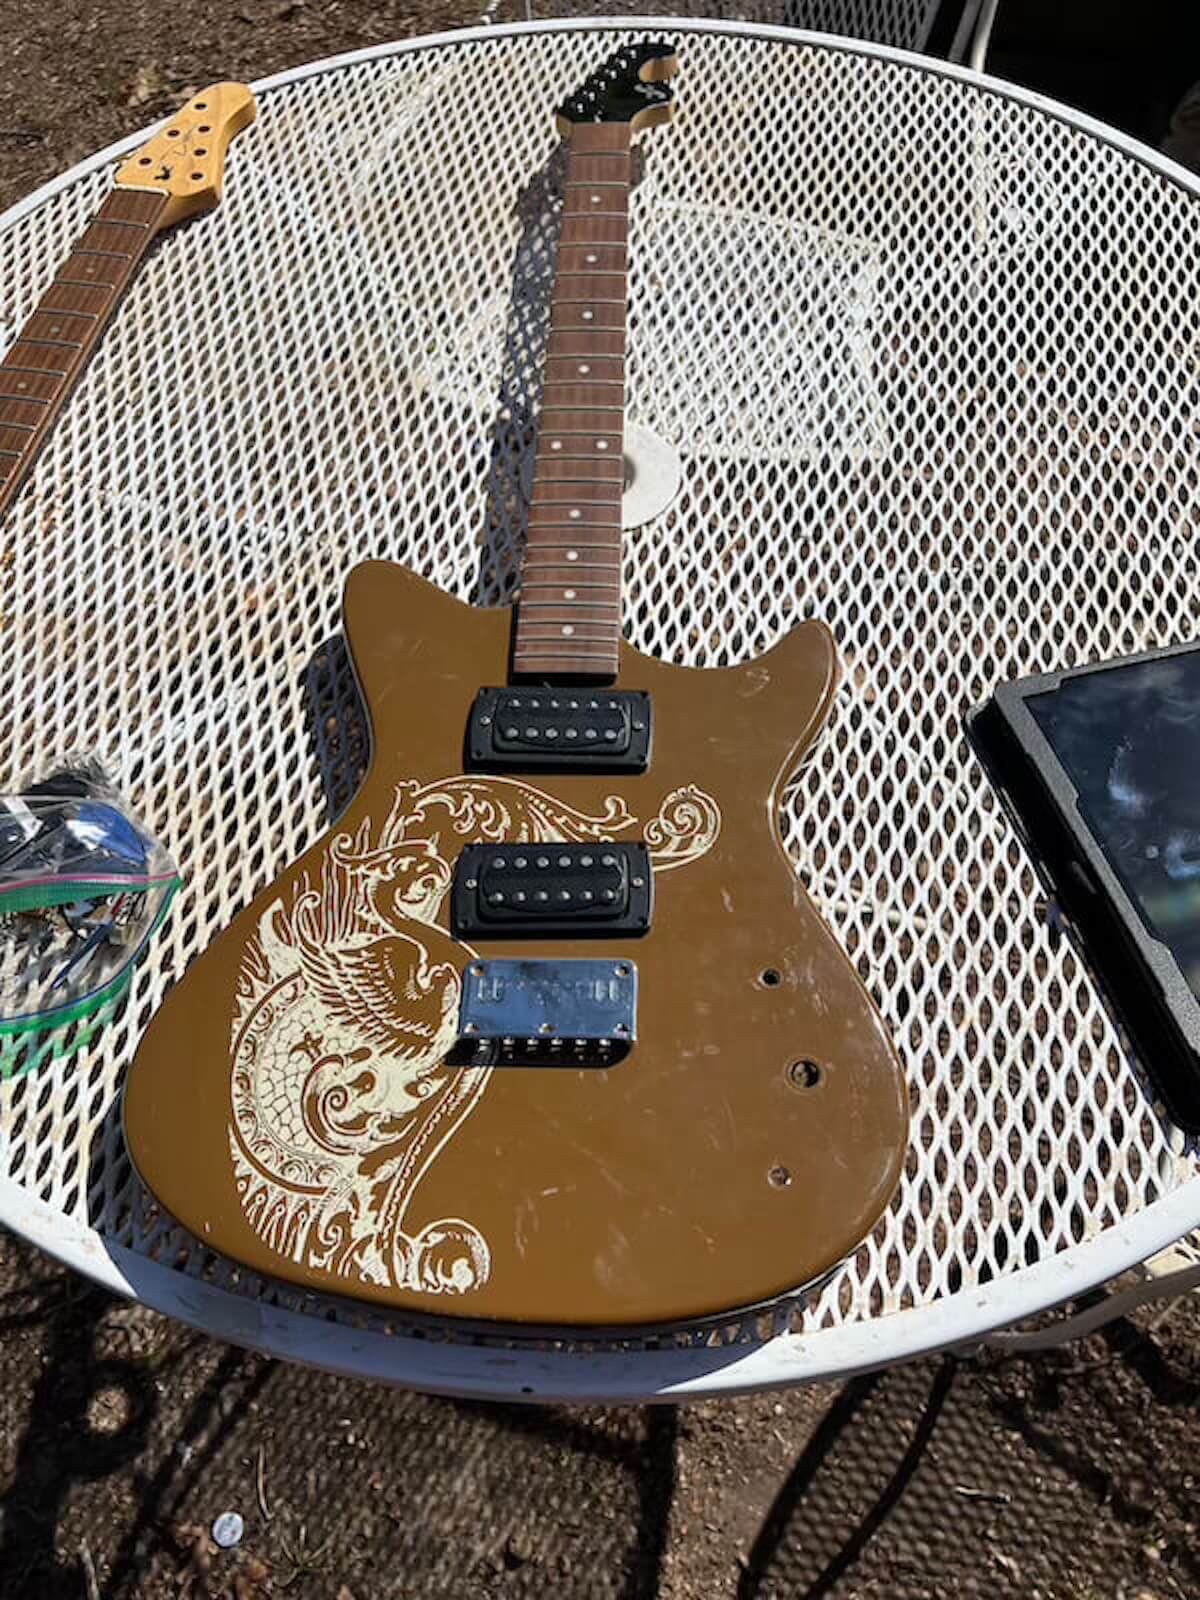
The guitar came to me through my girlfriend’s work, where one of the therapists had given it to her. Neither of us cared much for the original look, and it wasn’t winning us over by the way it sounded or played either.
That made it a perfect candidate for experimenting. There was no plan to preserve it as-is — the idea was simply to see how far I could take it.
02 • Strip It. Burn It. Sand It Back.
The finish became the first experiment.
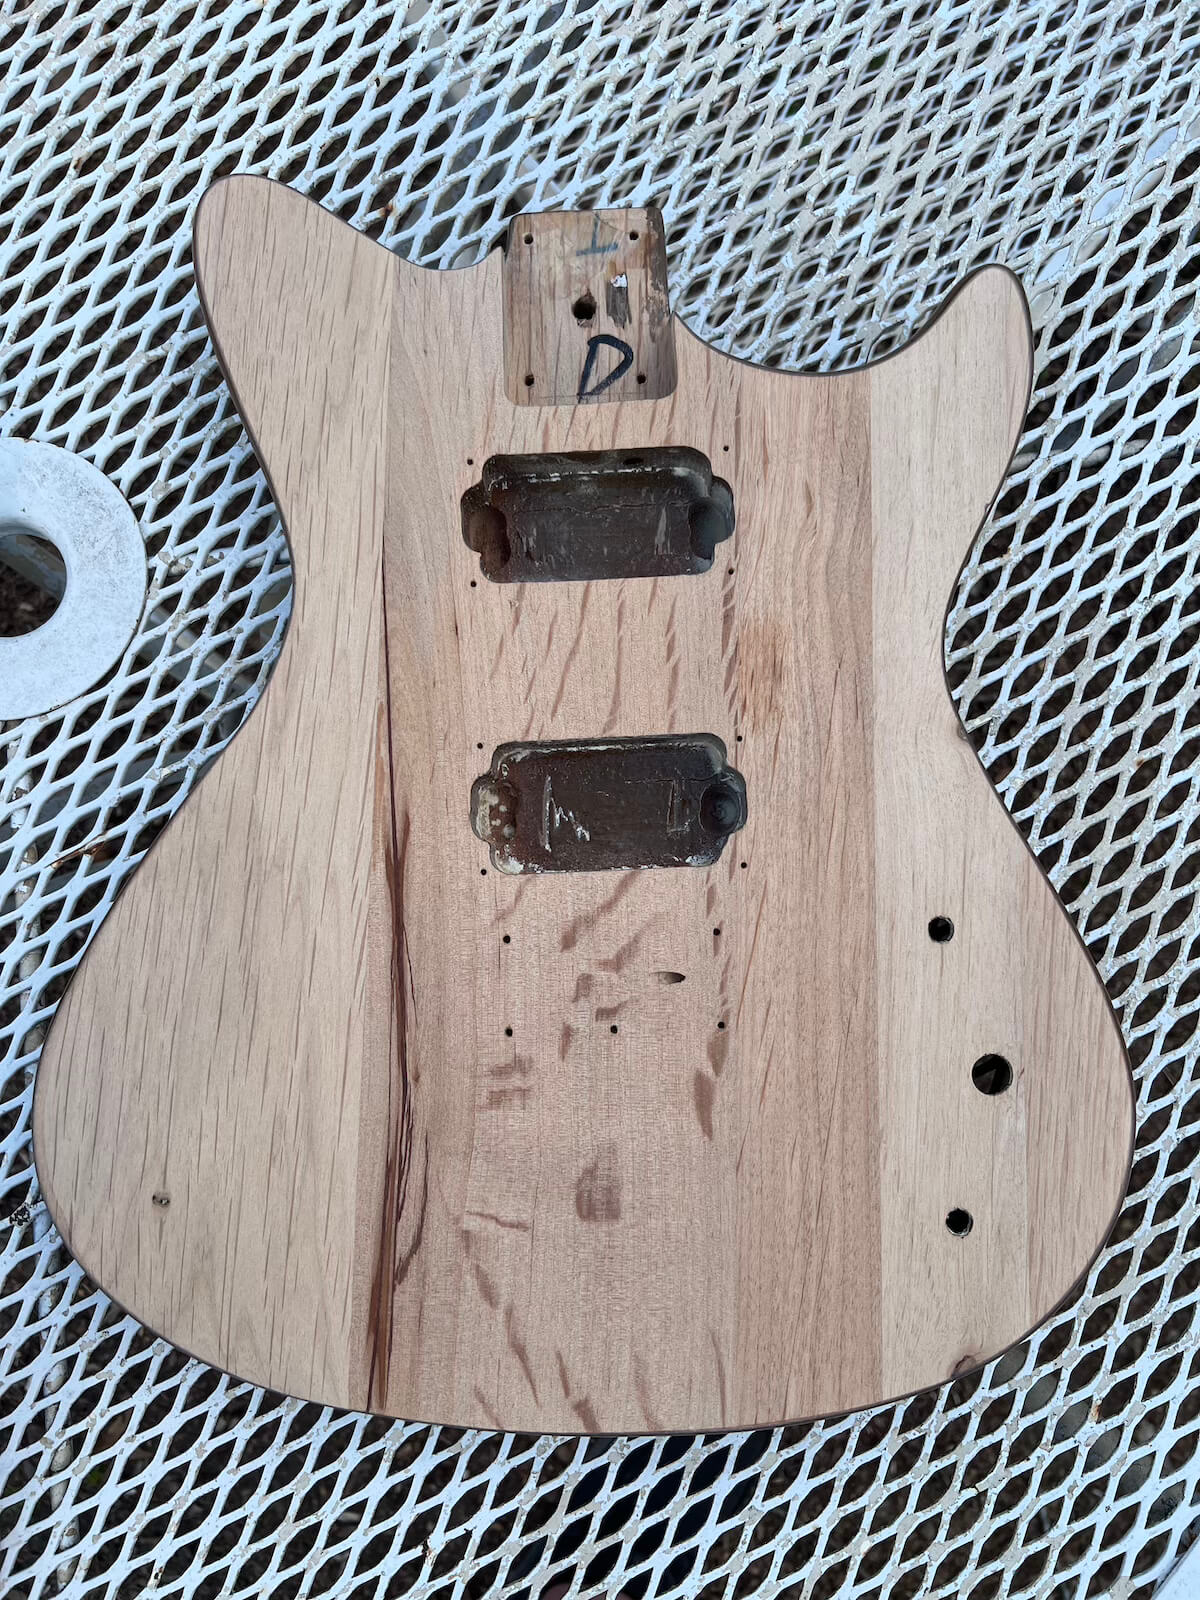
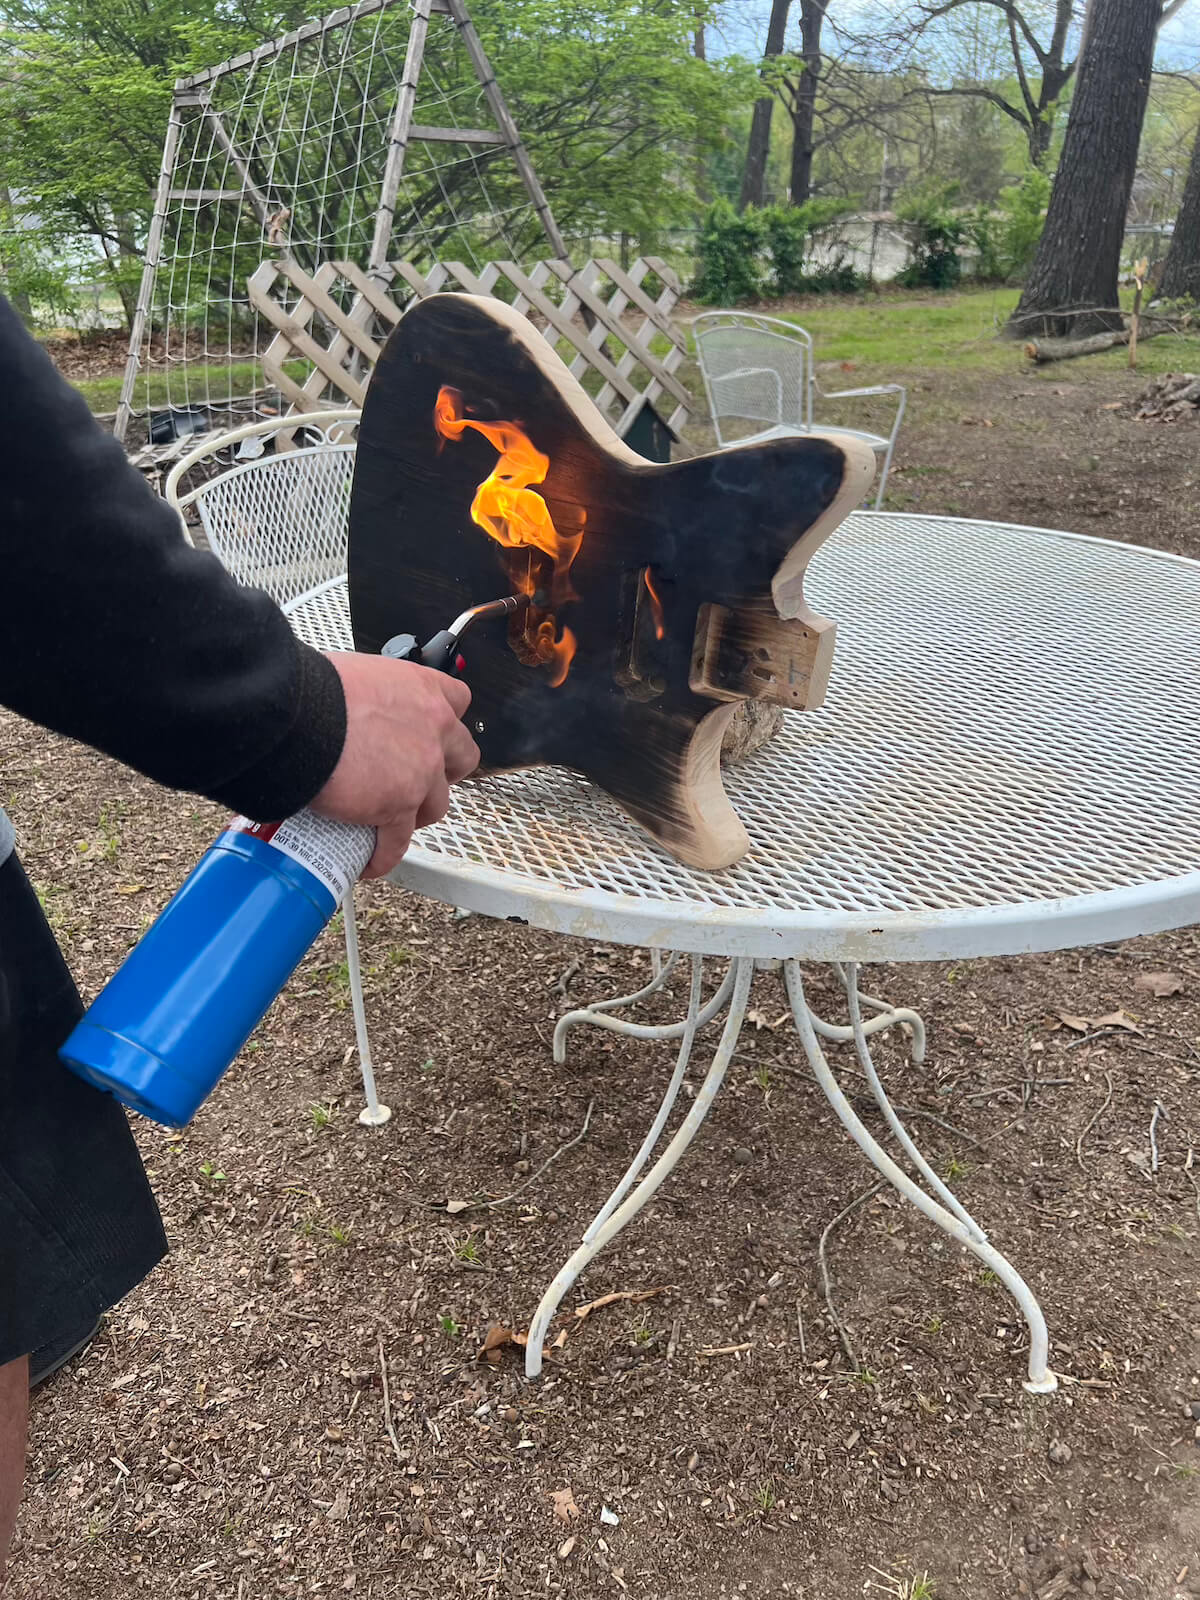
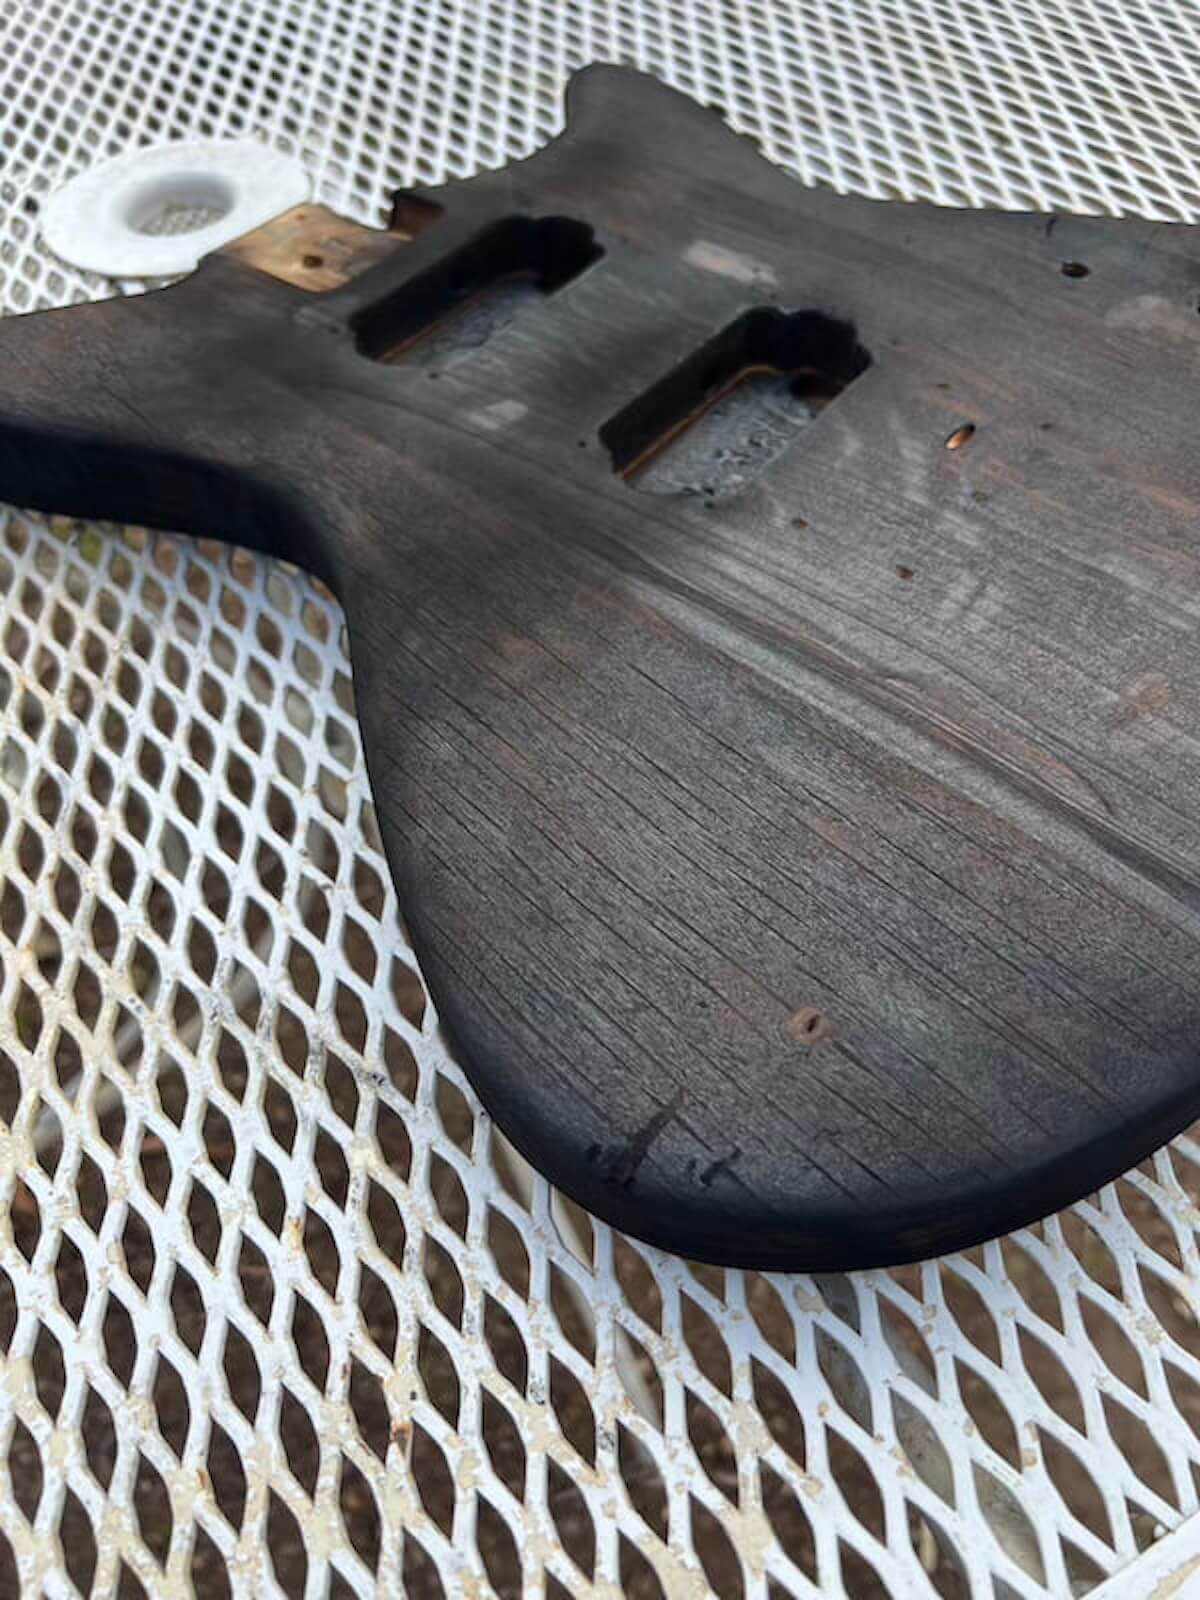
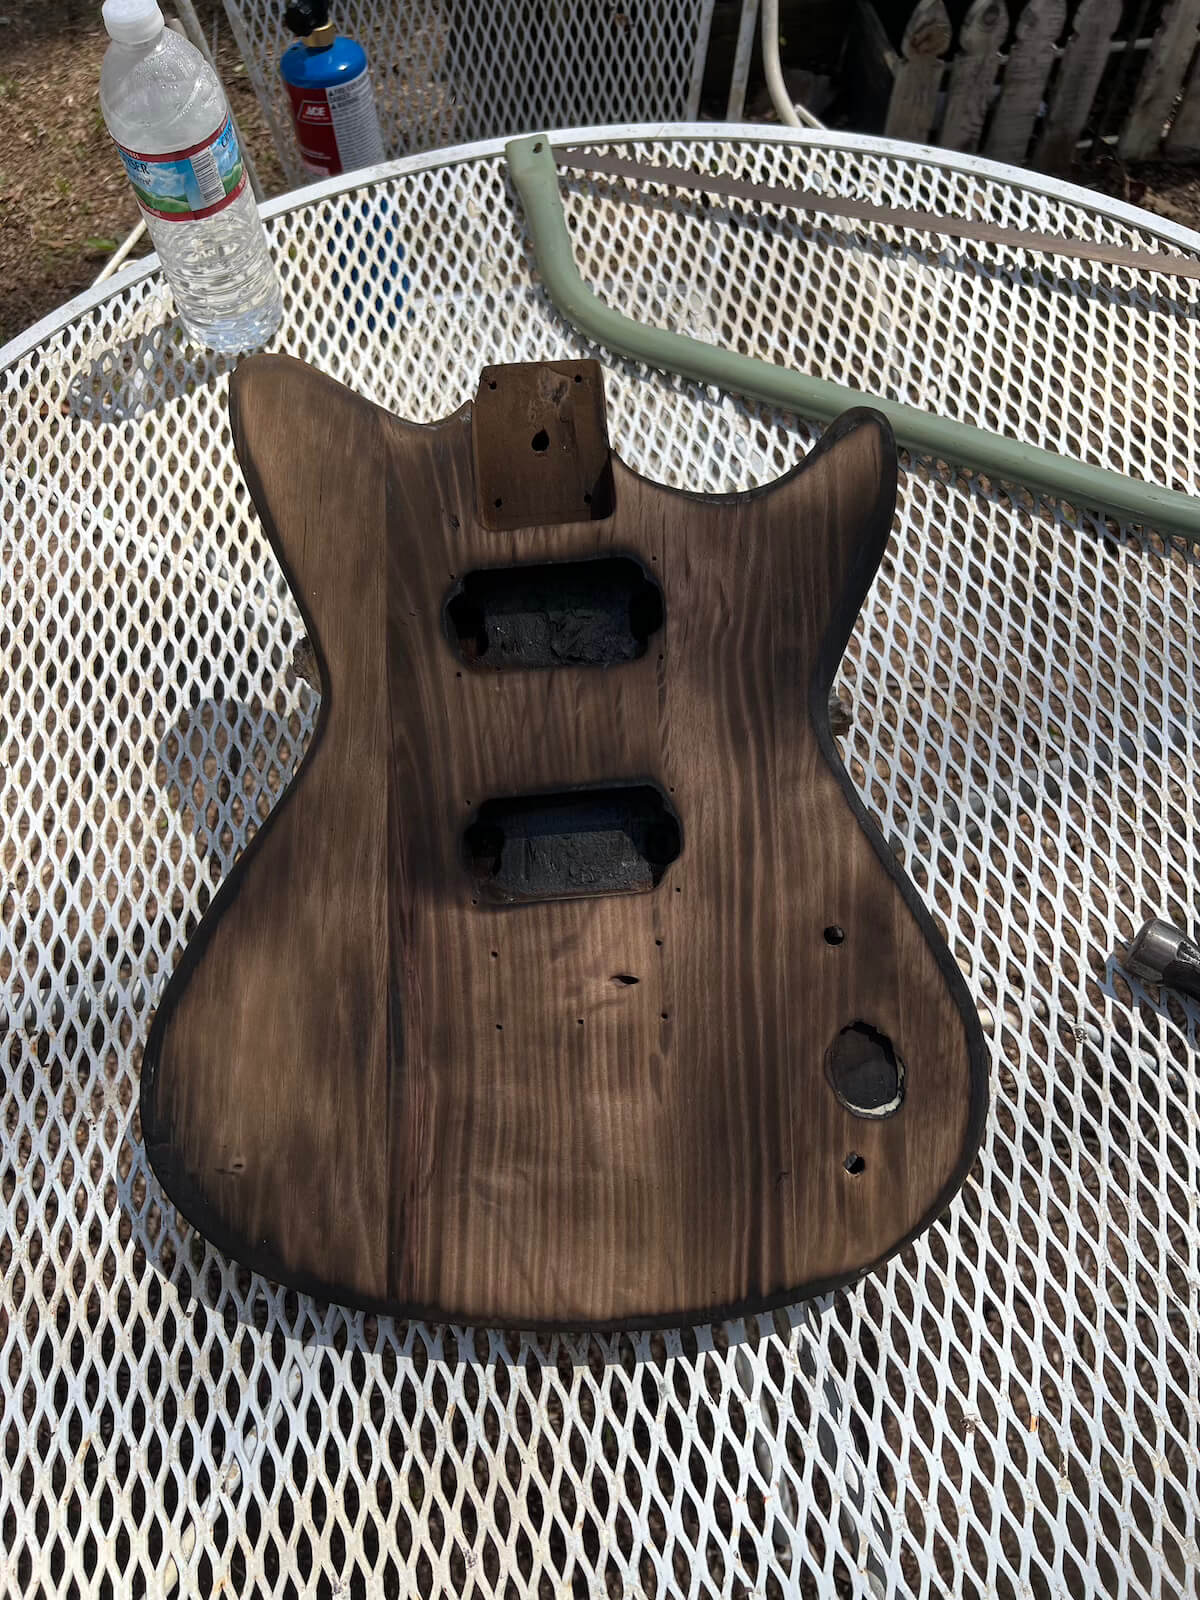
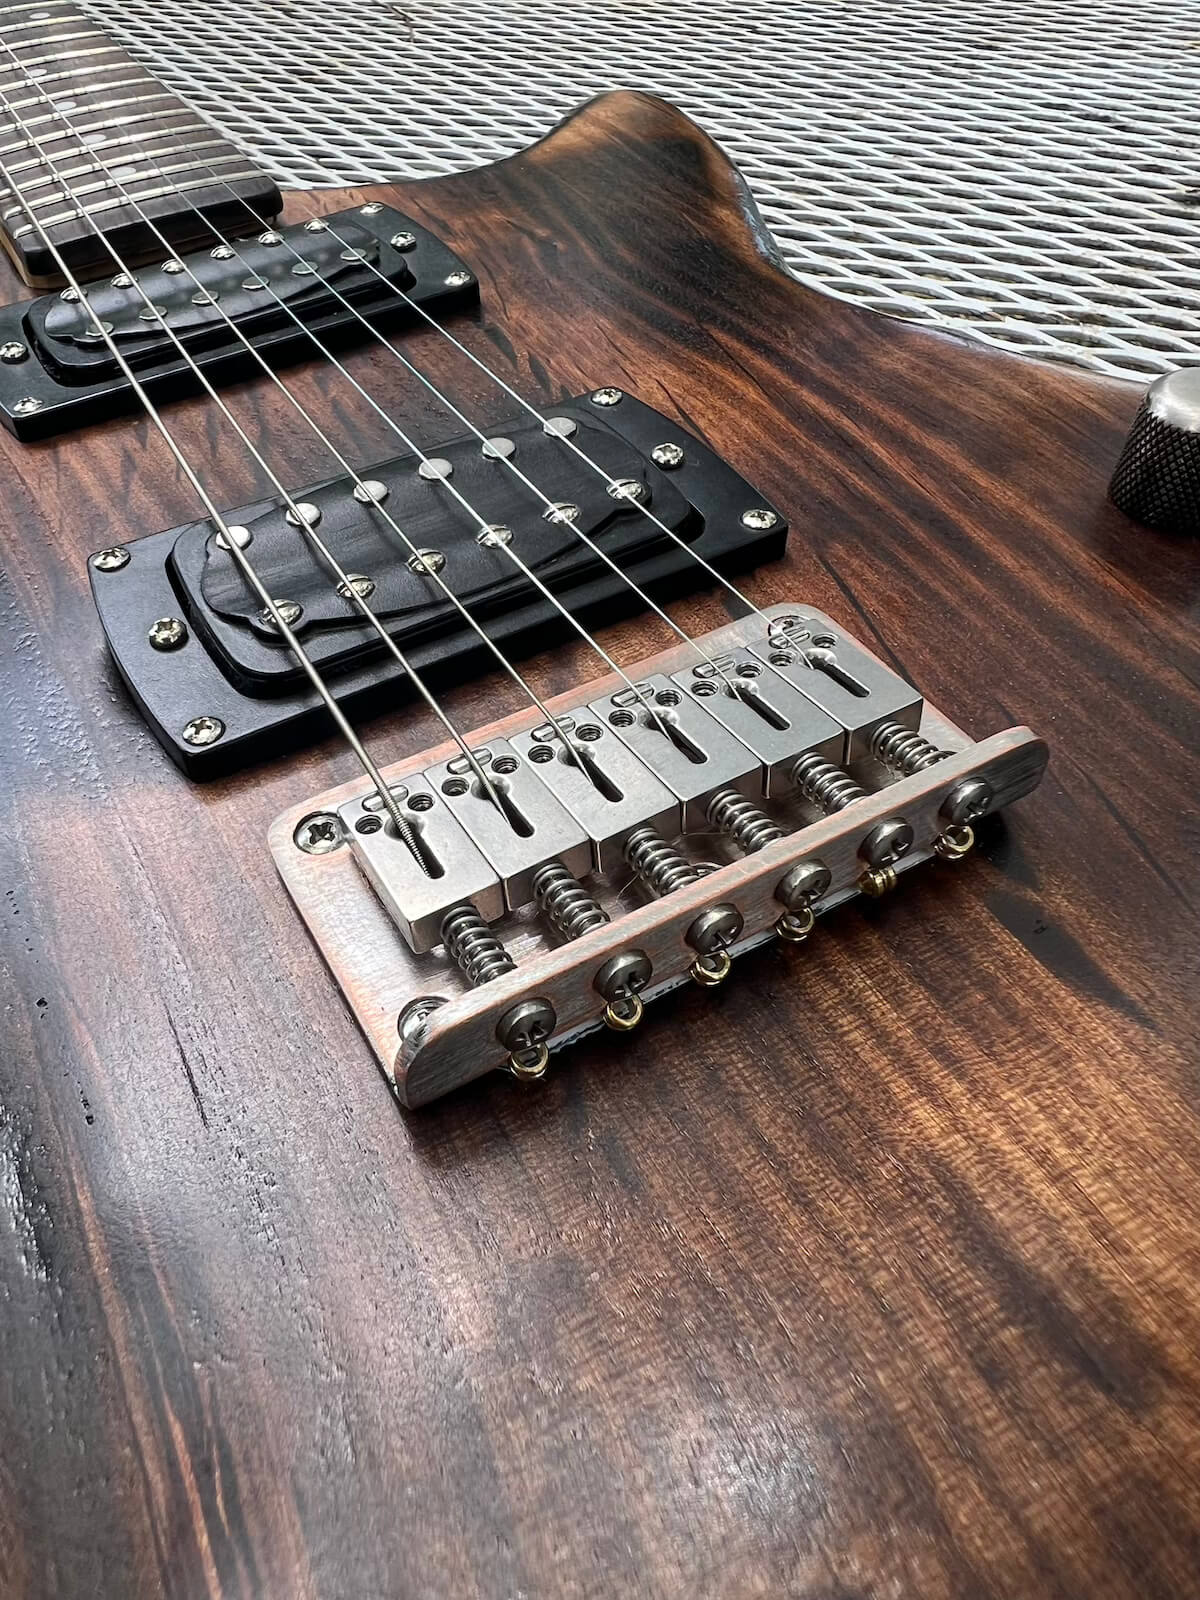
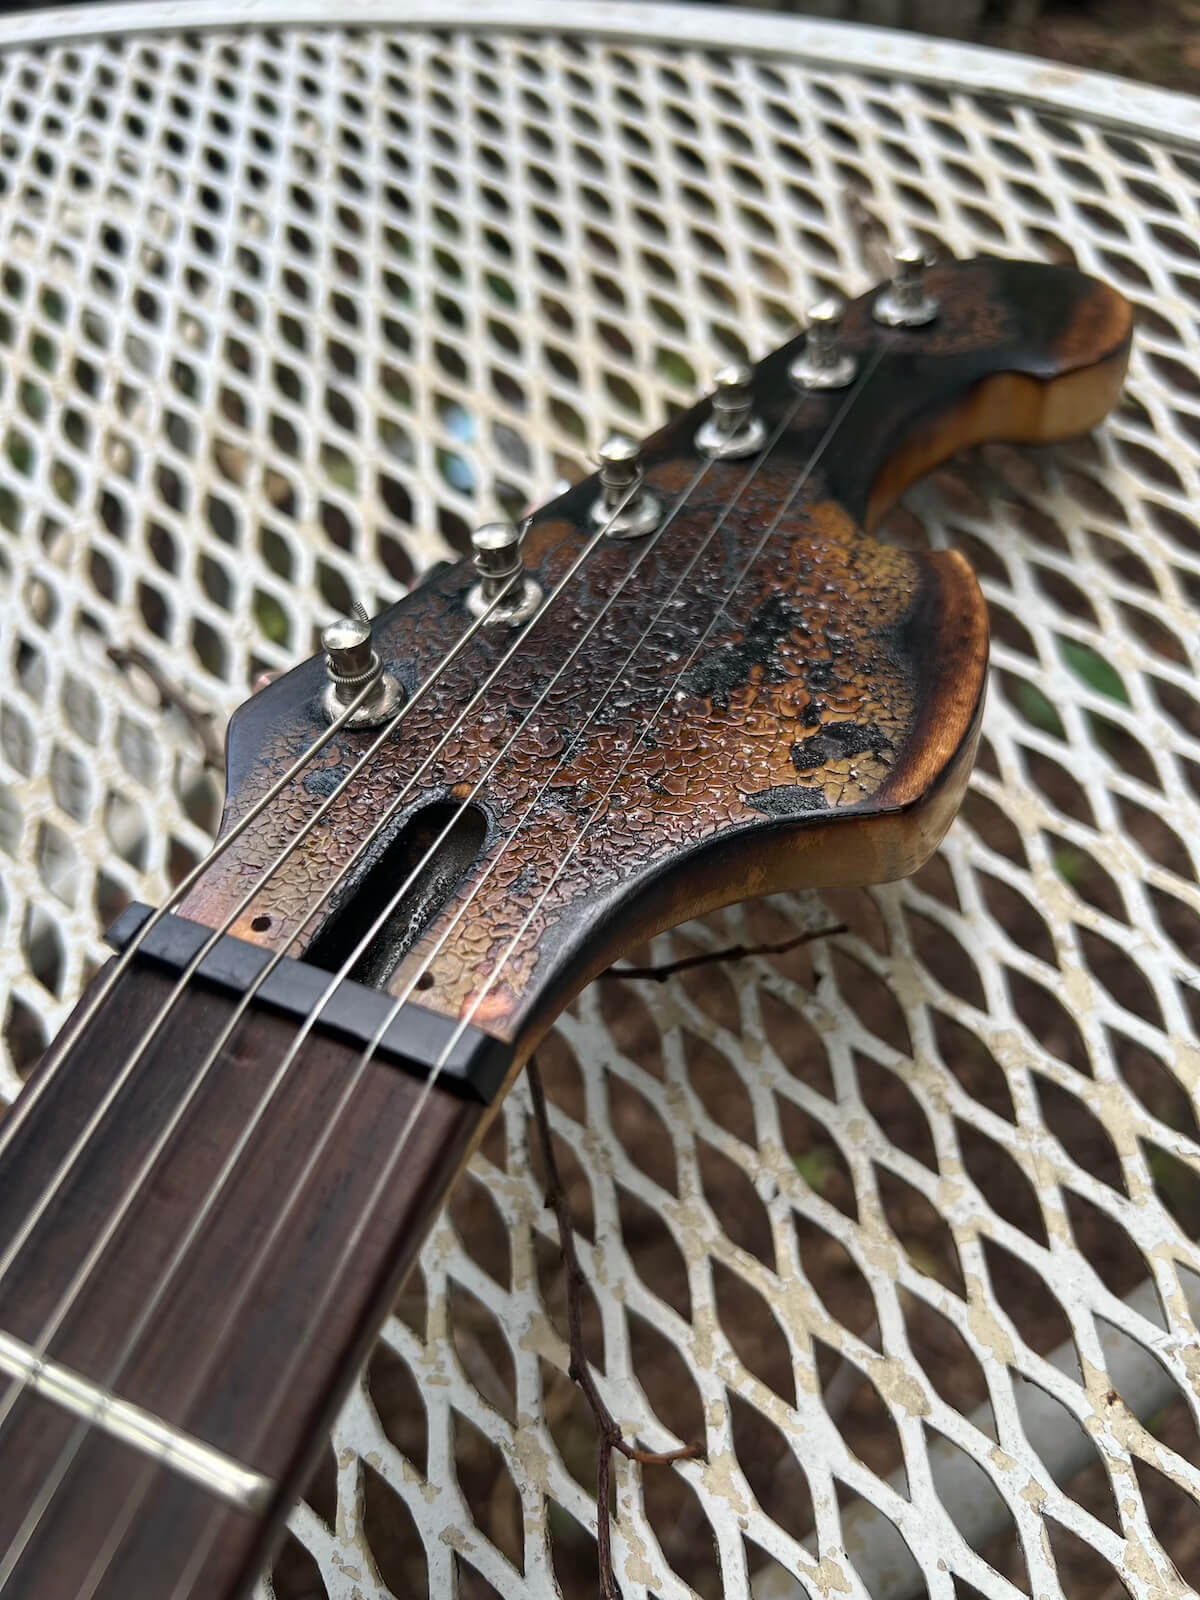
The original finish was sanded away, then the body was burned with a propane torch before being sanded back again. The goal was to leave the grain dark and scorched without simply turning the whole guitar black.
03 • The Part Where It Went Wrong
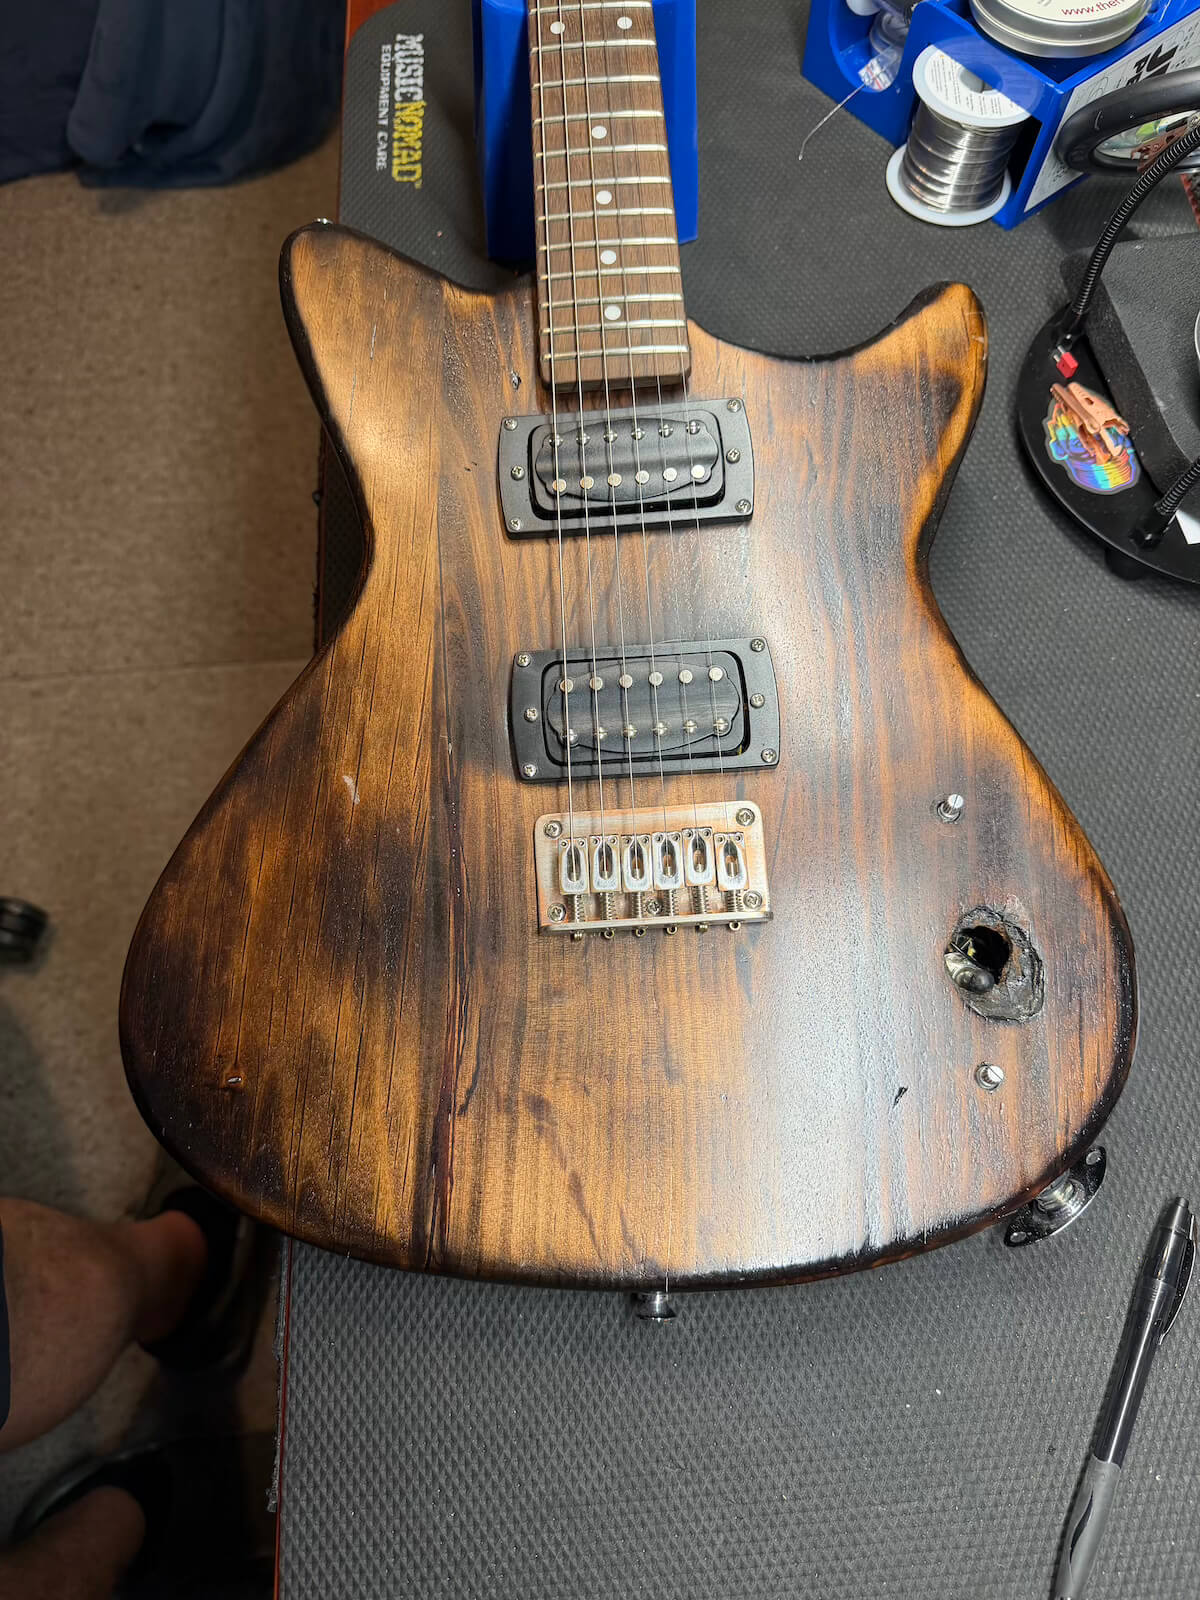
The control cavity got a little too much fire.
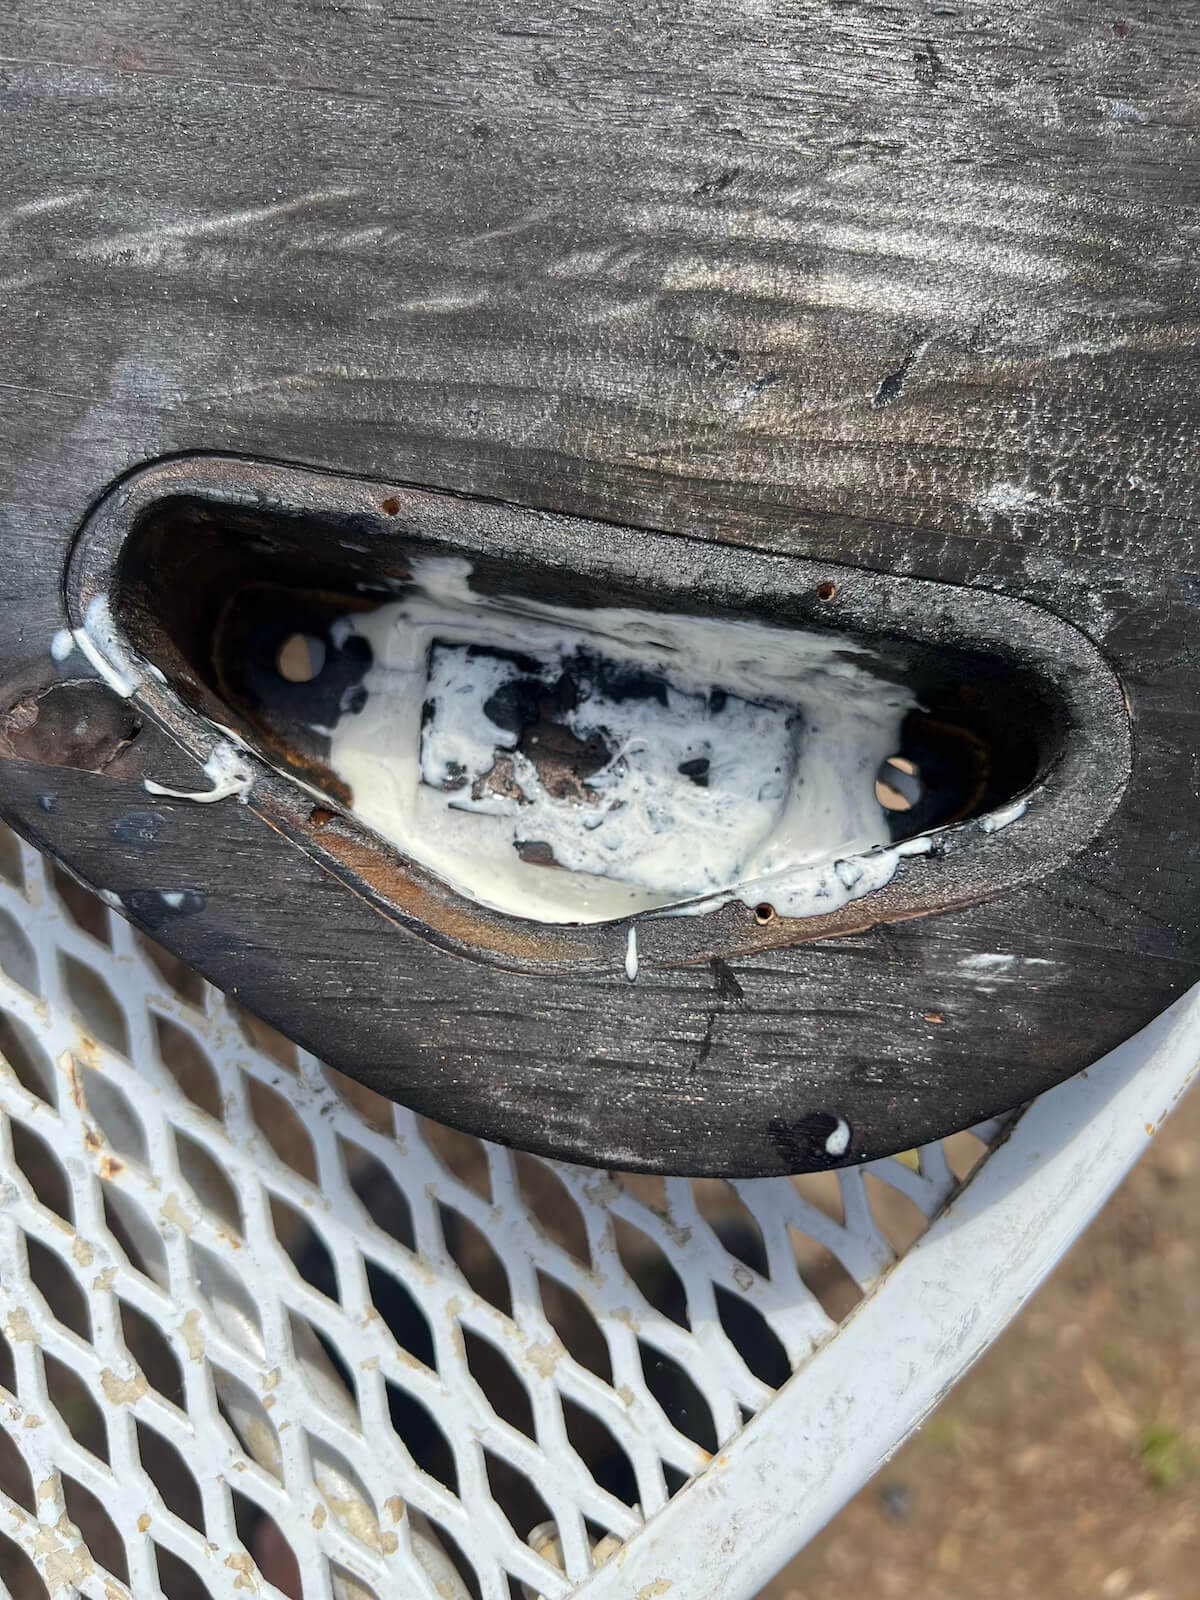
The torch work went too far around the electronics area and burned away enough wood to leave a substantial hole. I patched the area and finished the guitar anyway, but the original selector switch no longer had enough structure around it to mount properly.
So visually the guitar was much closer to where I wanted it, but electronically it was still unfinished. It stayed that way for months.
04 • Neck & Hardware
Making it feel as intentional as it looked.
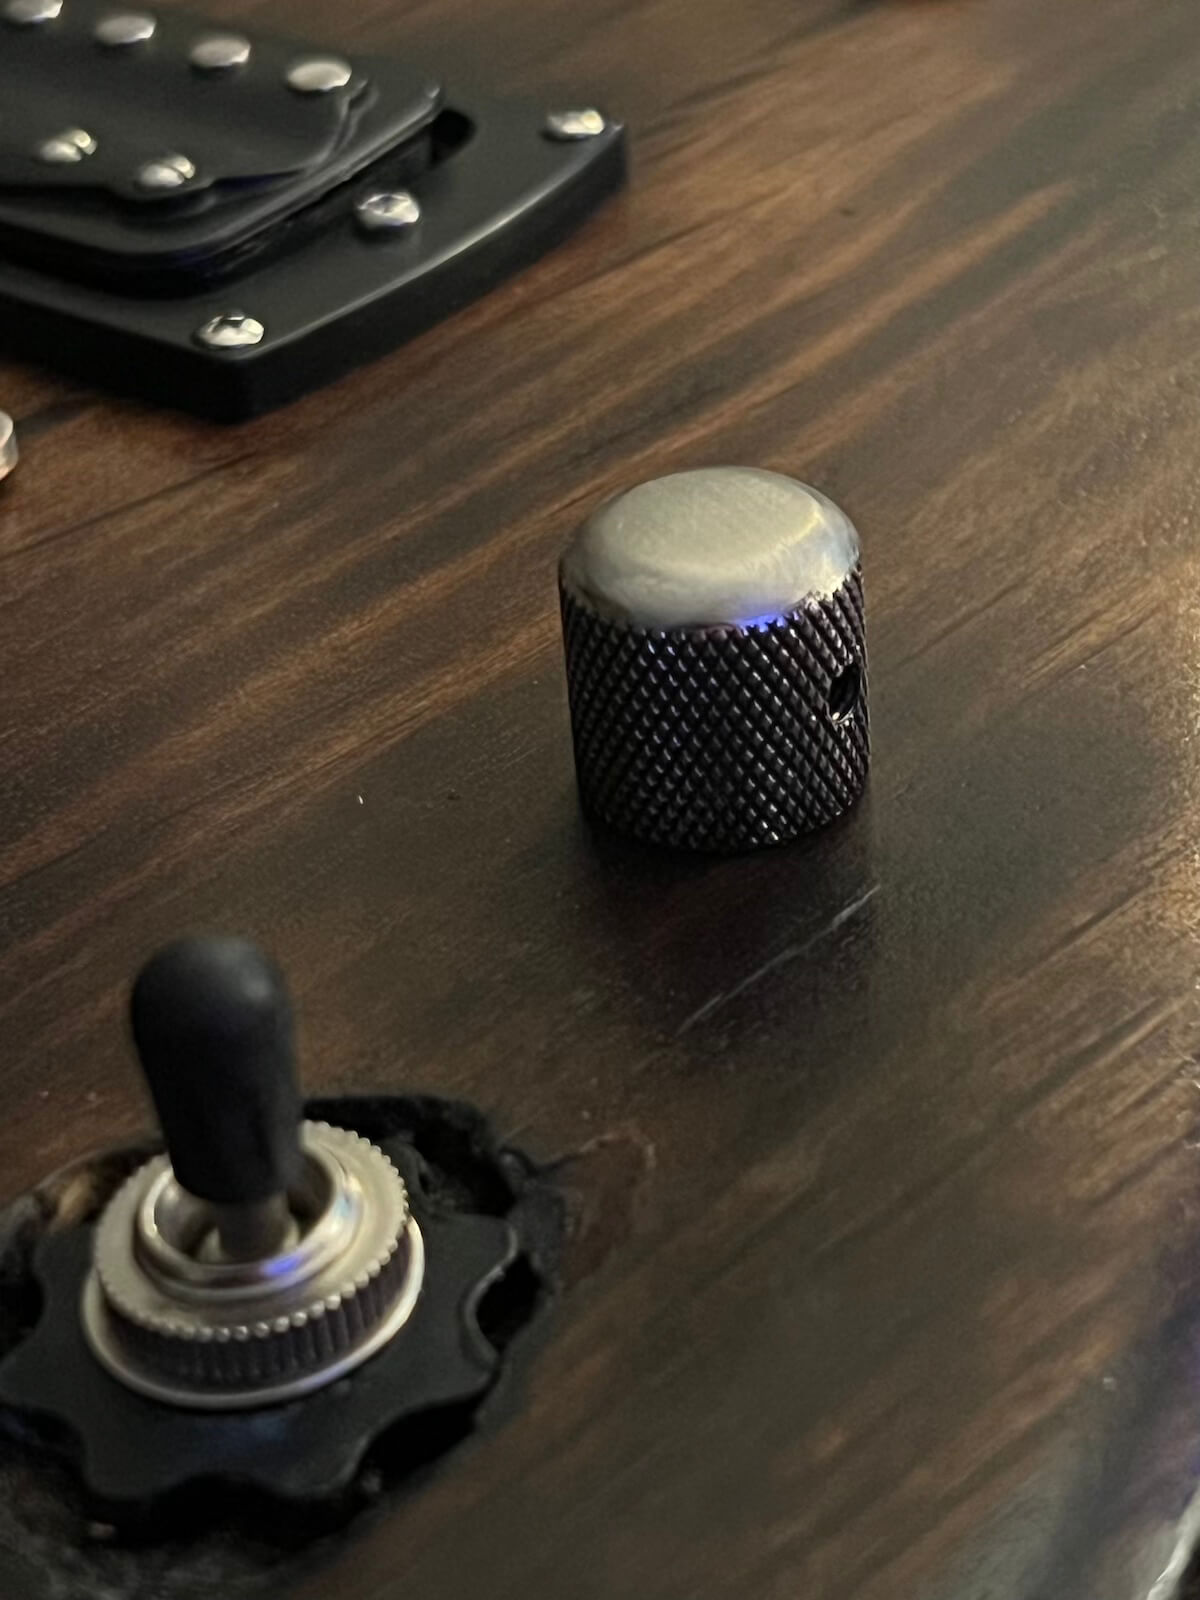
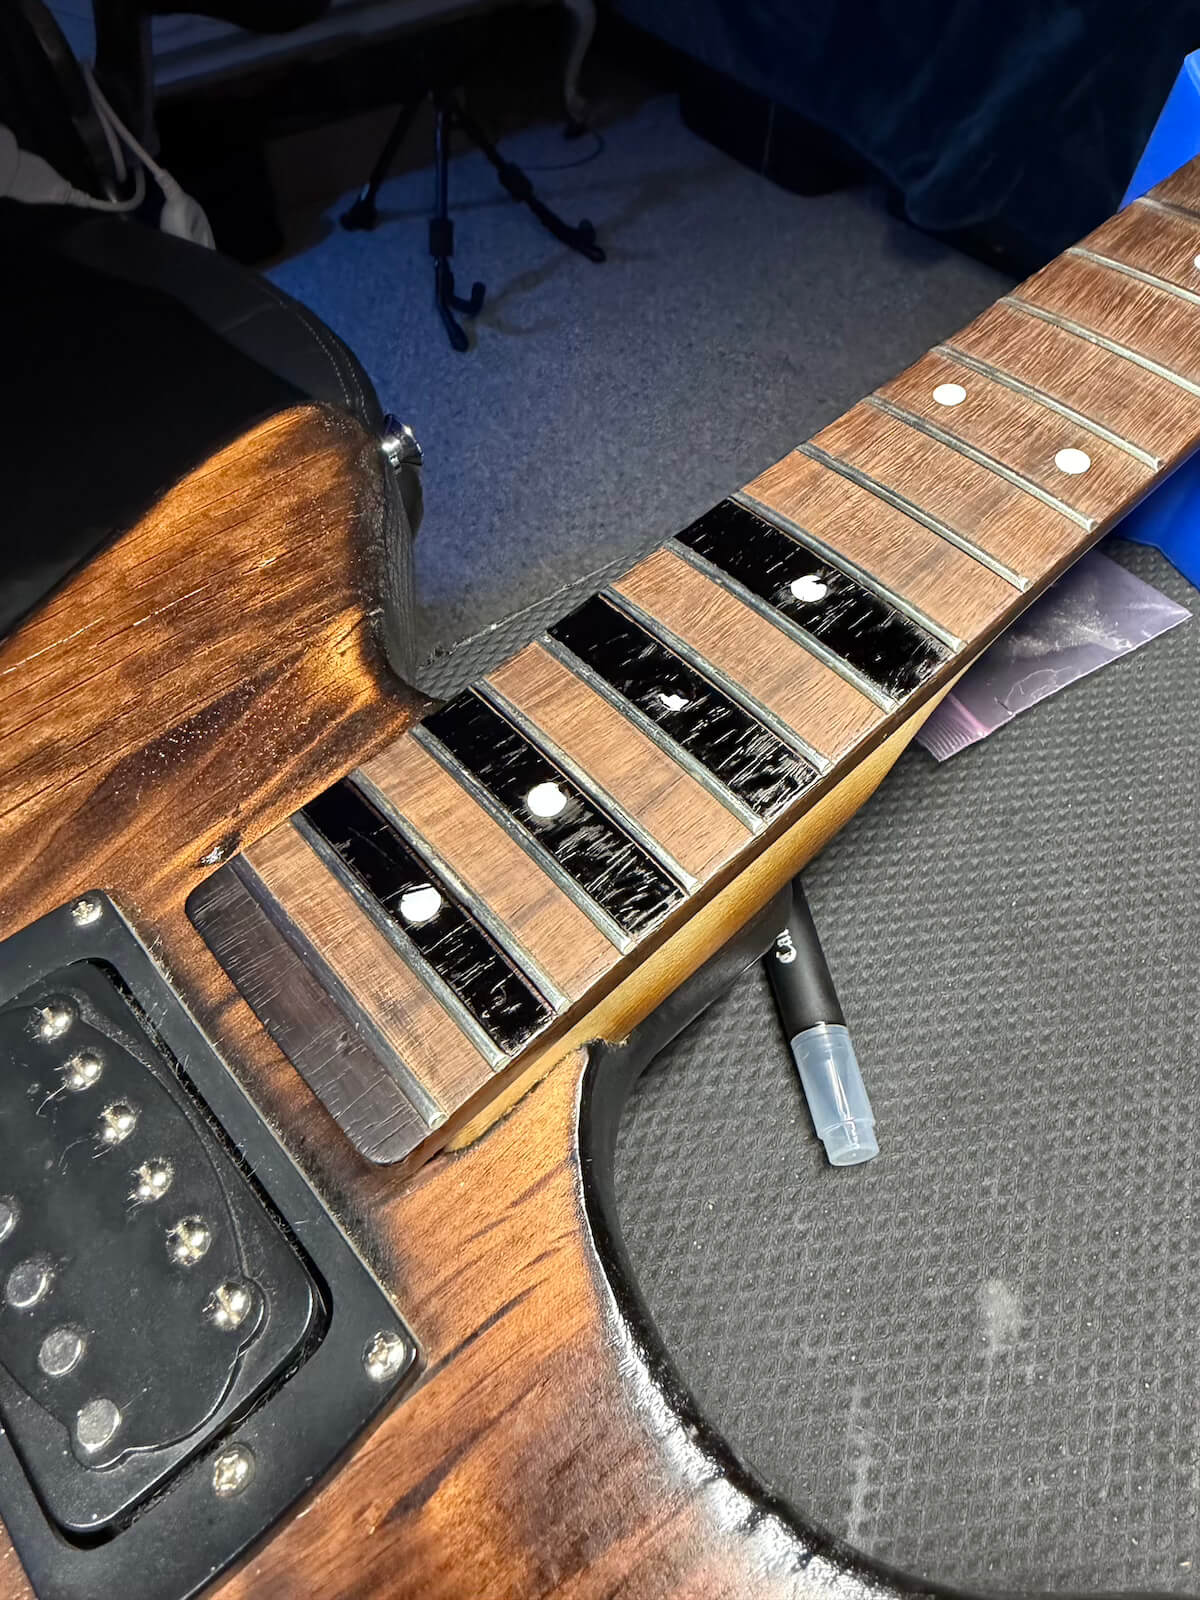
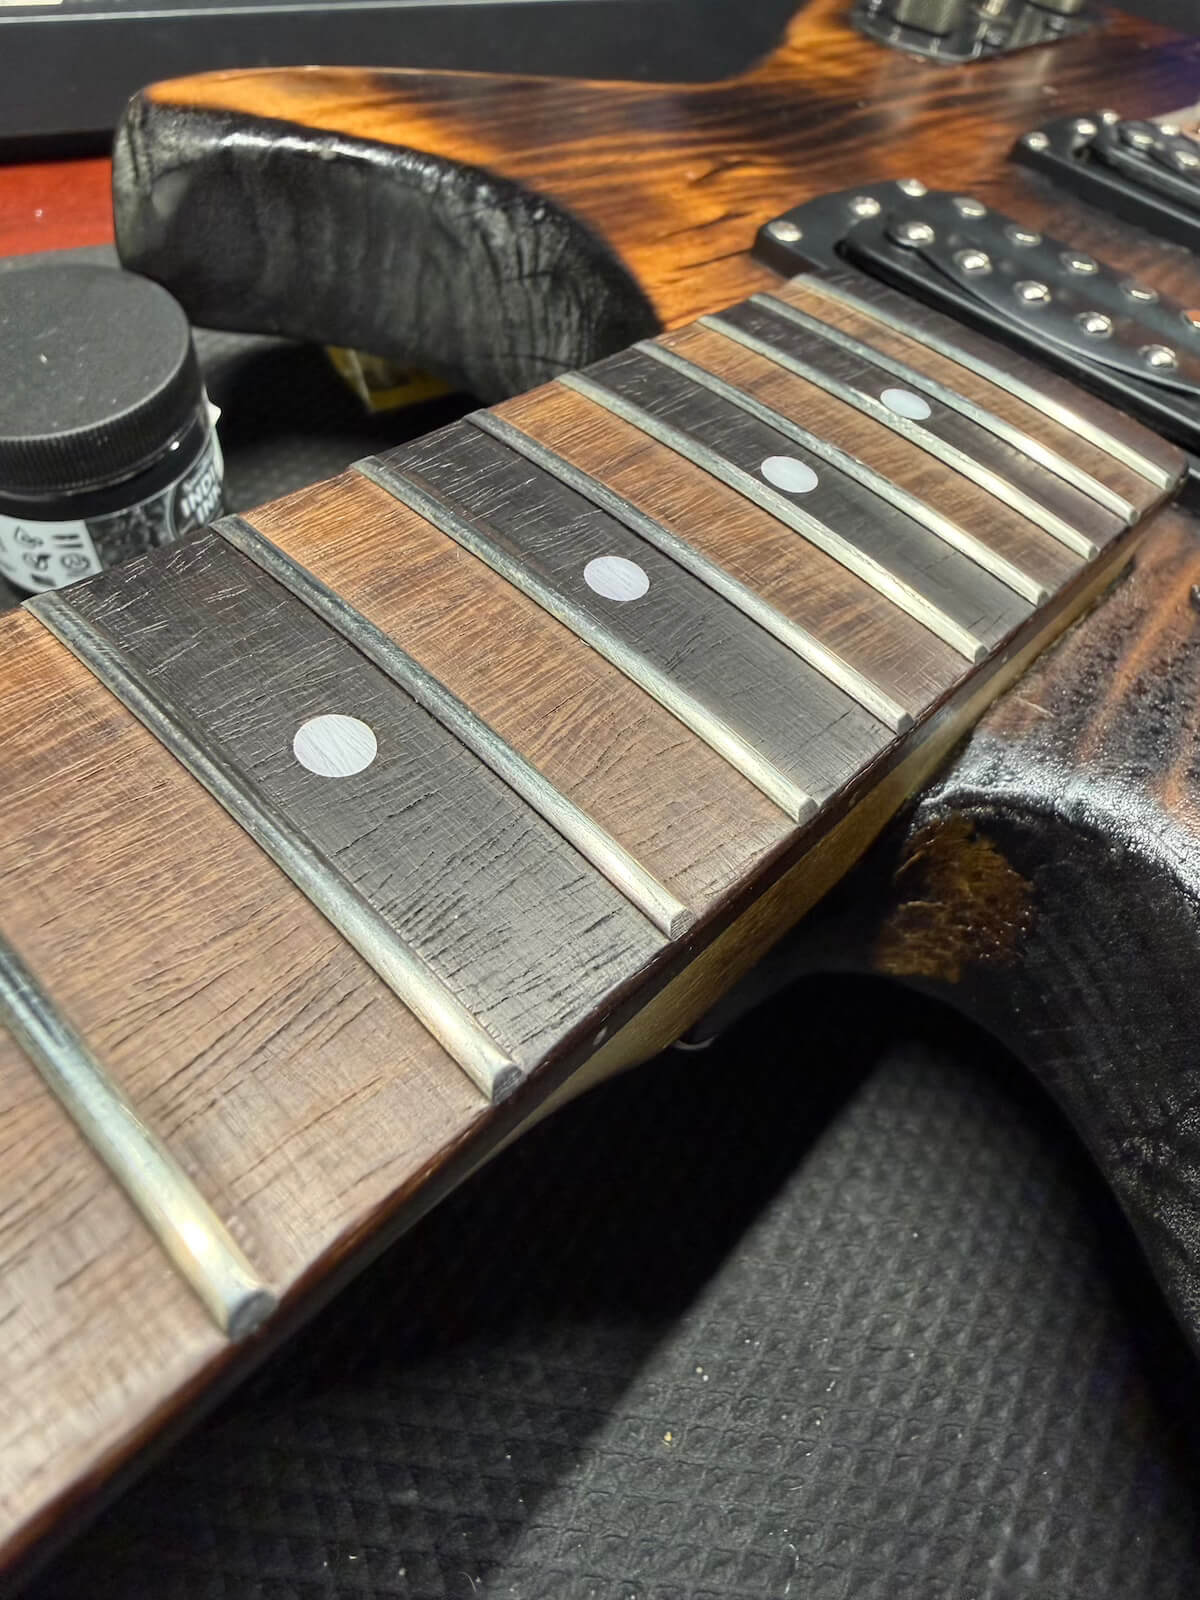
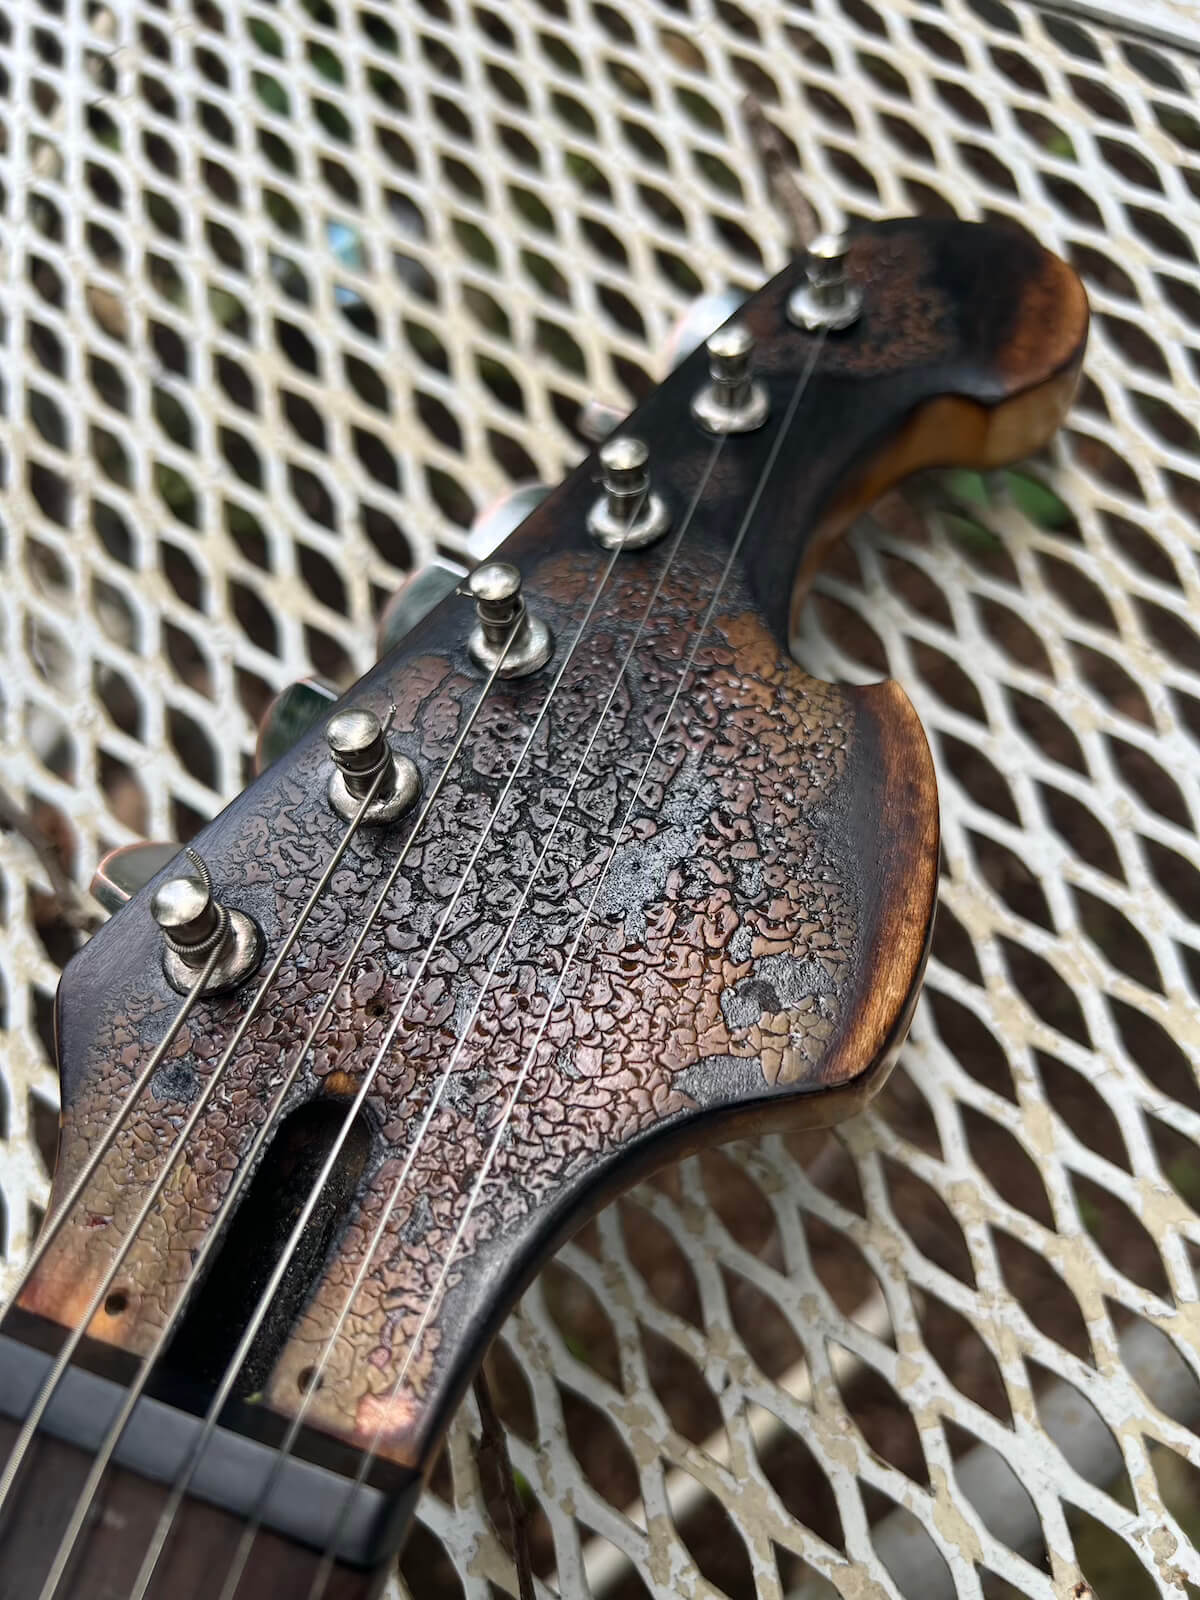
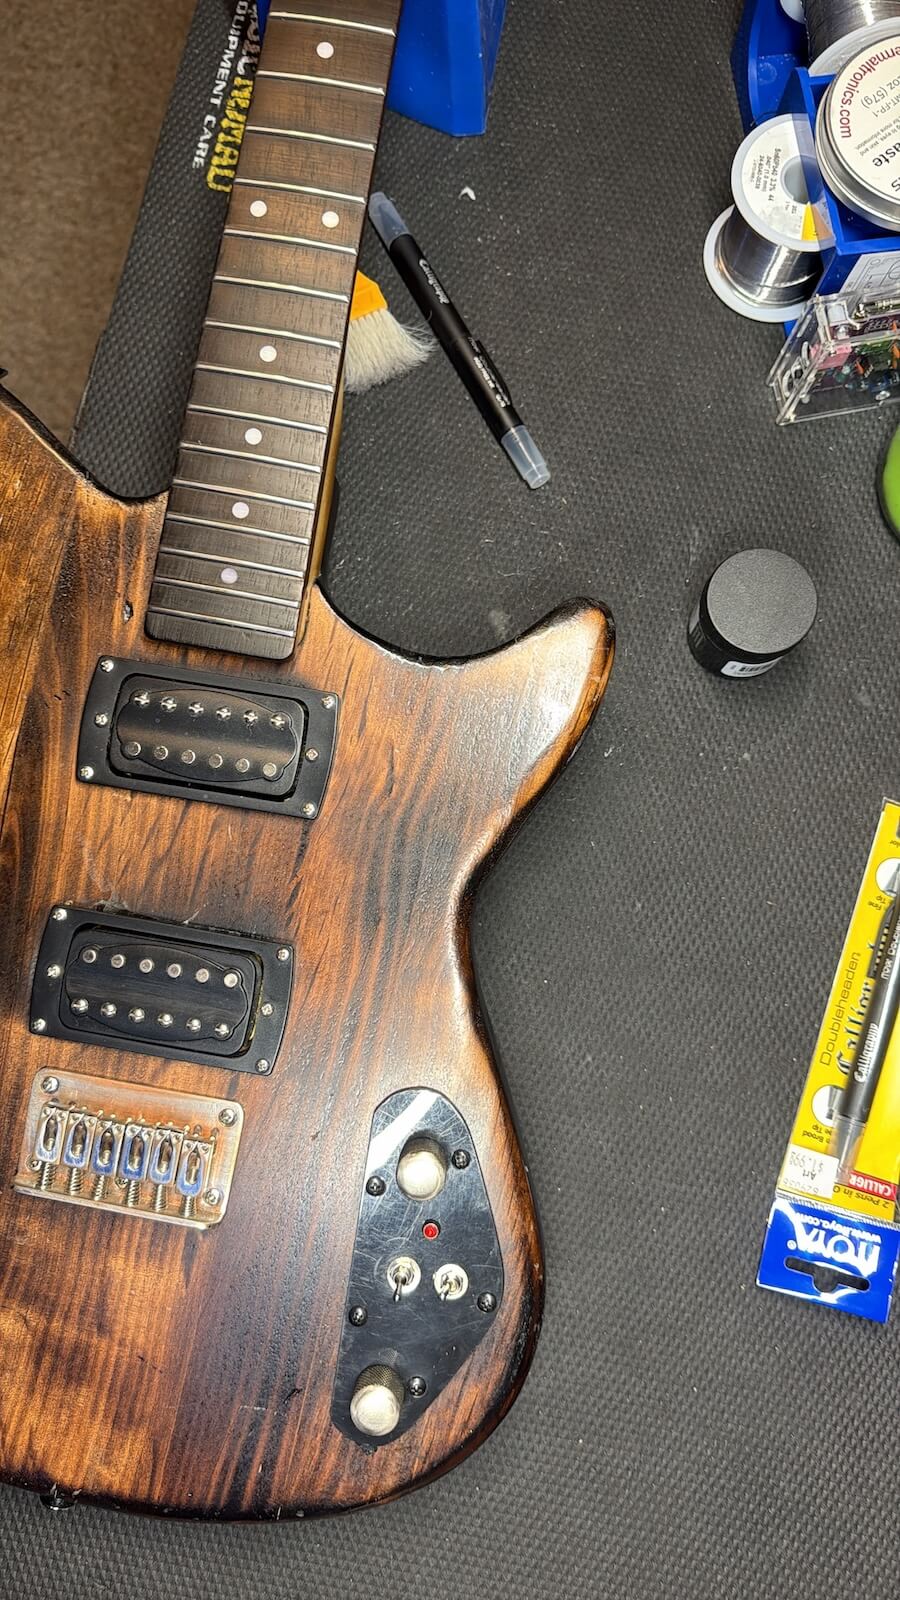
The cosmetic work extended beyond the body. The very light fretboard was dyed with India ink, the fretboard edges were rolled, and the fret ends were filed and dressed to improve the feel in the hand. The chrome hardware was also sanded and distressed to match the aged finish.
05 • Months Later
Stop patching it. Cut it out.
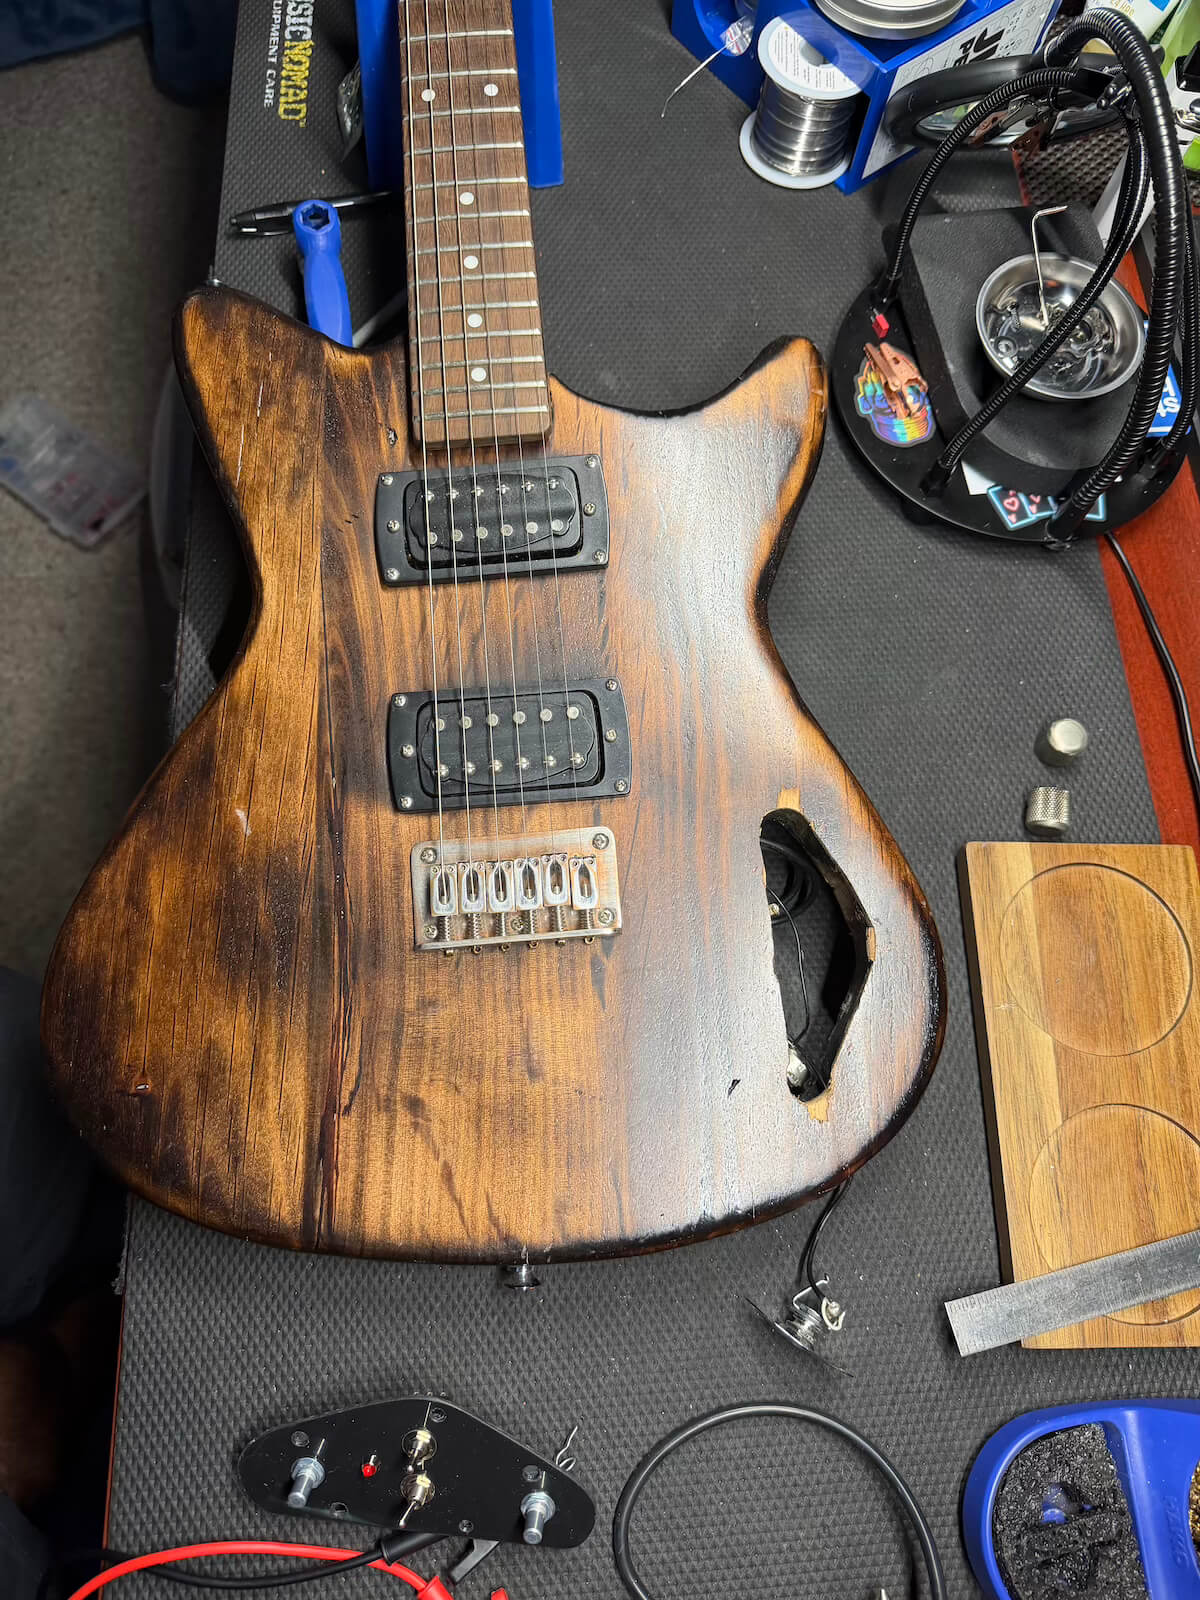
When I came back to the electronics months later, I decided the damaged control area wasn’t worth trying to preserve. I cut out the compromised section completely and started over with a larger, cleaner opening.
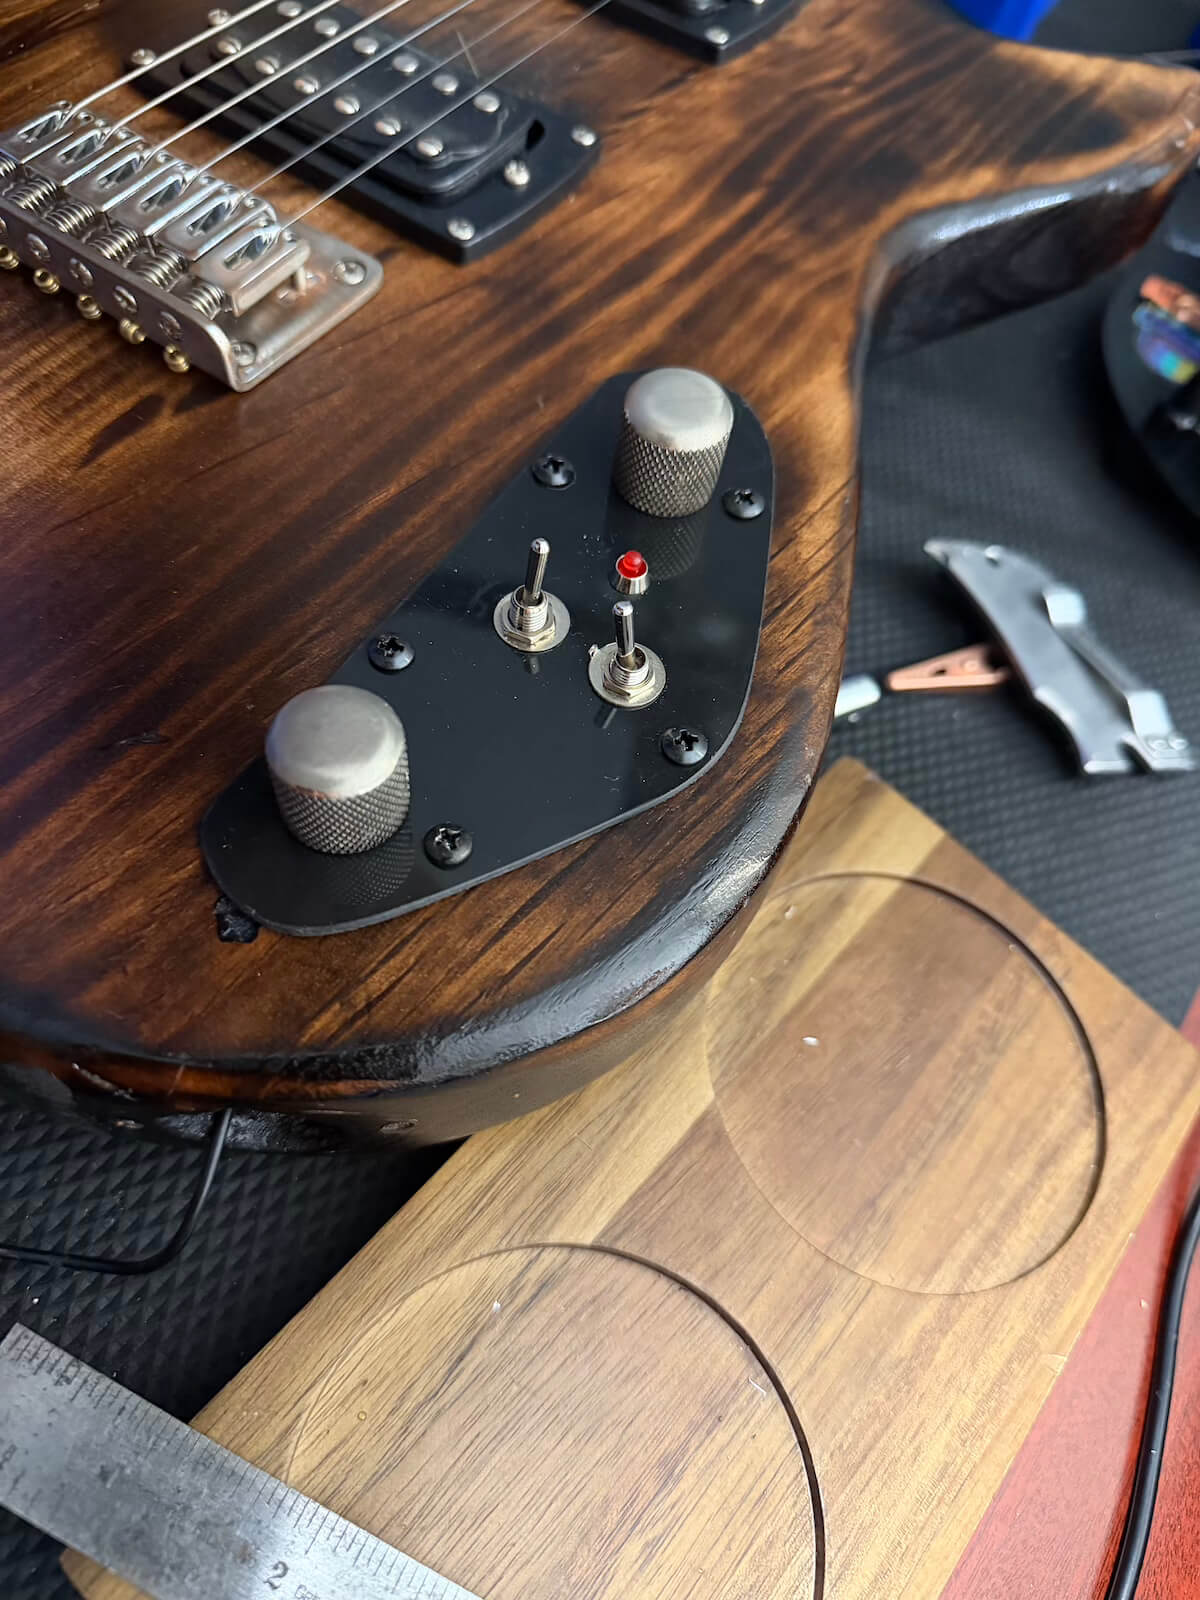
A Strat-style rear cavity plate I already had on hand became the basis for a new control cover. That gave me enough room to rethink the layout rather than forcing the original hardware back into a damaged area.
06 • Circuit Development
The original pickups stayed. Their electronics didn’t.
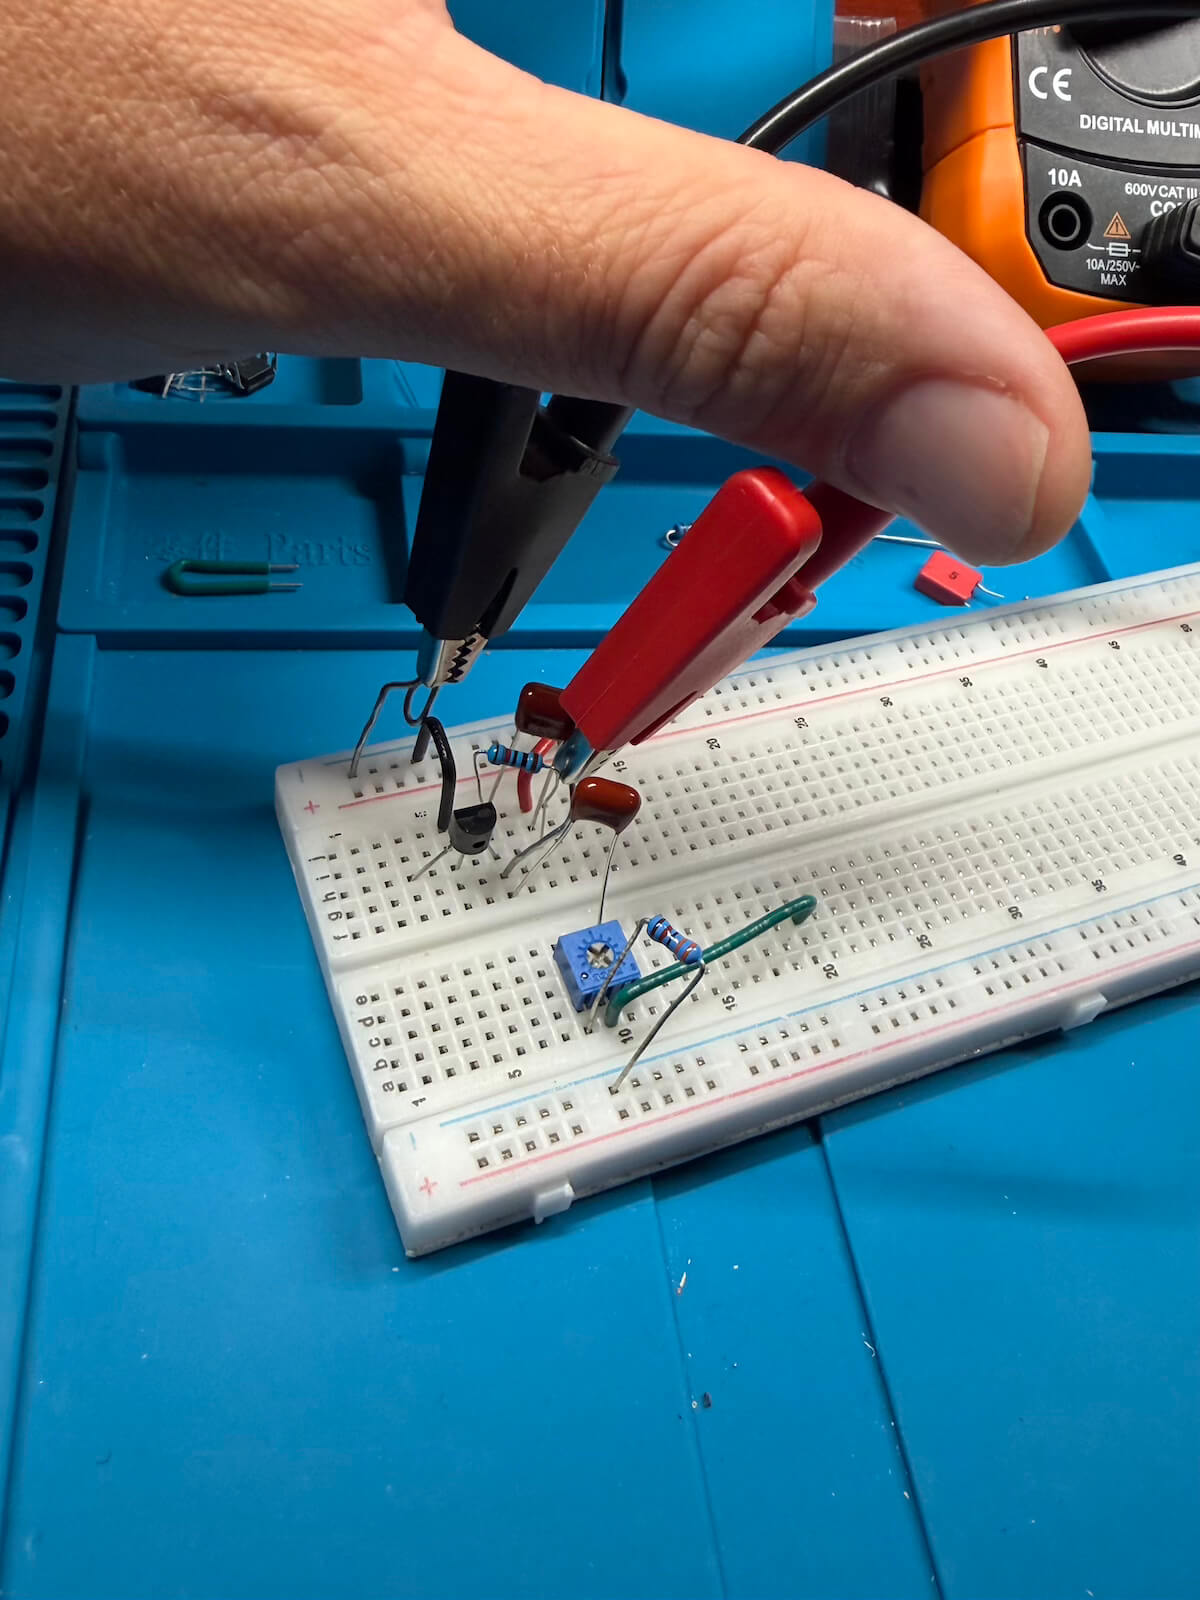
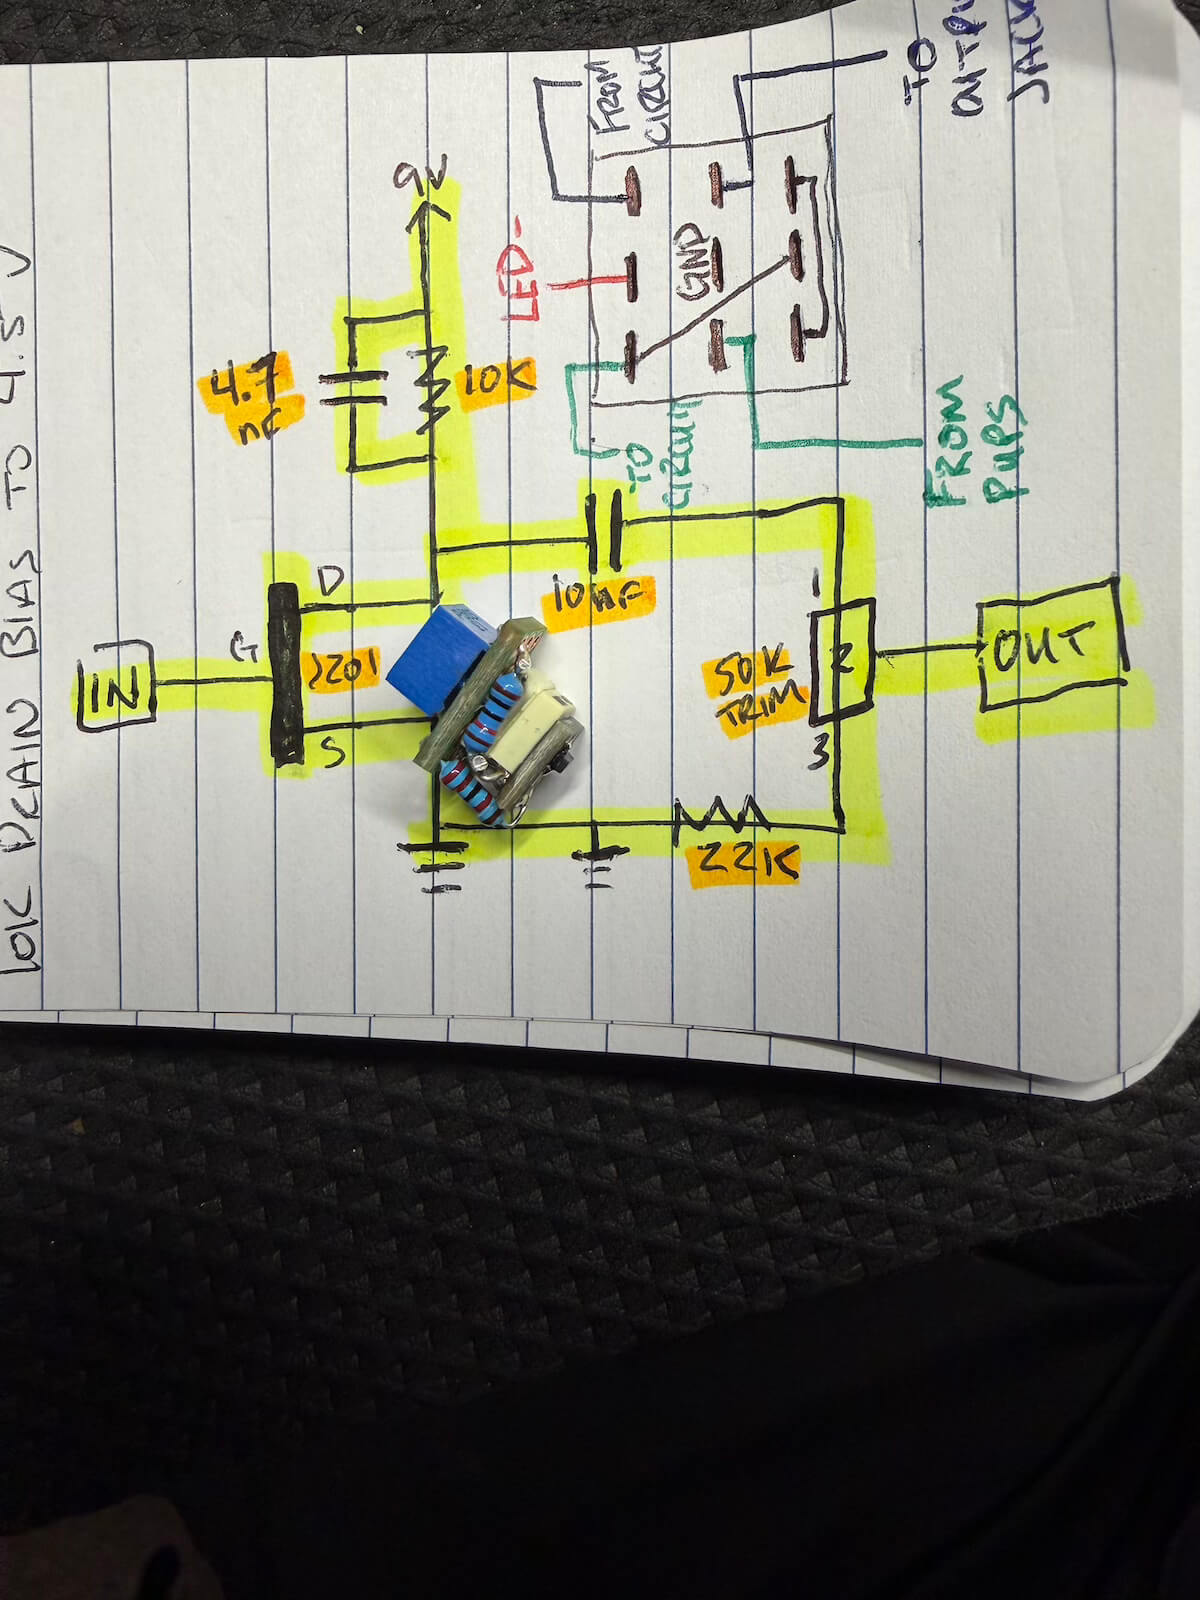
The onboard JFET preamp followed a process similar to the Jackson project: breadboard the circuit with the actual guitar connected, then adjust capacitor and resistor values until the response worked with these particular pickups. Once the circuit felt right, it was transferred to a compact permanent build for installation.
07 • Rewiring the Guitar
A smaller selector made room for something more useful.
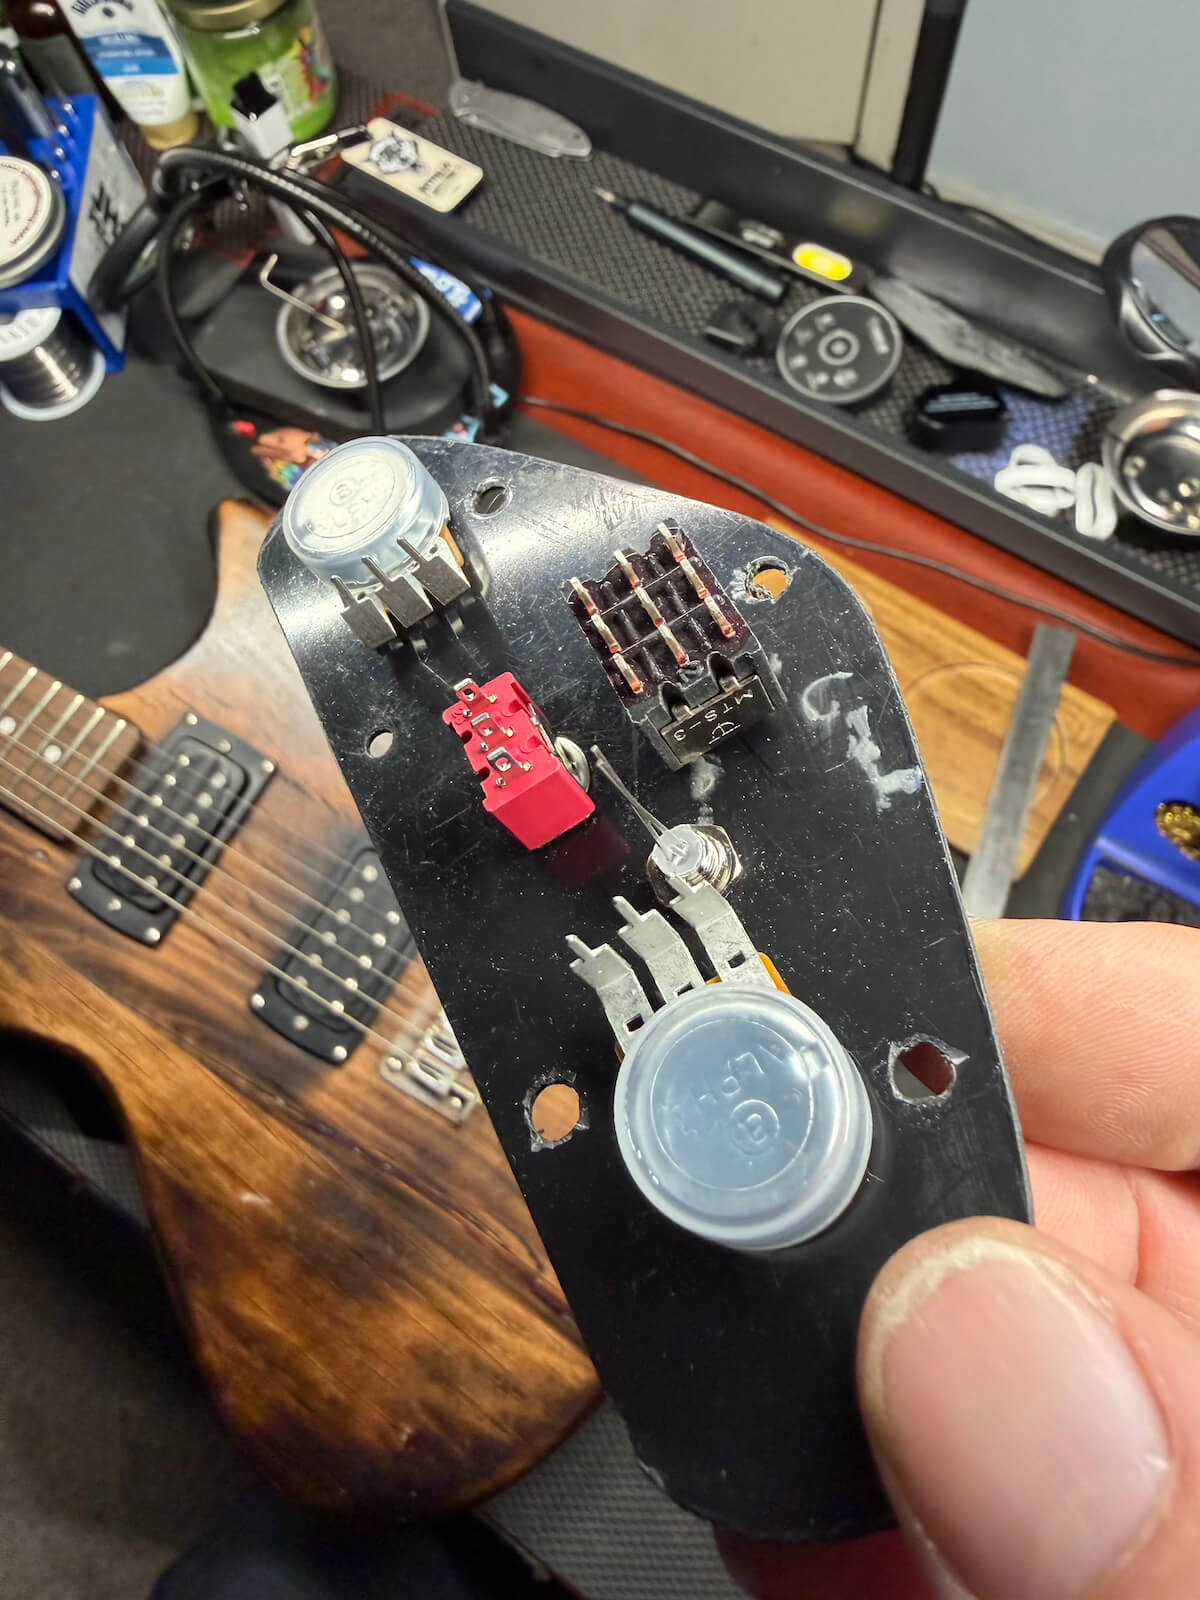
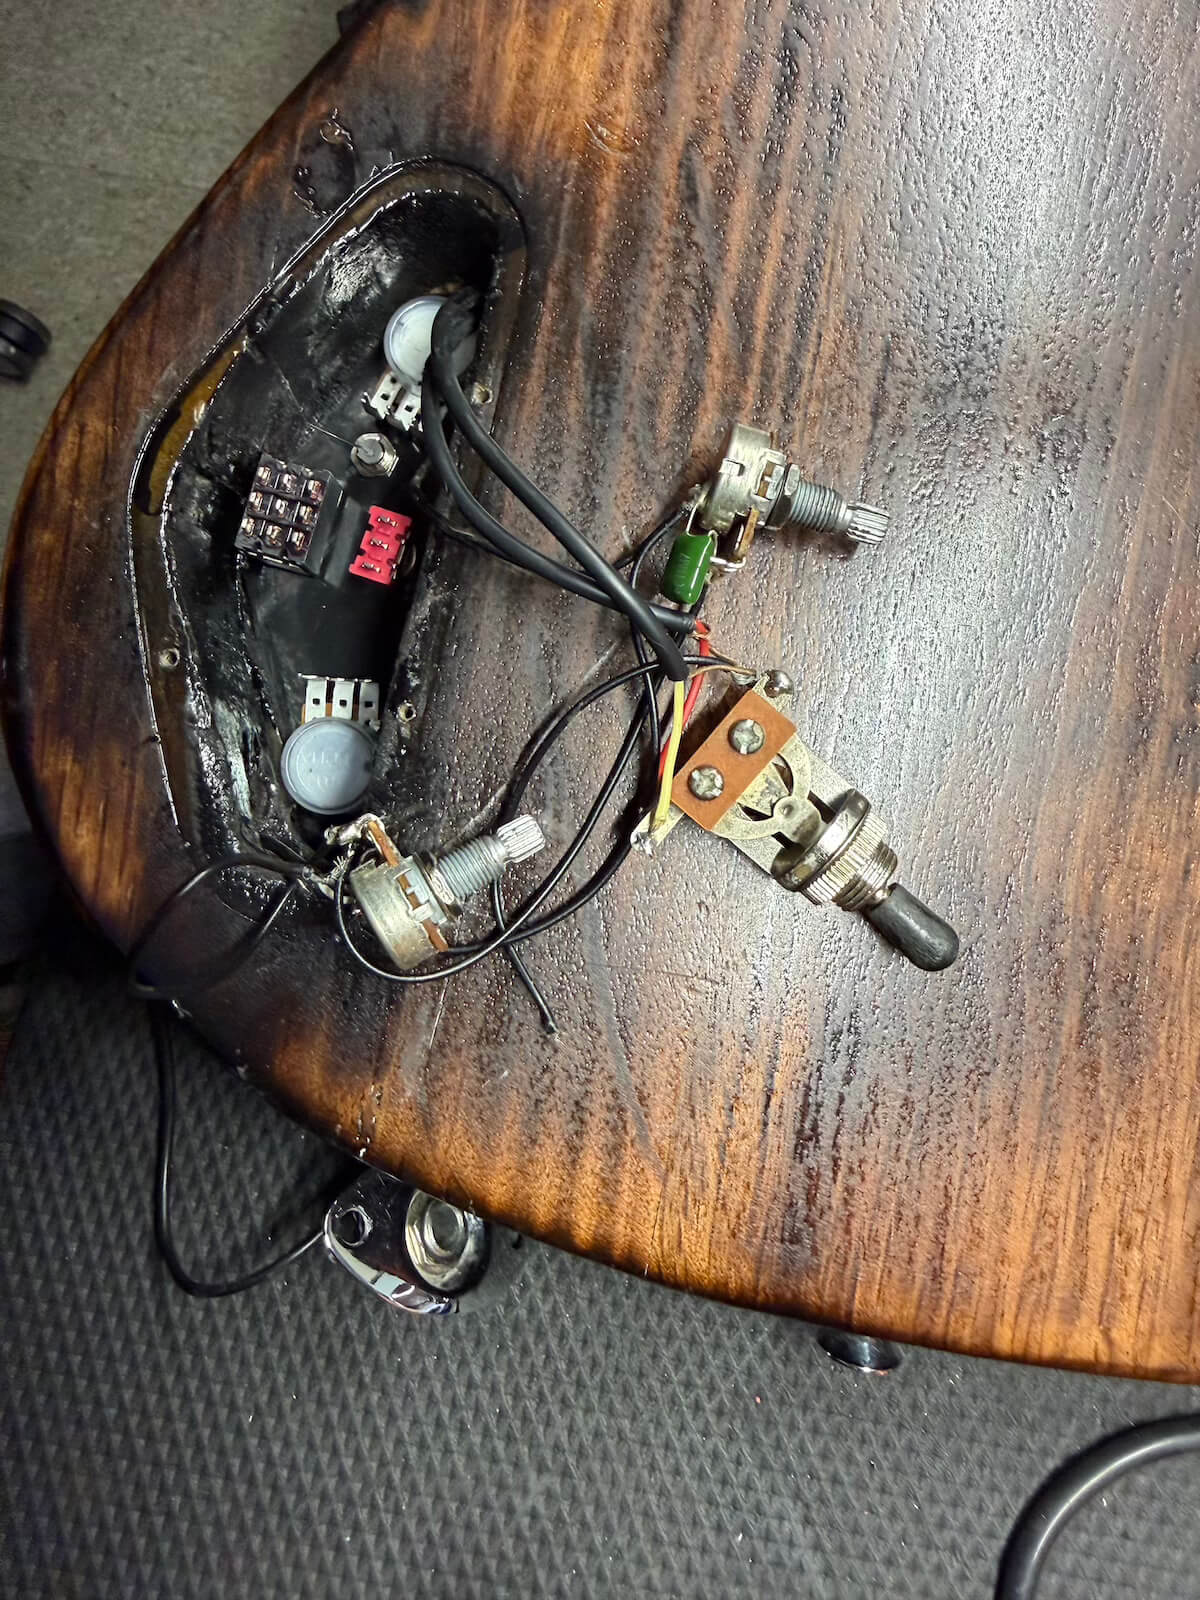
The original pickups were reinstalled and paired with a compact three-way toggle switch, freeing up space on the new plate for the onboard preamp. A second toggle engages the JFET circuit, with an indicator LED built into the layout.
The result is a control system designed around the space that was actually available after the cavity rebuild instead of trying to imitate the damaged original layout.
08 • The Result
It stopped being the guitar that was given away.
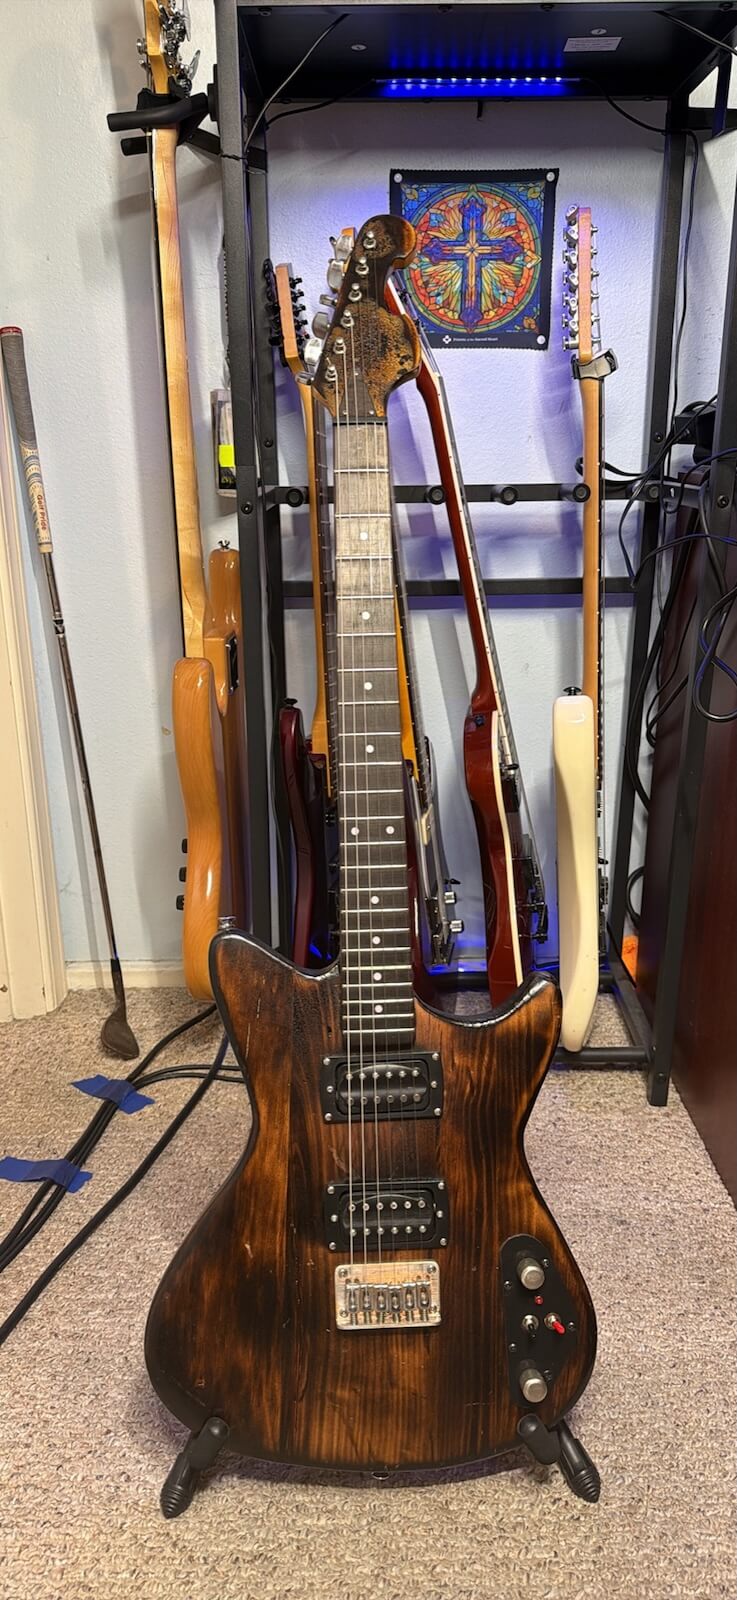
What began as an inexpensive guitar neither of us liked became something completely its own. The burned finish and distressed hardware changed the character, the neck work improved the feel, and the rebuilt electronics finally made the guitar functional in a way the first version never was.
It also became a good reminder that not every project moves in a straight line. Sometimes the mistake becomes the reason to redesign the whole thing.
Have Something Rough Around the Edges?
Sometimes a project gets better after the original plan fails.
If you’ve got a guitar that needs repair, electronics work or a more unconventional second life, get in touch and we’ll talk through what’s possible.
Discuss a Project