DIY Pedals • Kit Assembly • Troubleshooting
Pedal kits galore.
A whole lot of soldering.
Not every pedal project starts from a blank schematic. Kits and proven PCBs are a great way to build something useful — but getting from a bag of parts to a reliable finished pedal still means careful assembly, enclosure work, wiring, testing and sometimes a fair amount of troubleshooting.
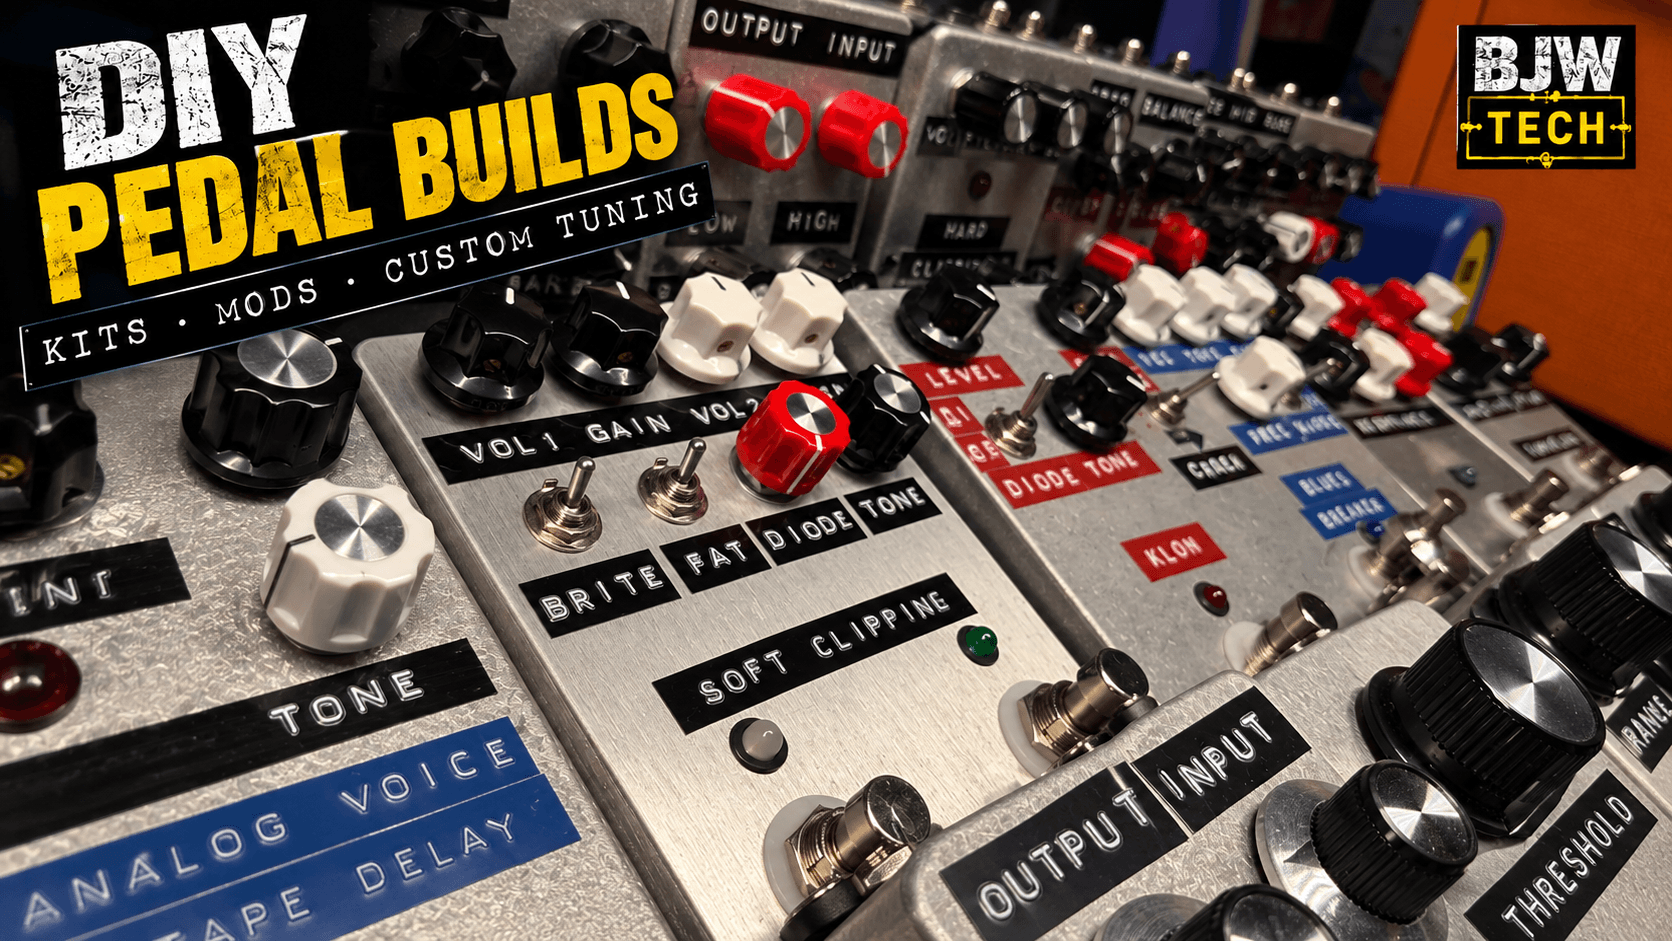
01 • From PCB to Pedal
The kit is the starting point, not the finished product.
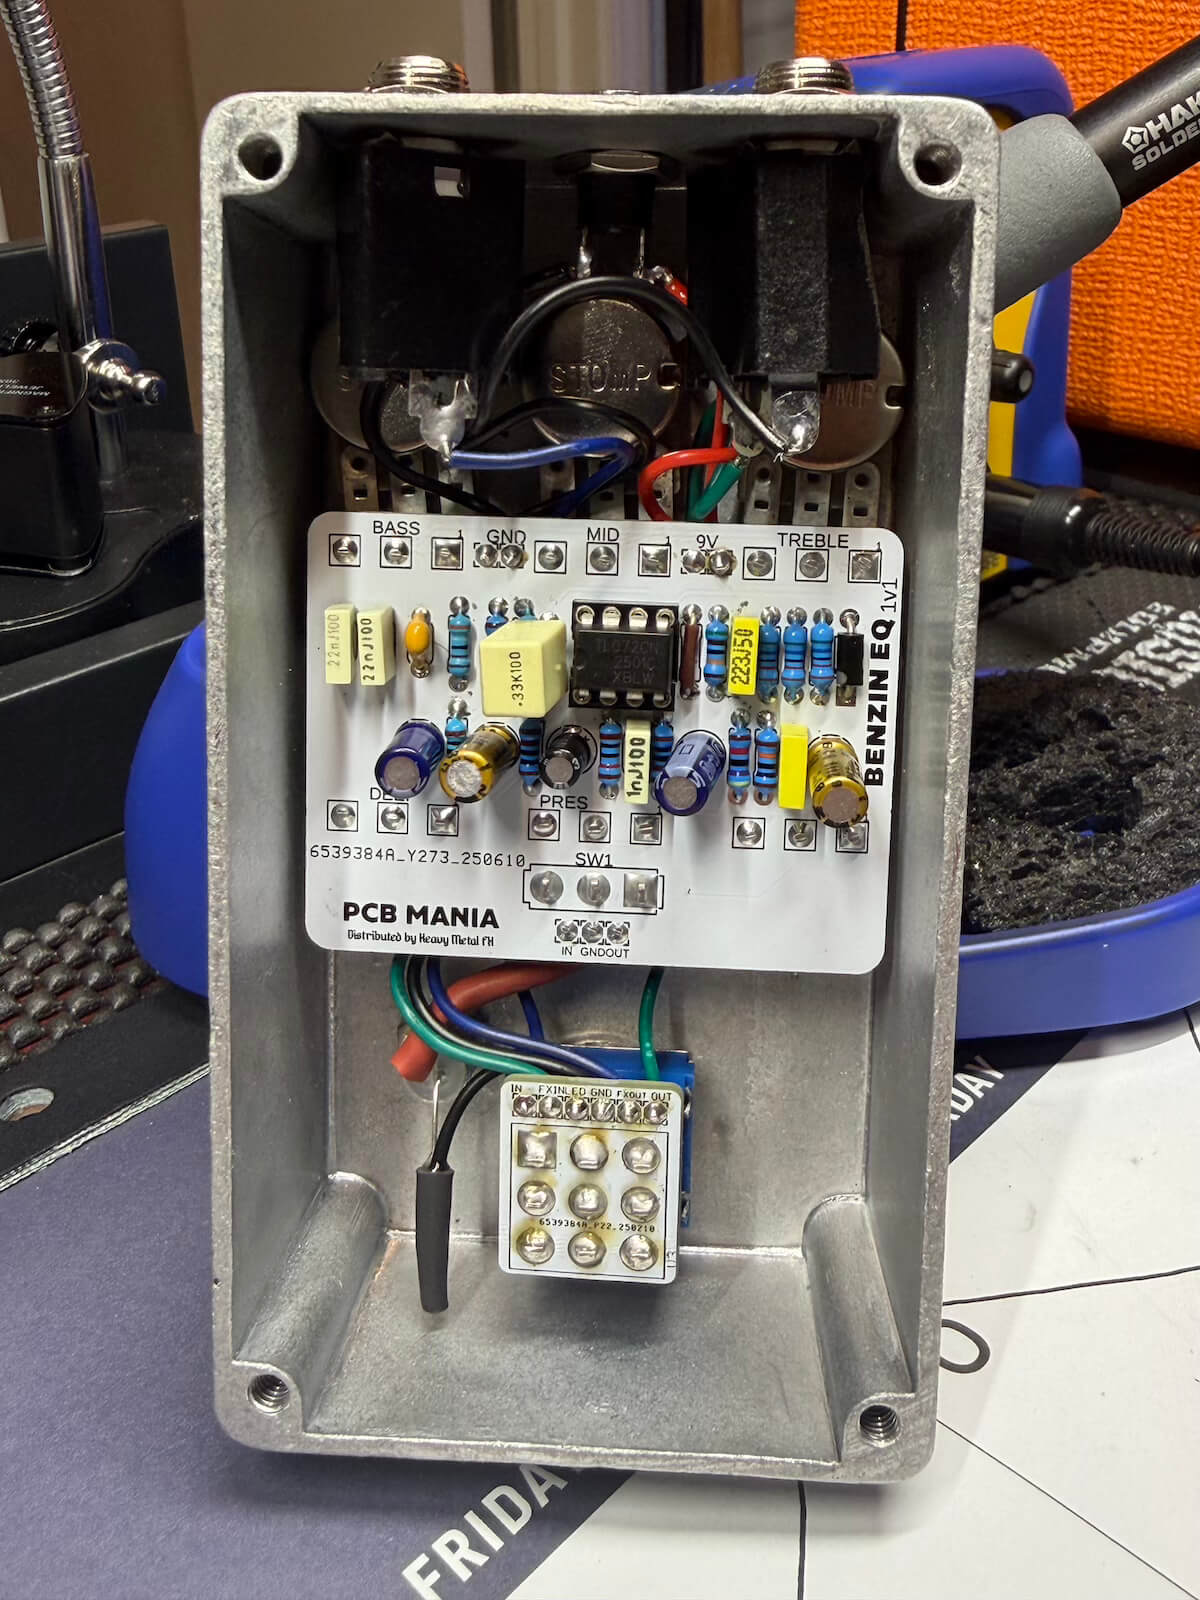
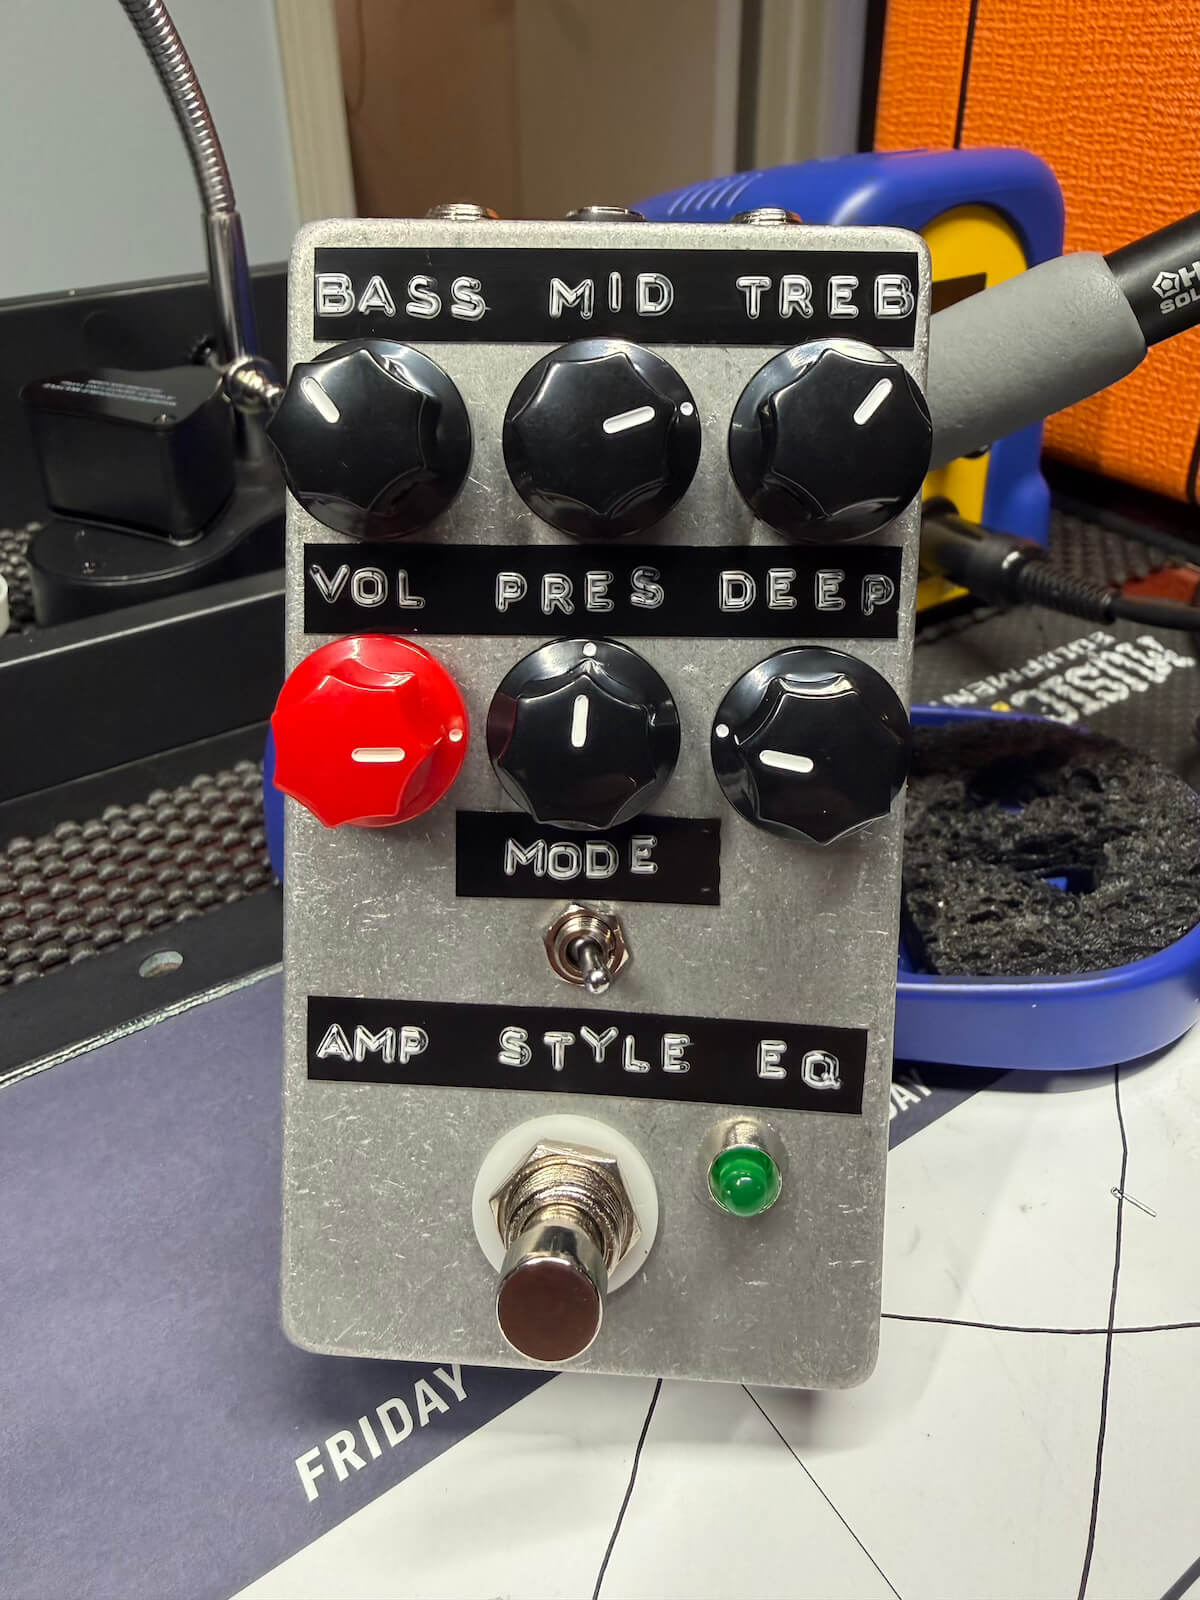
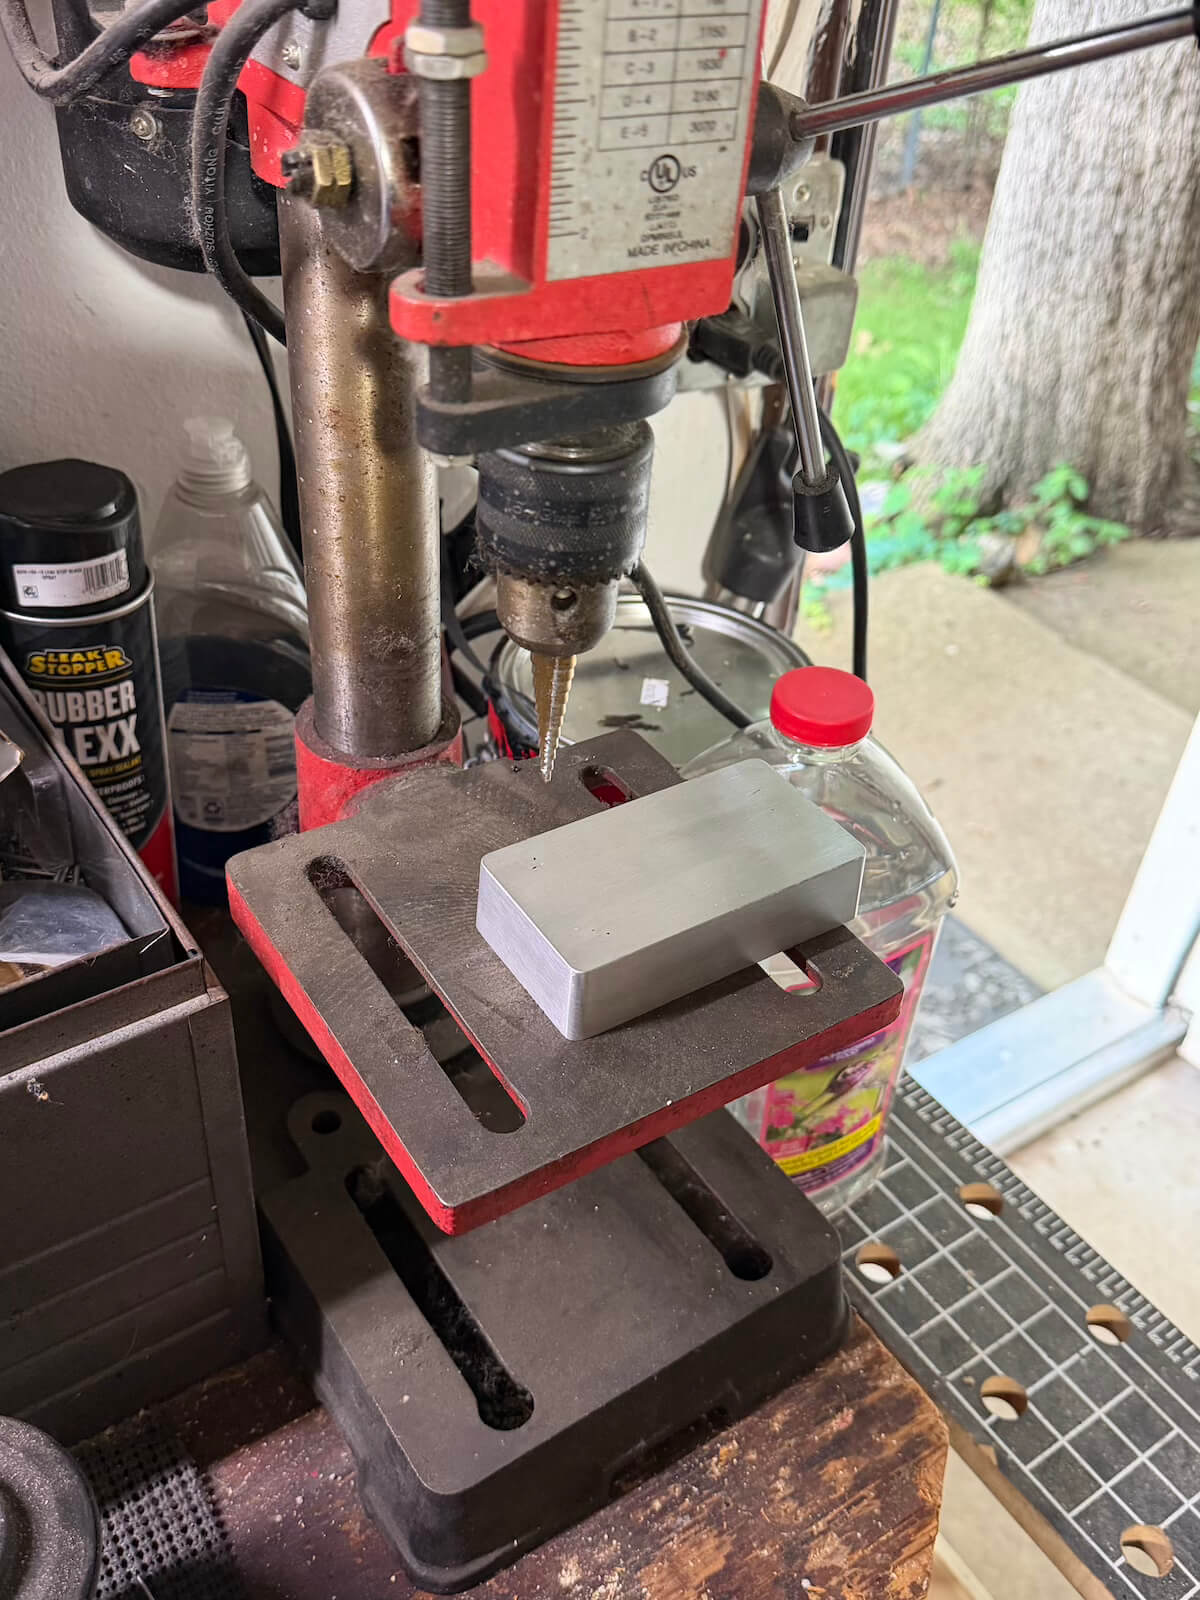
These builds cover several different kinds of pedal work: assembling commercial DIY boards, populating bare PCBs, drilling and fitting enclosures, off-board wiring, testing and finishing everything into a pedal that can actually live on a board.
It is also the kind of work behind the BJW Tech kit-assembly service: got a kit collecting dust? Let’s build it.
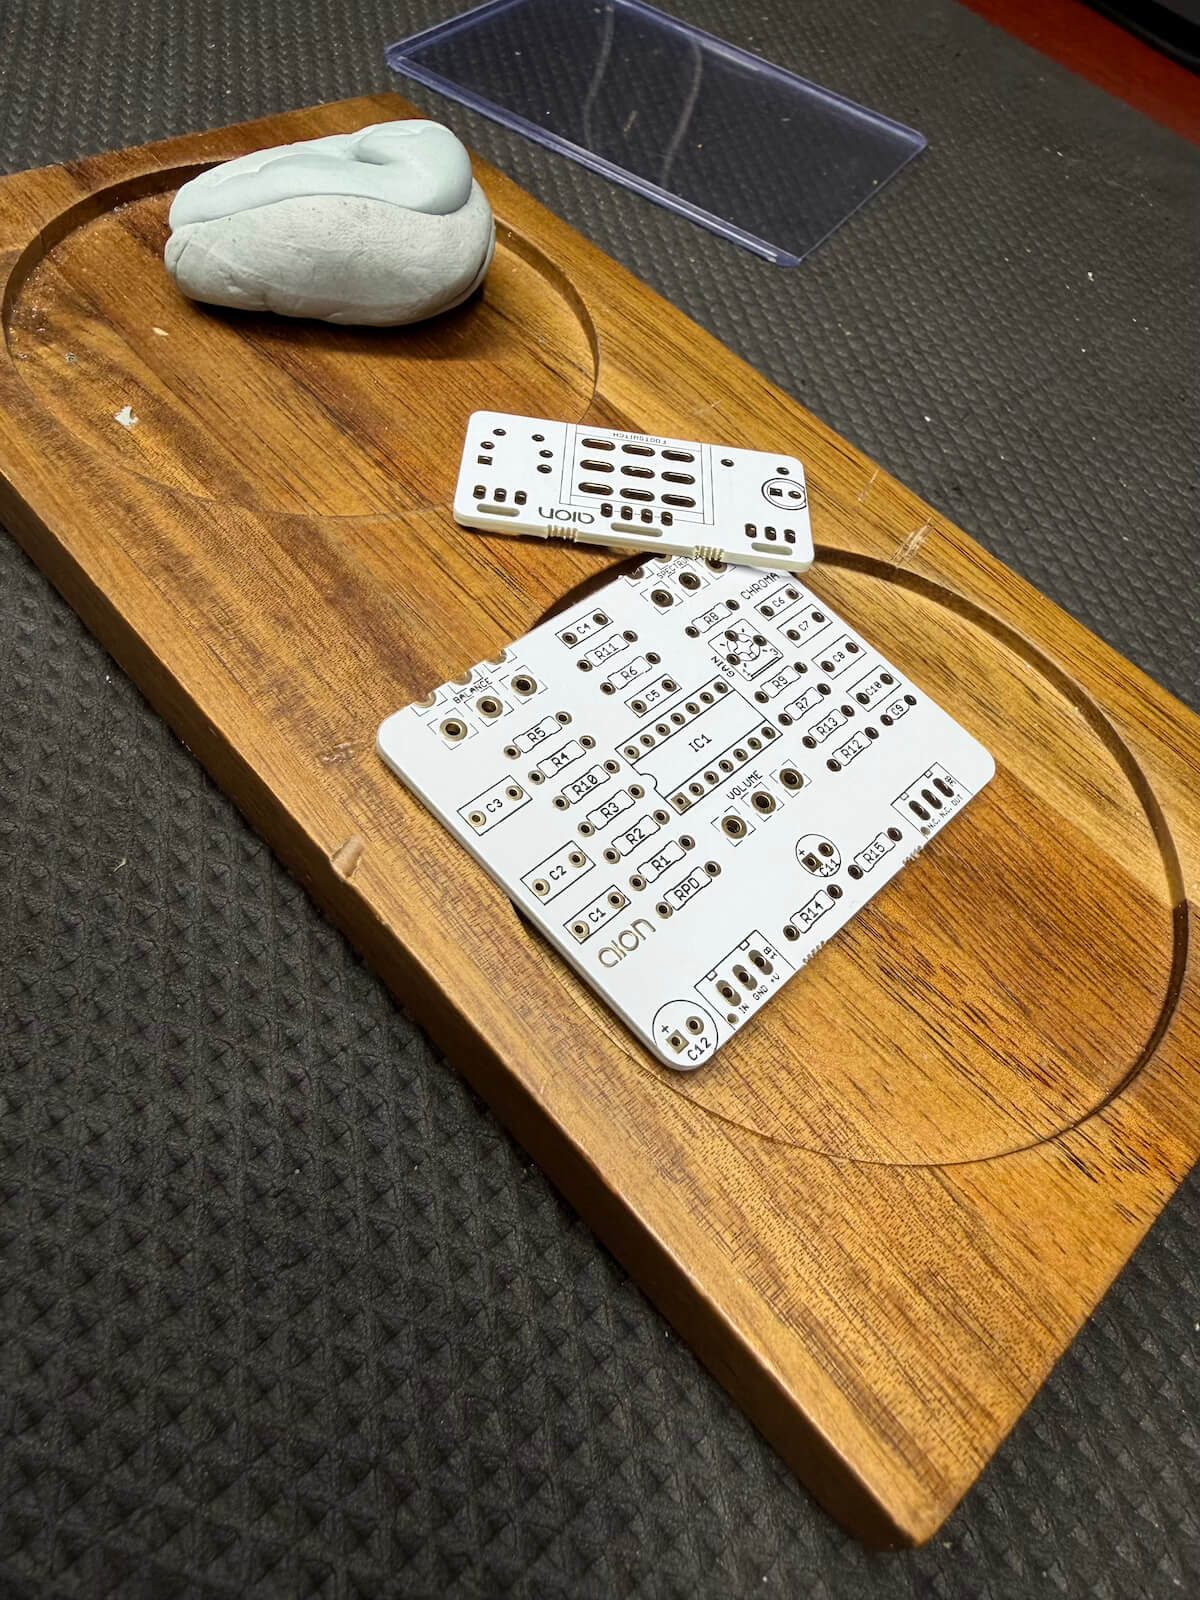
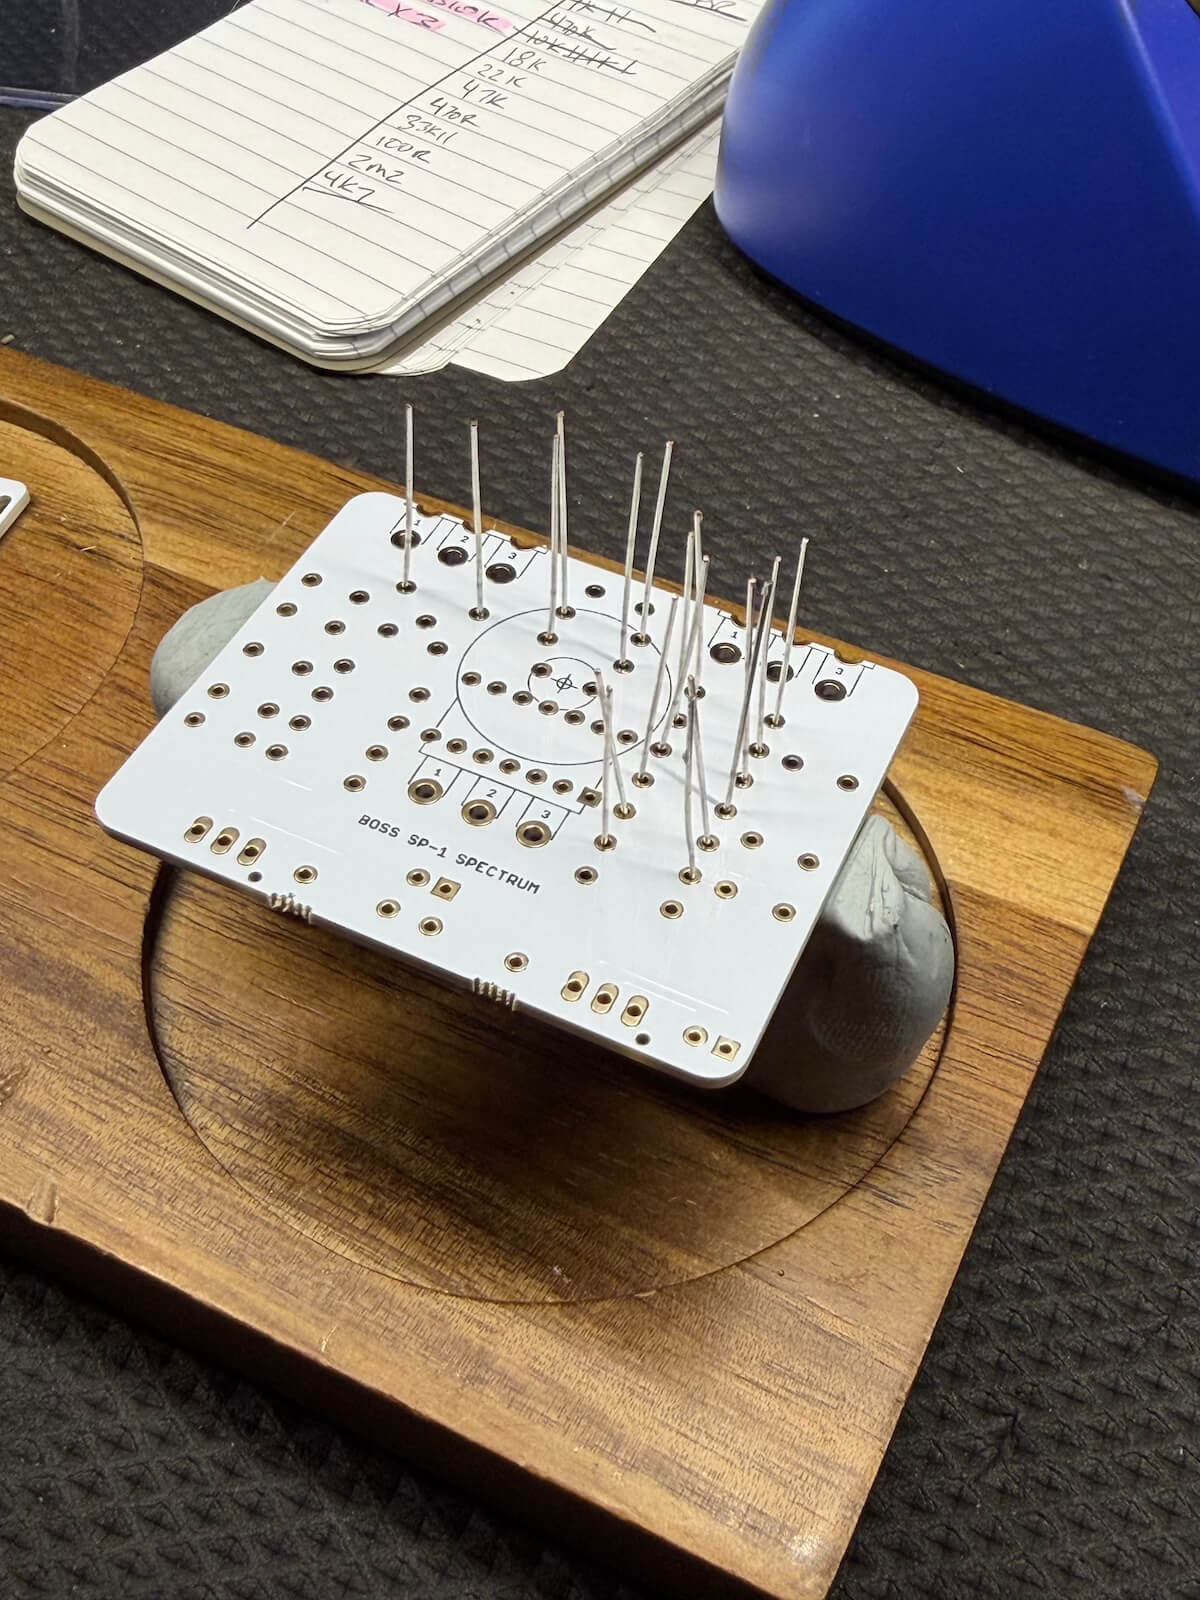
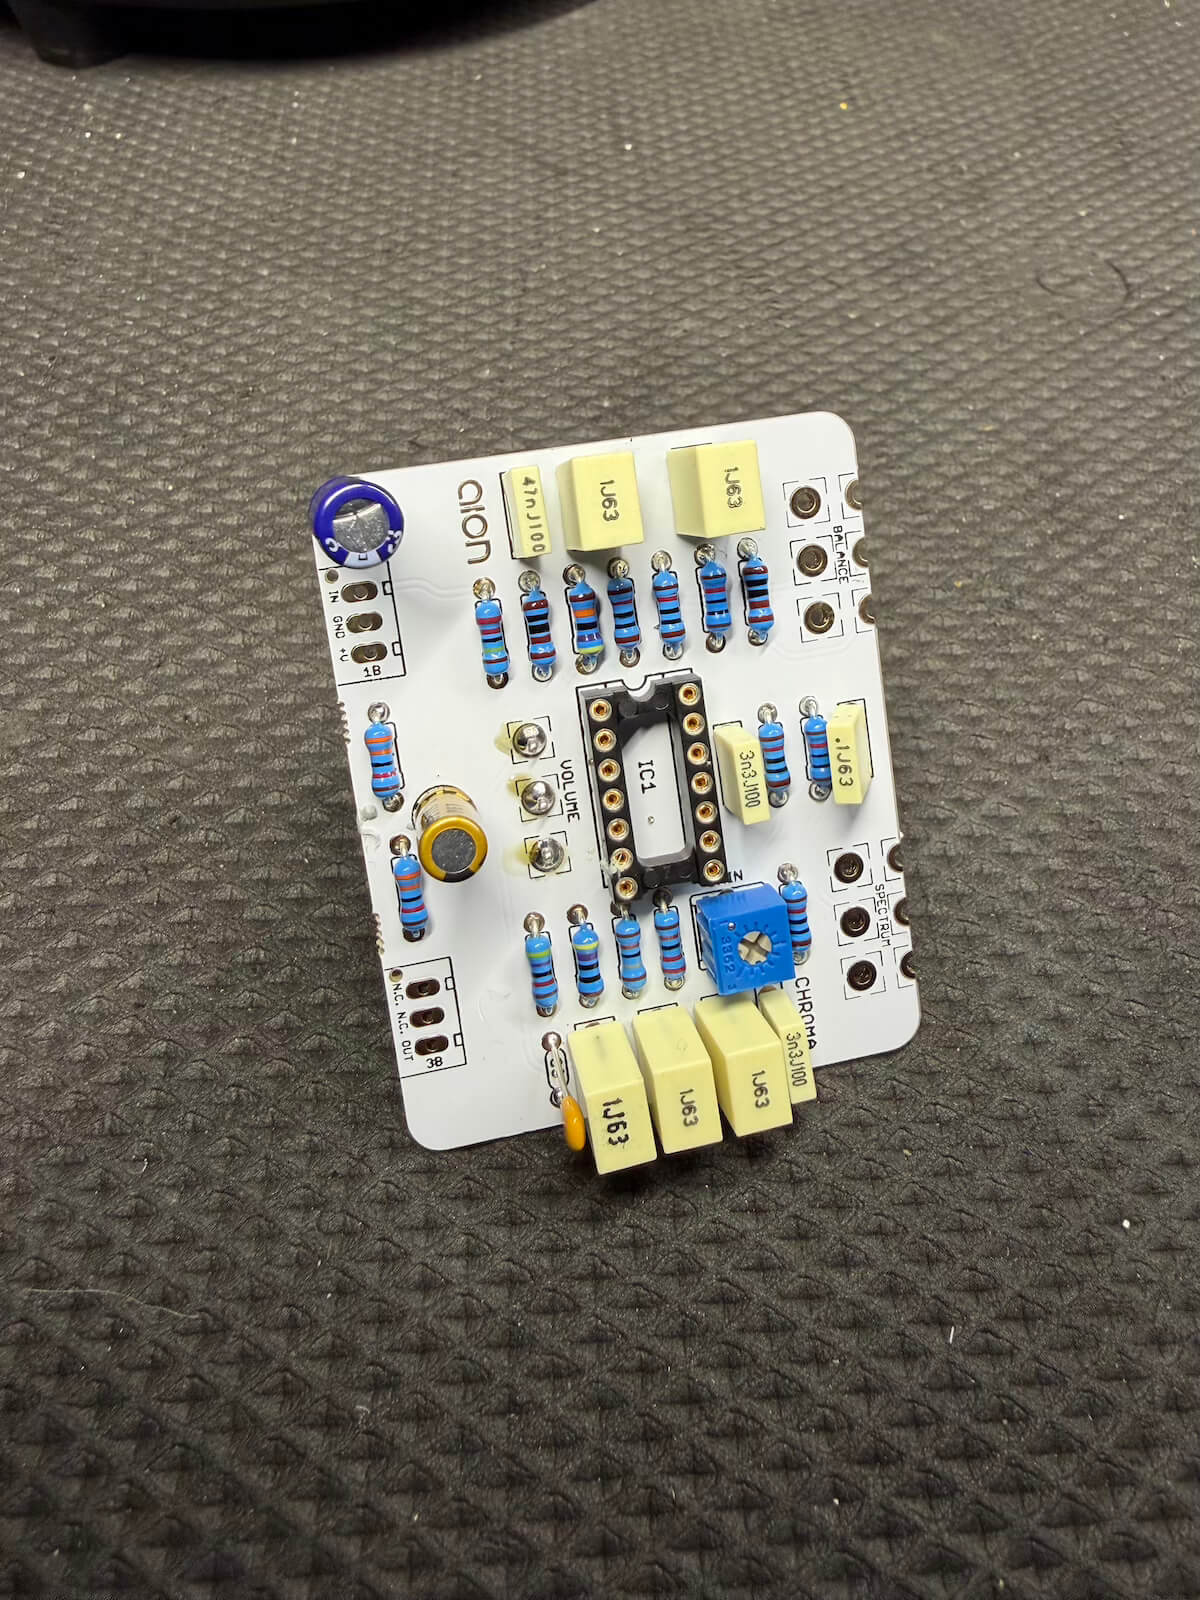
02 • Delay Build
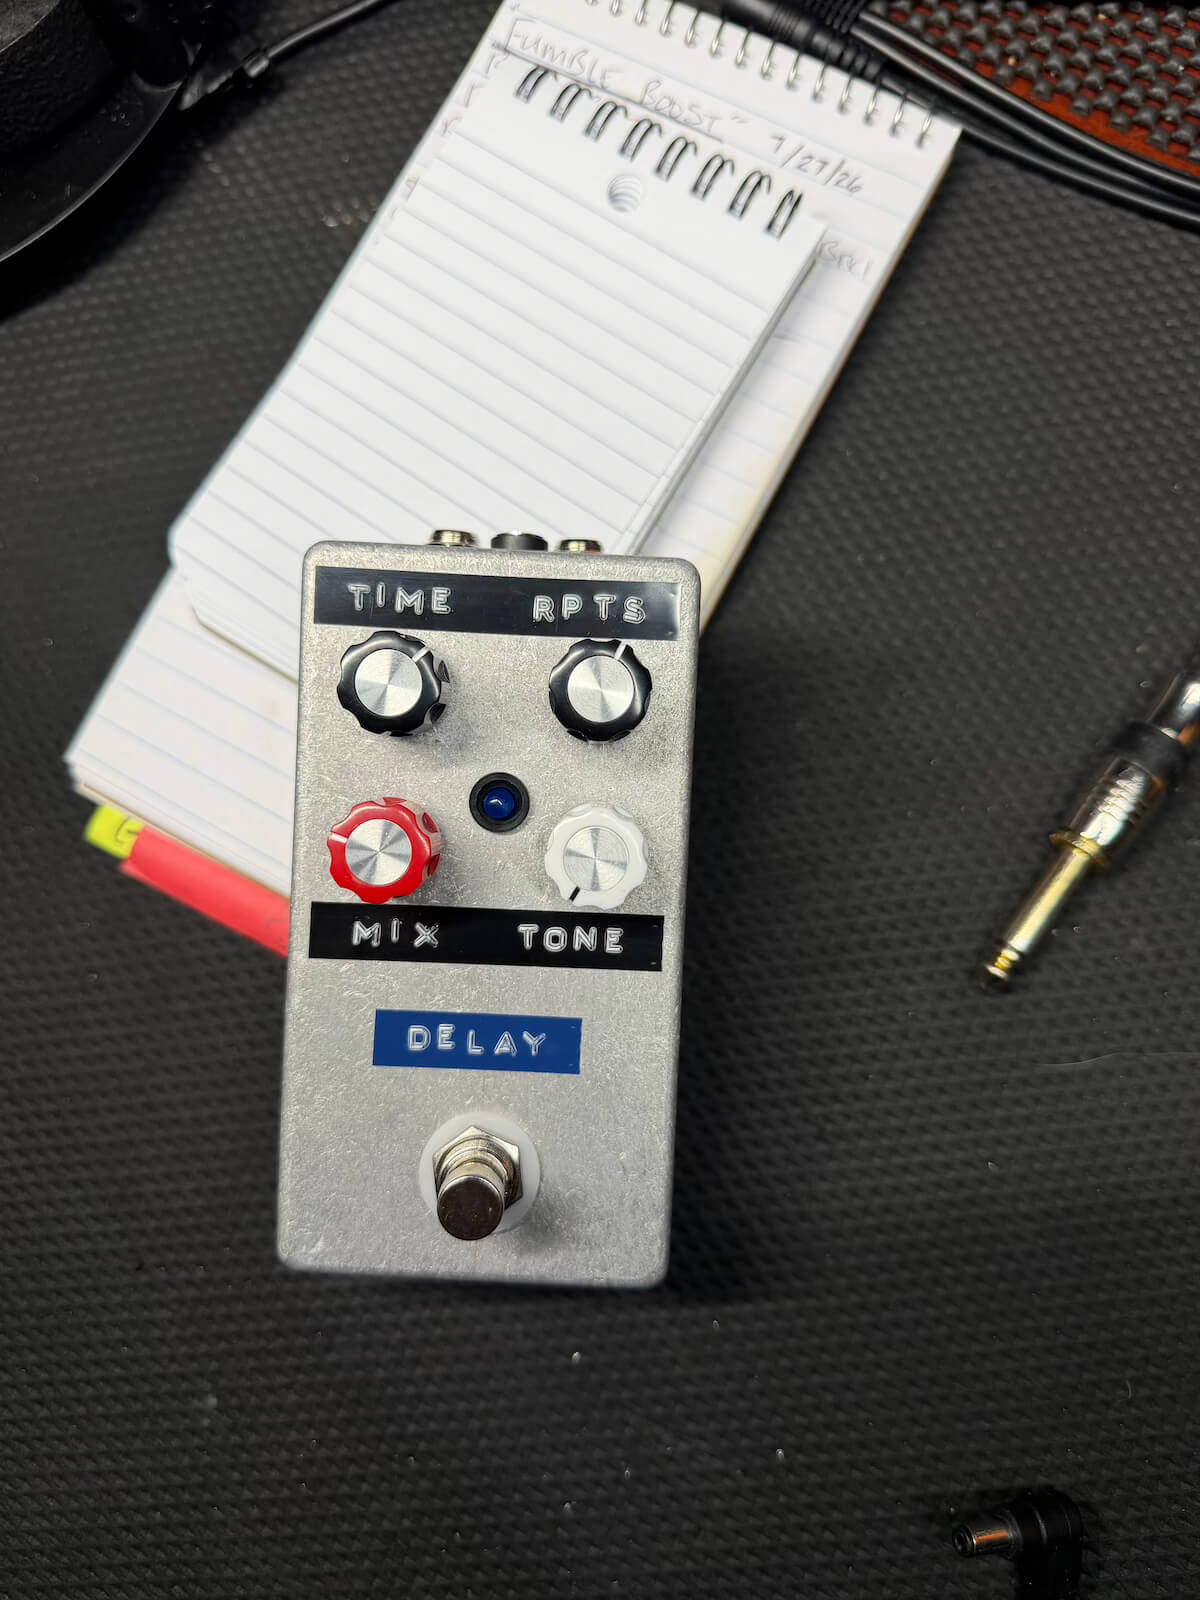
Four controls, one compact enclosure and a lot of wiring.
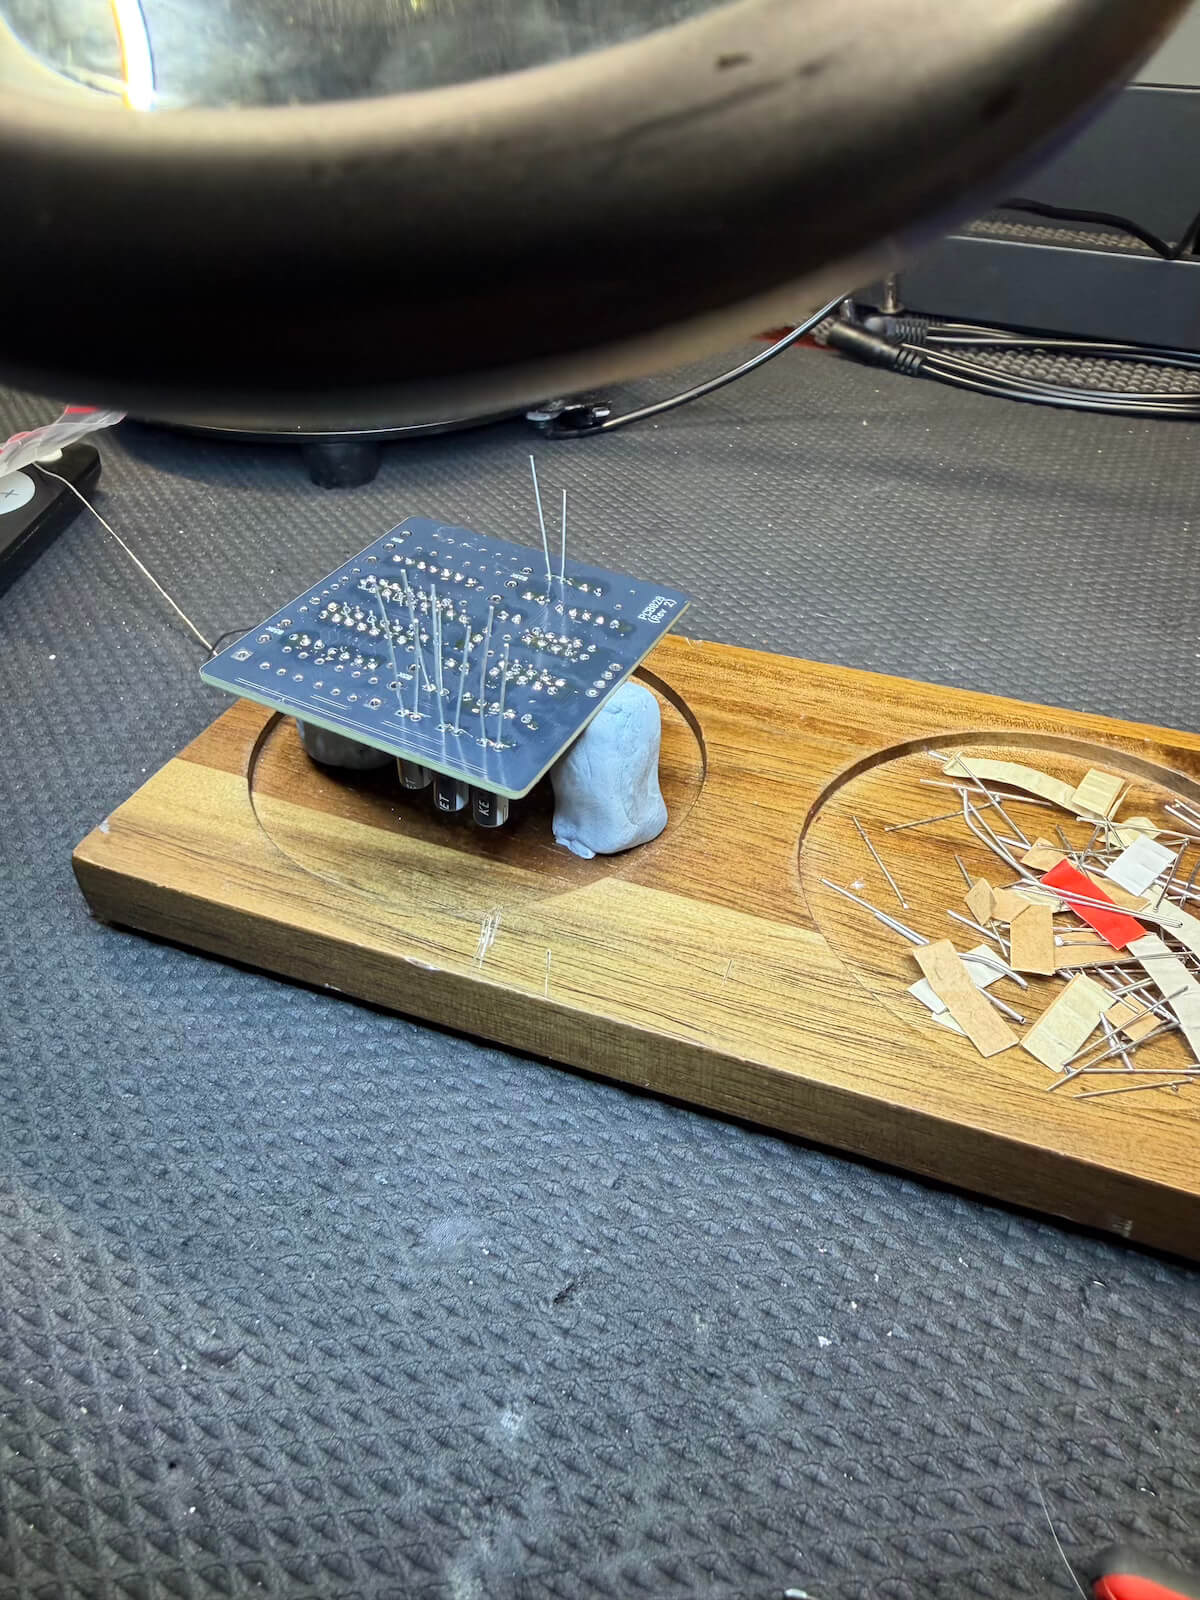
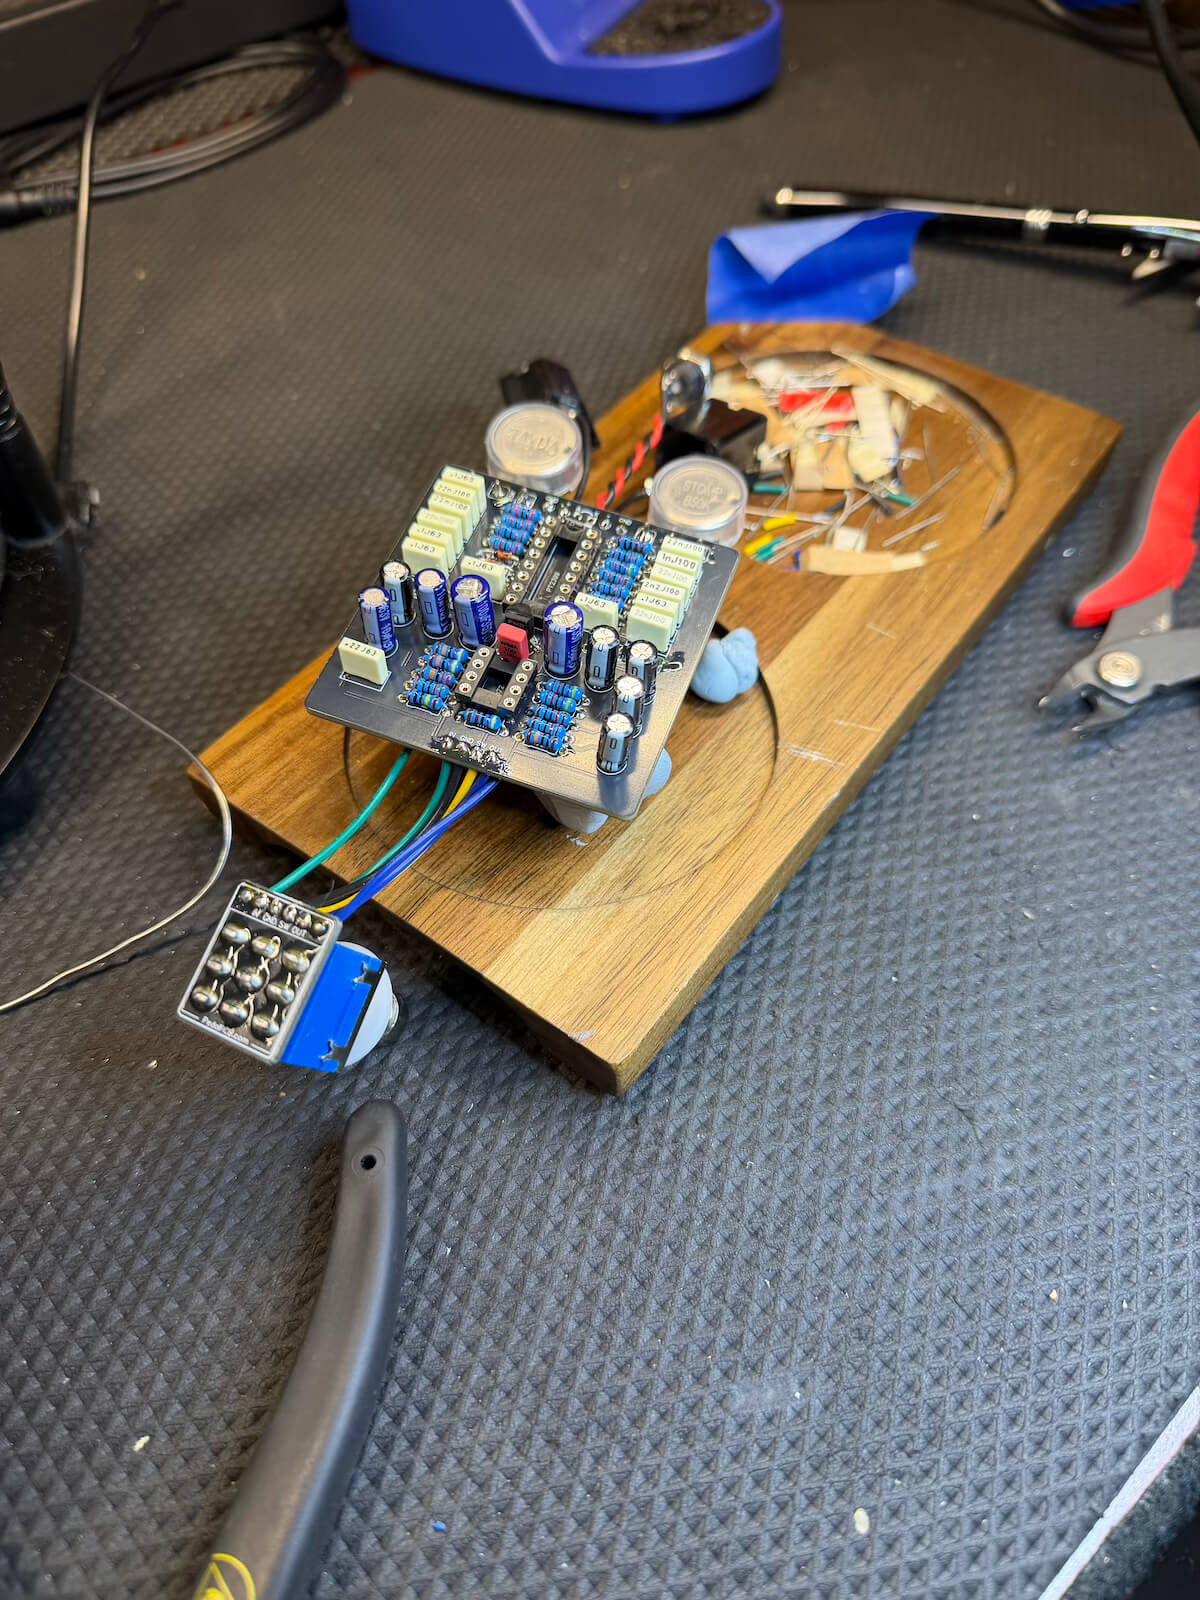
This delay build went from board-level assembly through enclosure layout and final wiring, then received the same simple embossed-label treatment that has become part of the BJW Tech bench aesthetic.
03 • Filter EQ
A more involved control layout in a compact pedal.
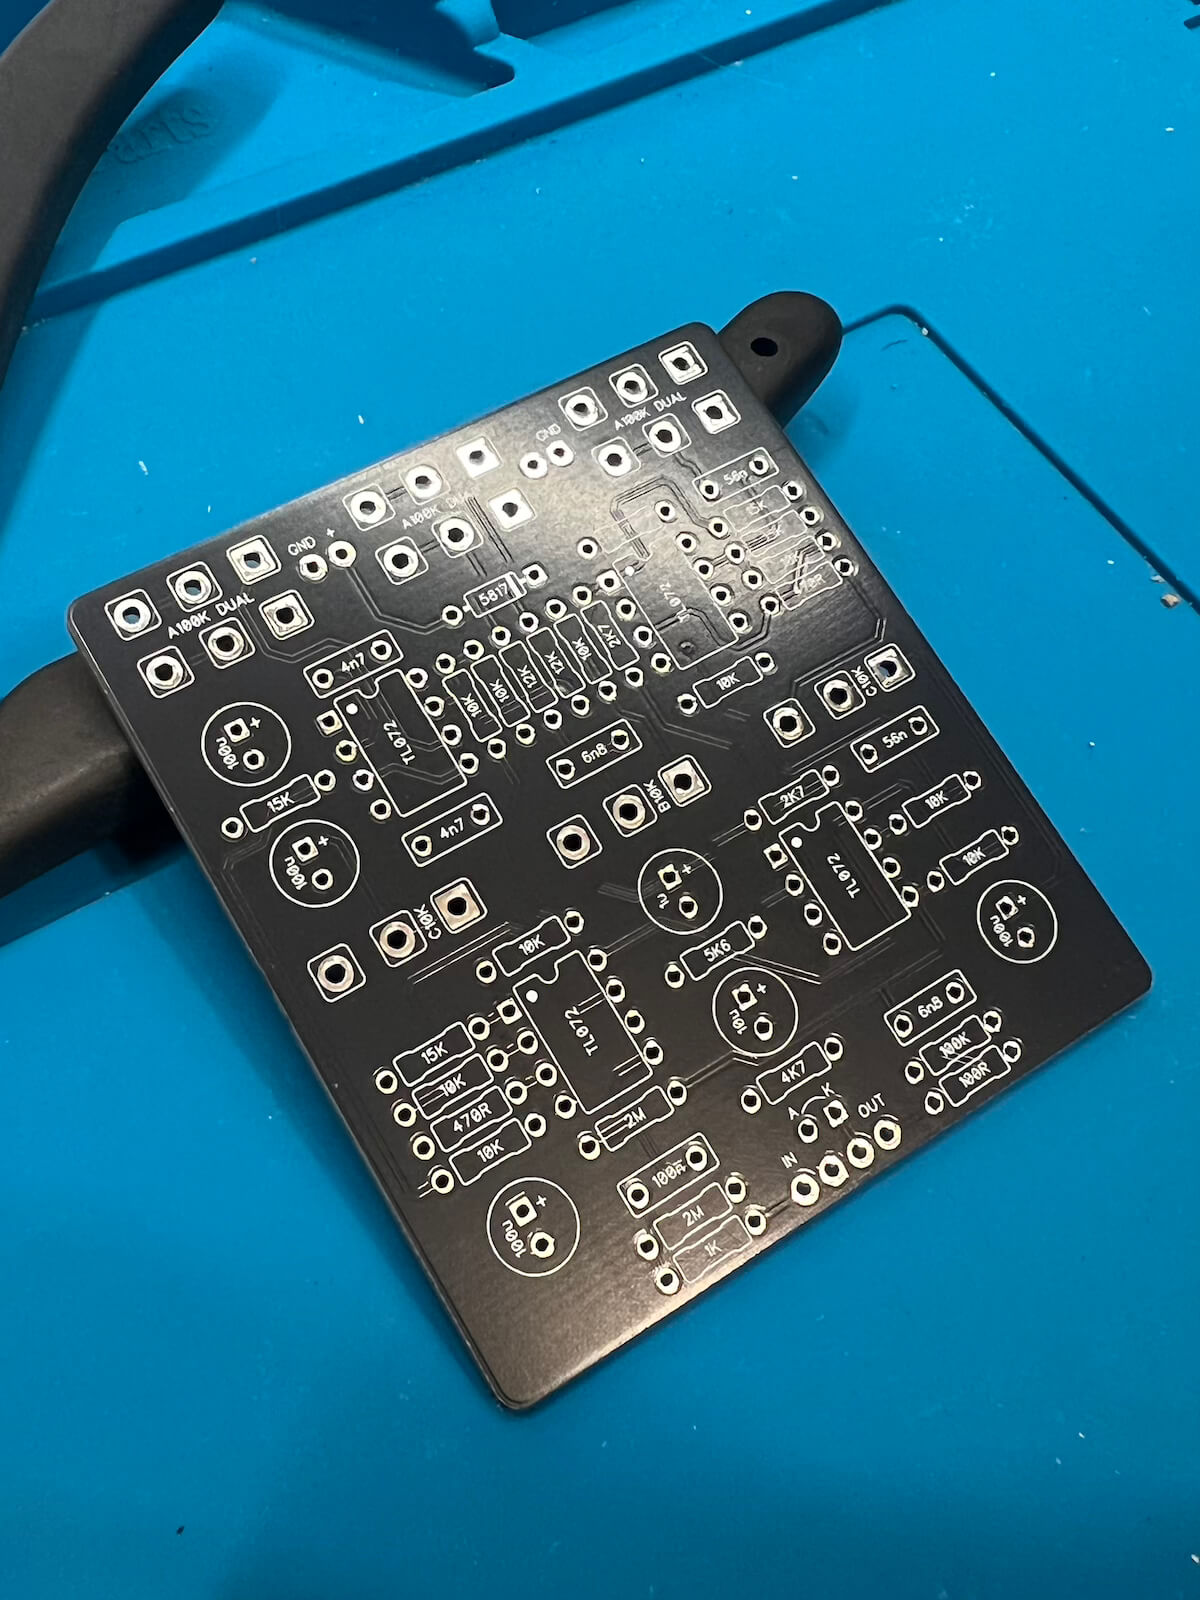
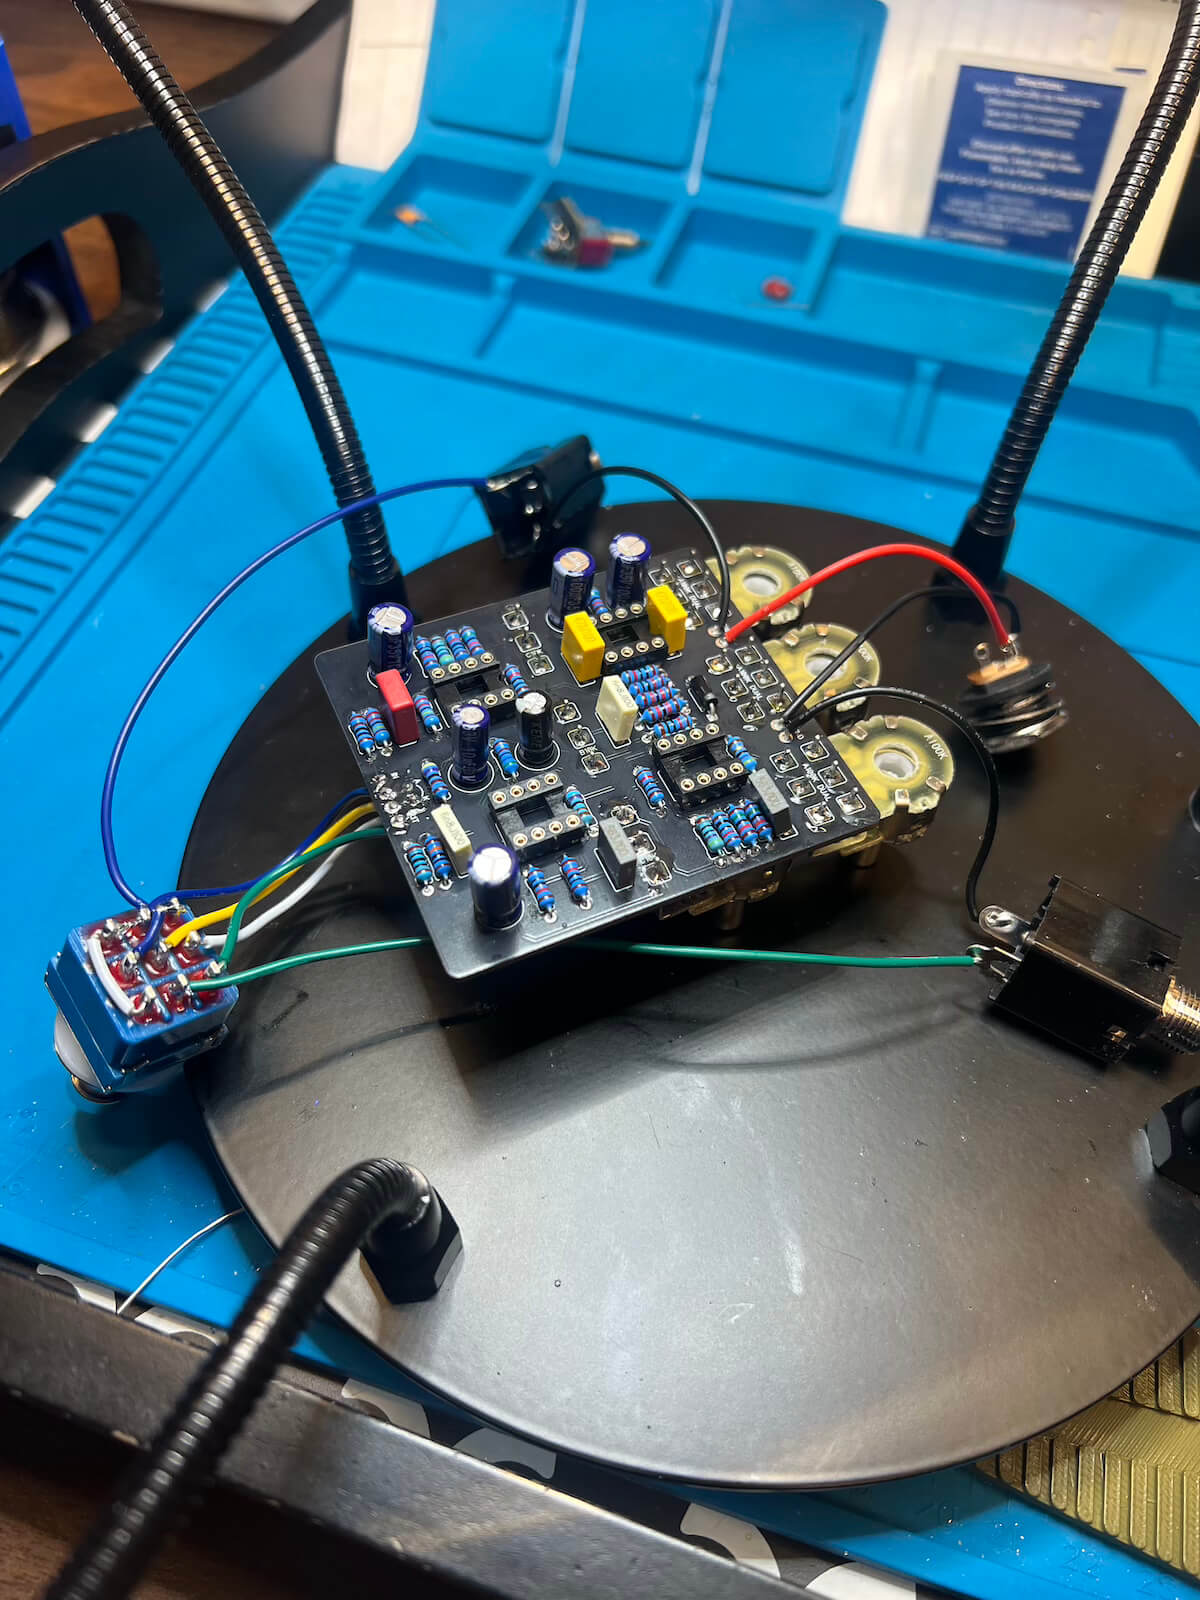
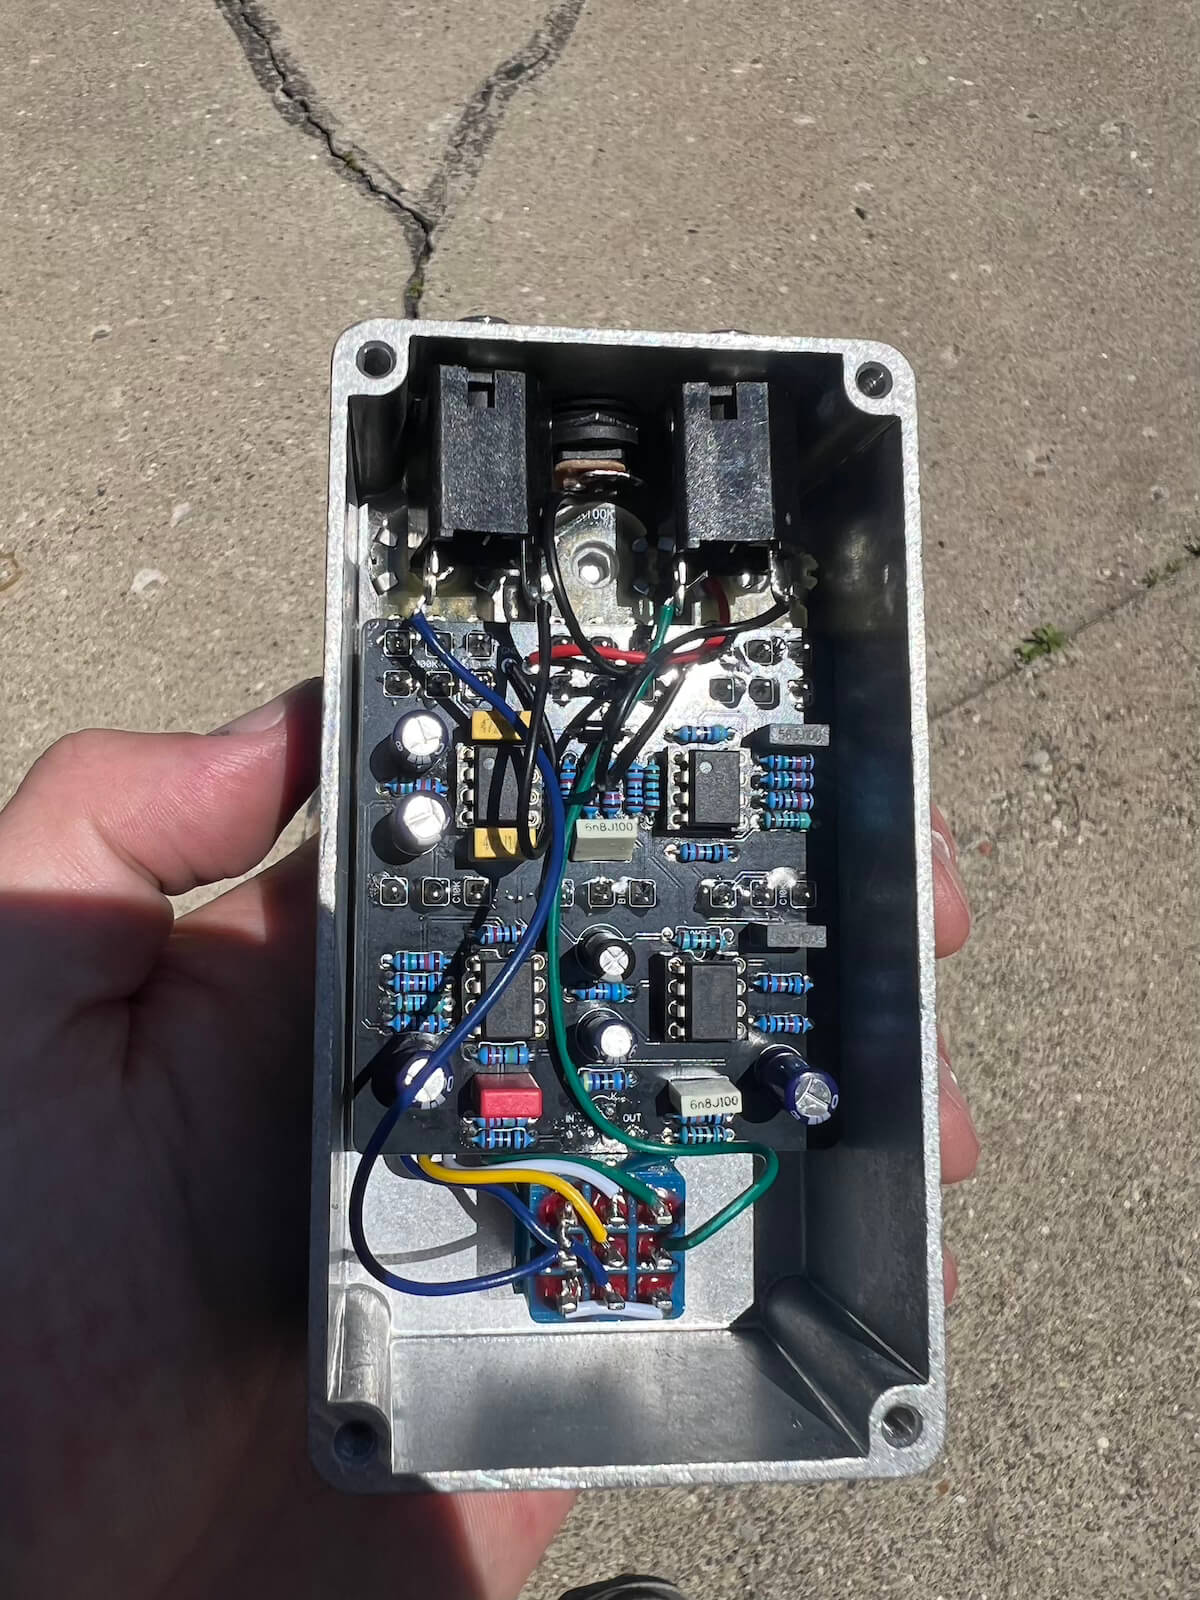
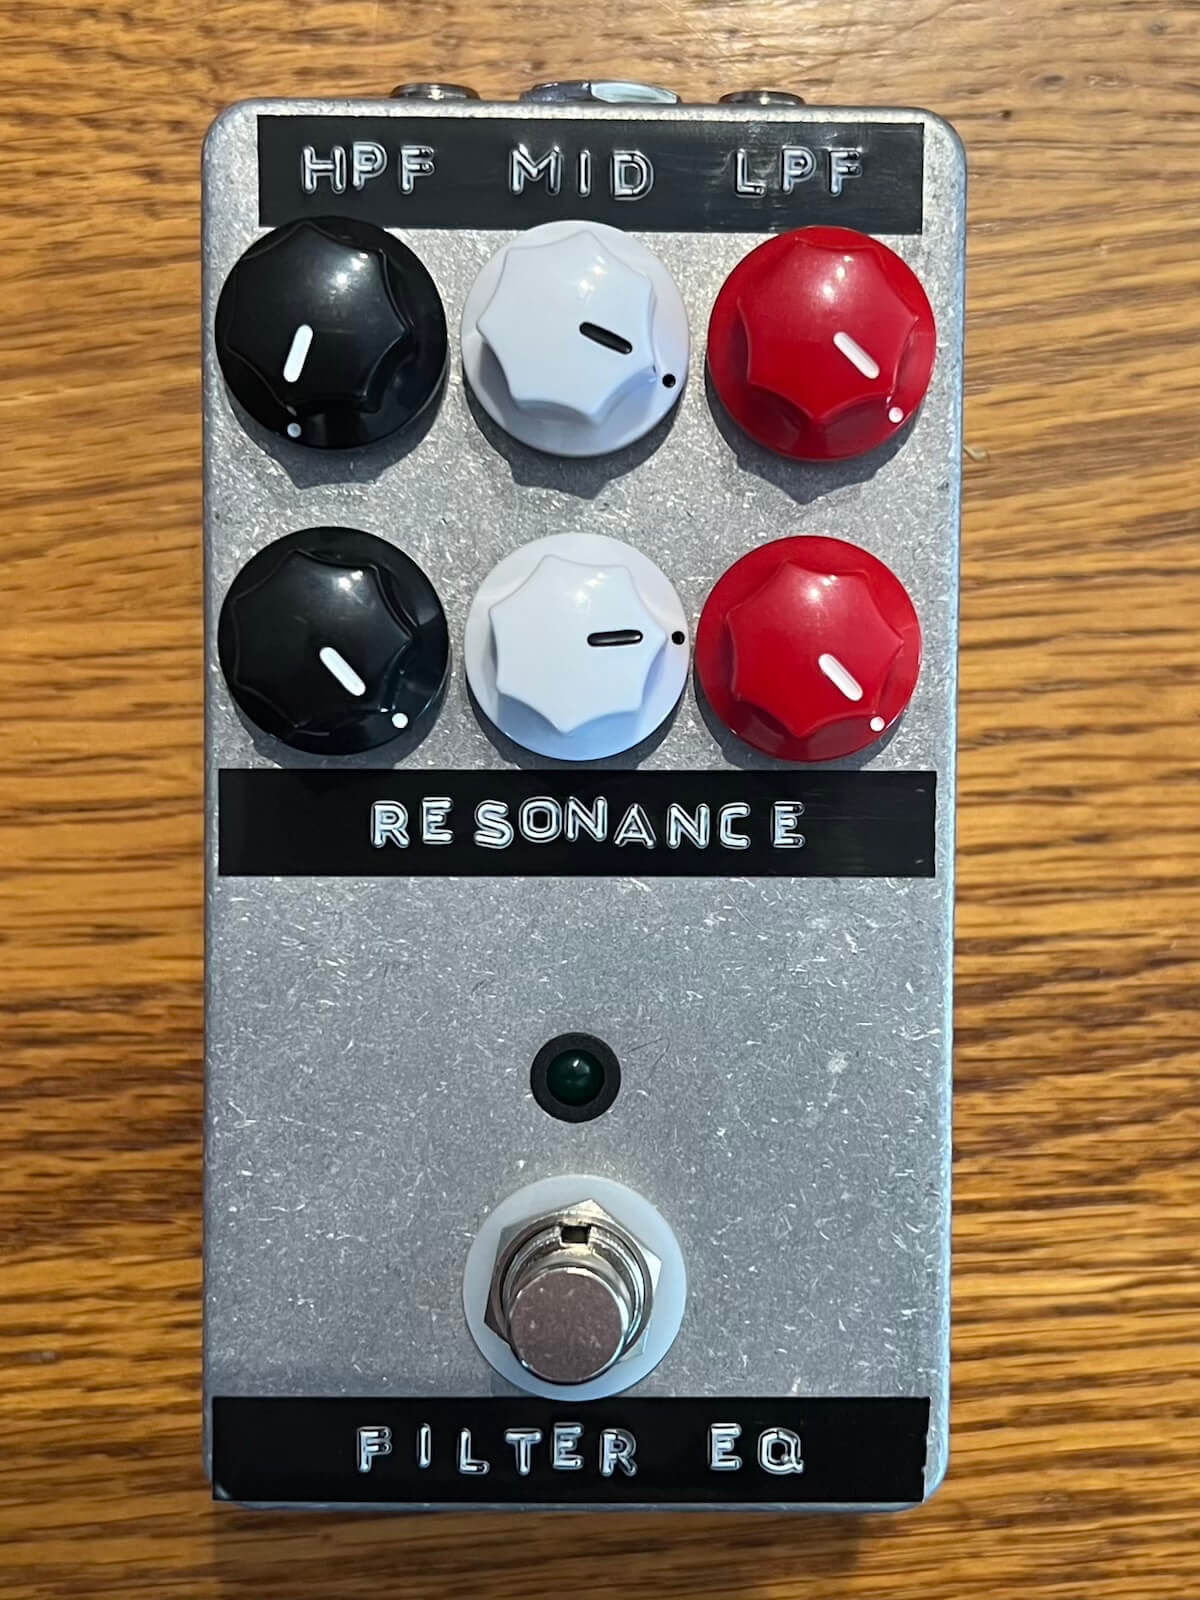
The Filter EQ packs six controls into a small enclosure, with high-pass, mid and low-pass shaping plus resonance controls. The build required the usual PCB work plus careful mechanical layout to keep the finished pedal usable and readable.
04 • Seaweed Fuzz
An Algal Bloom-style fuzz build from PCB to enclosure.
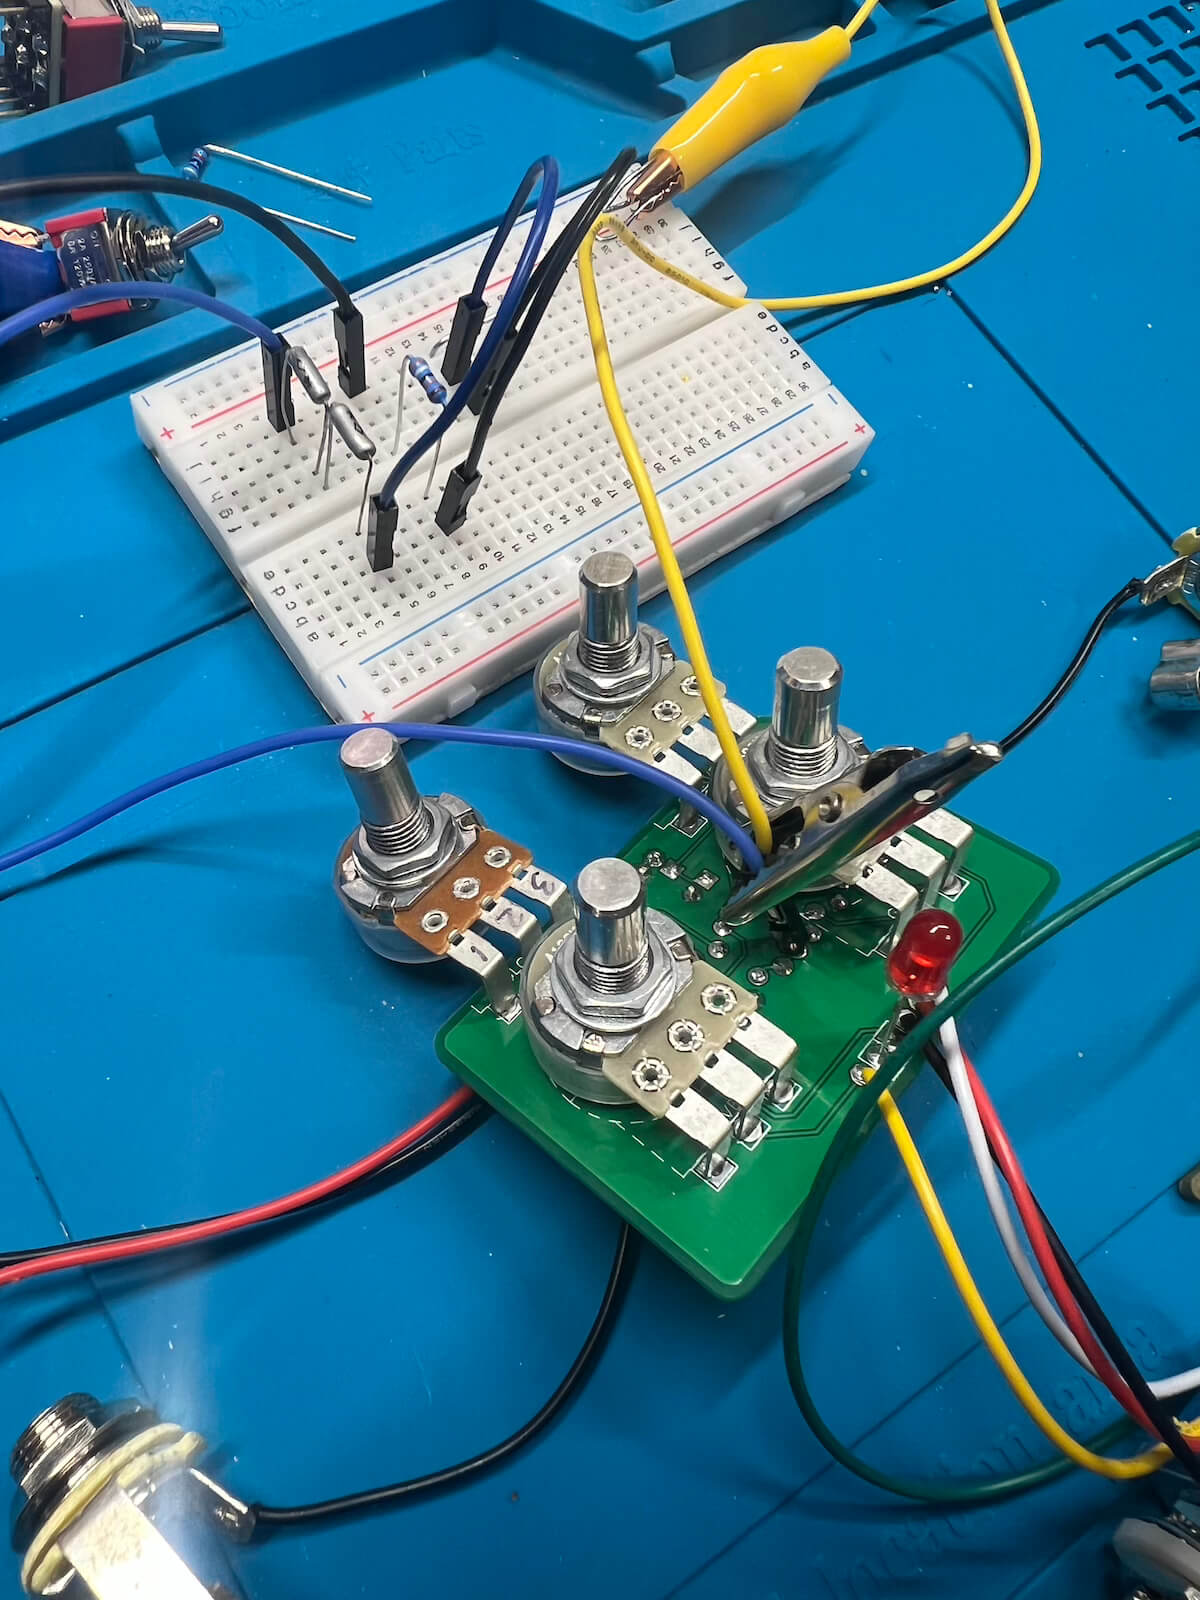
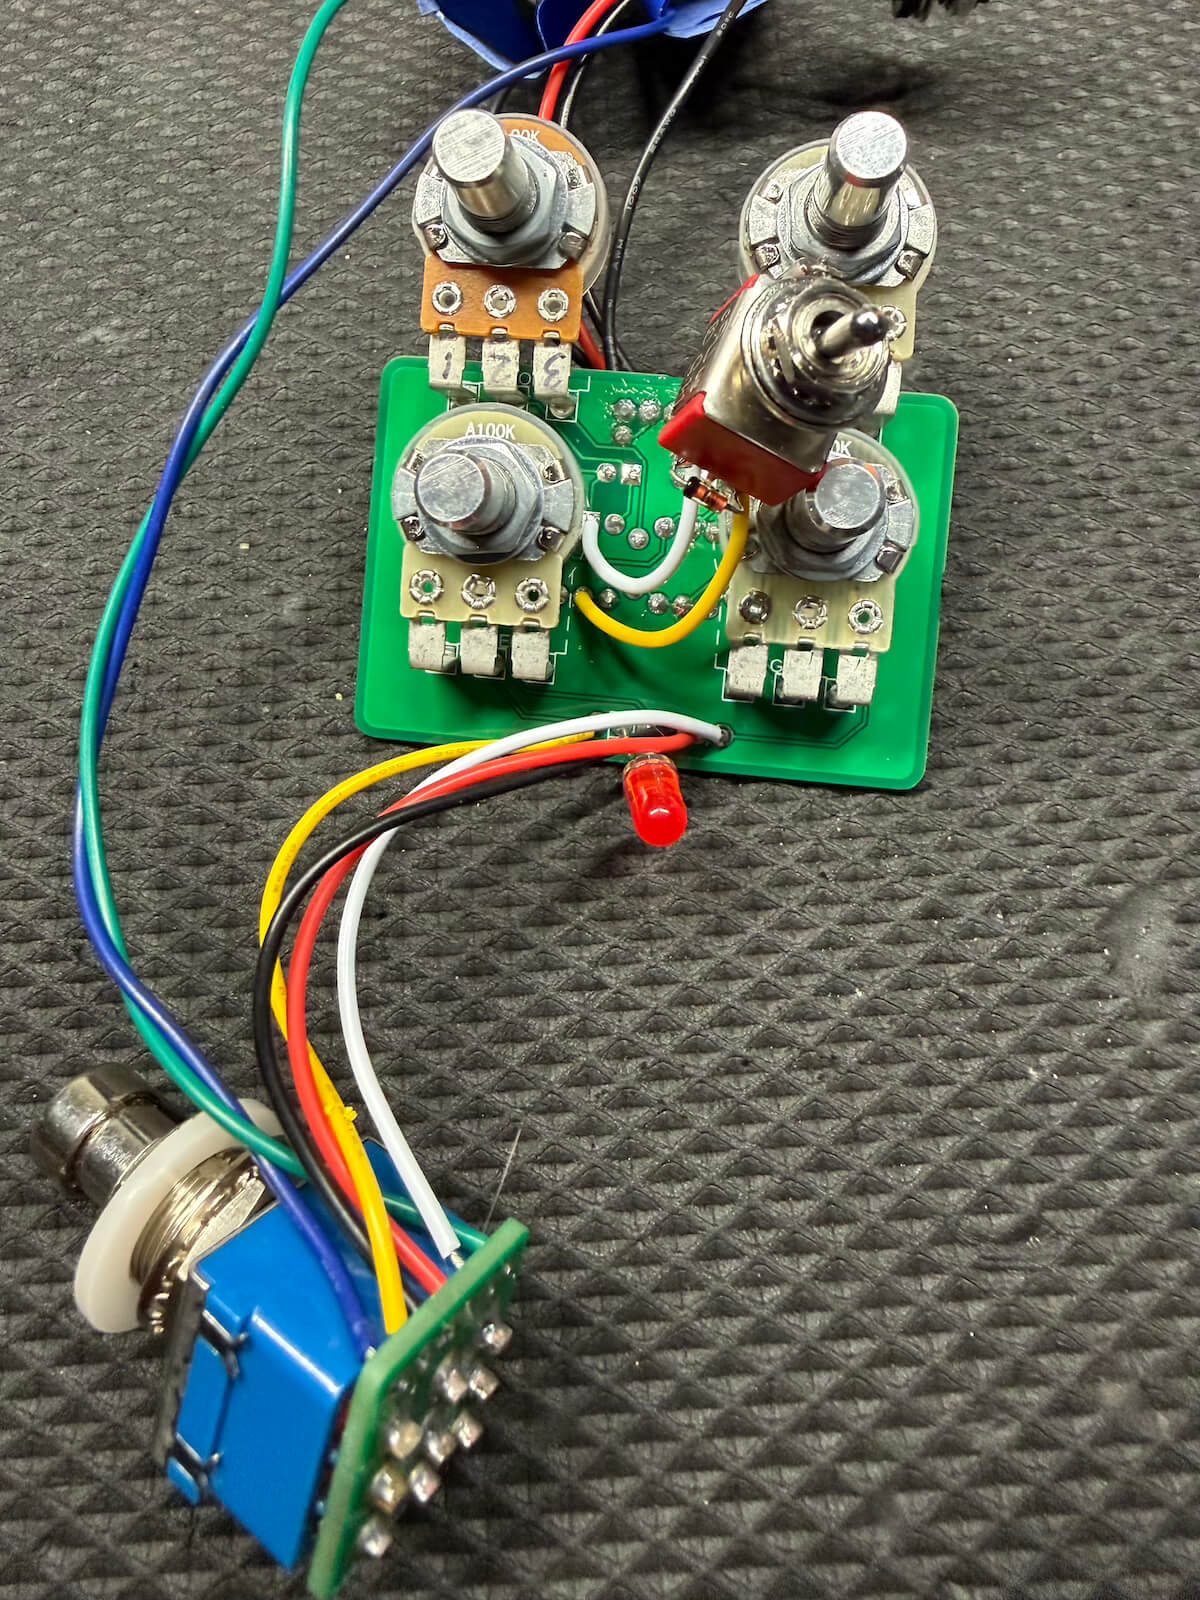
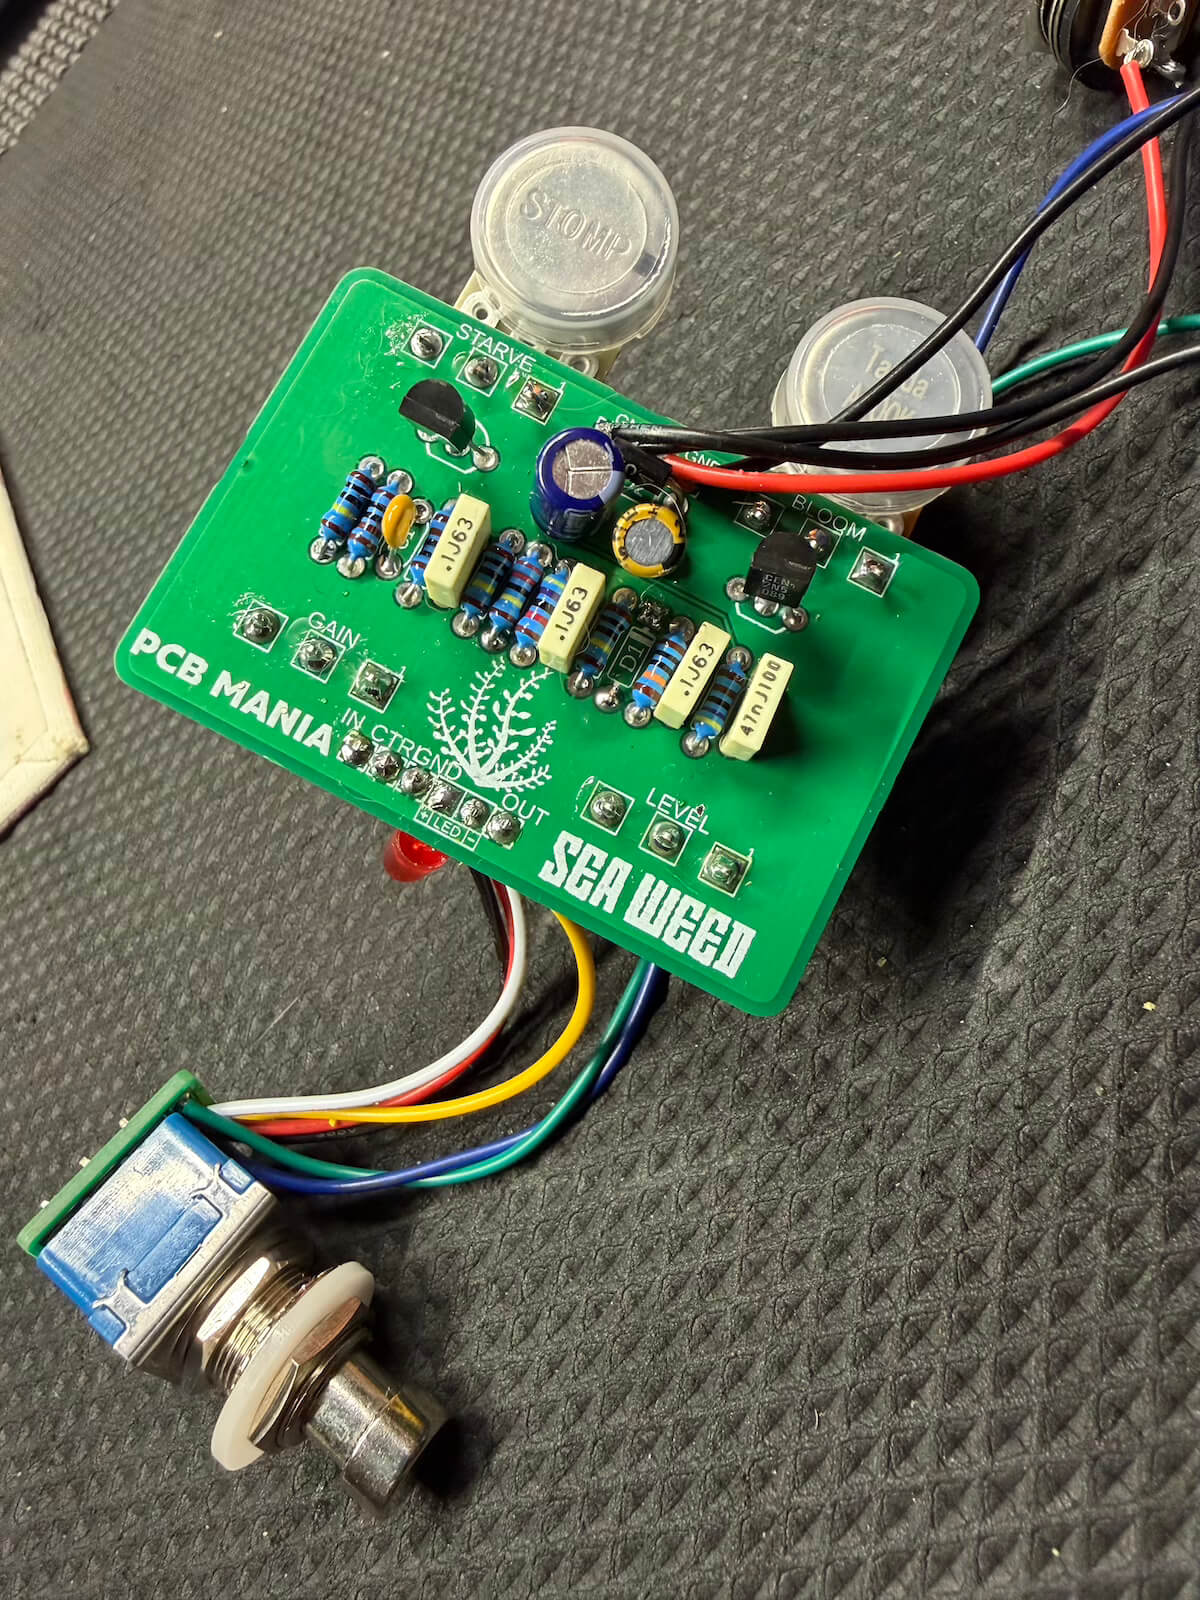
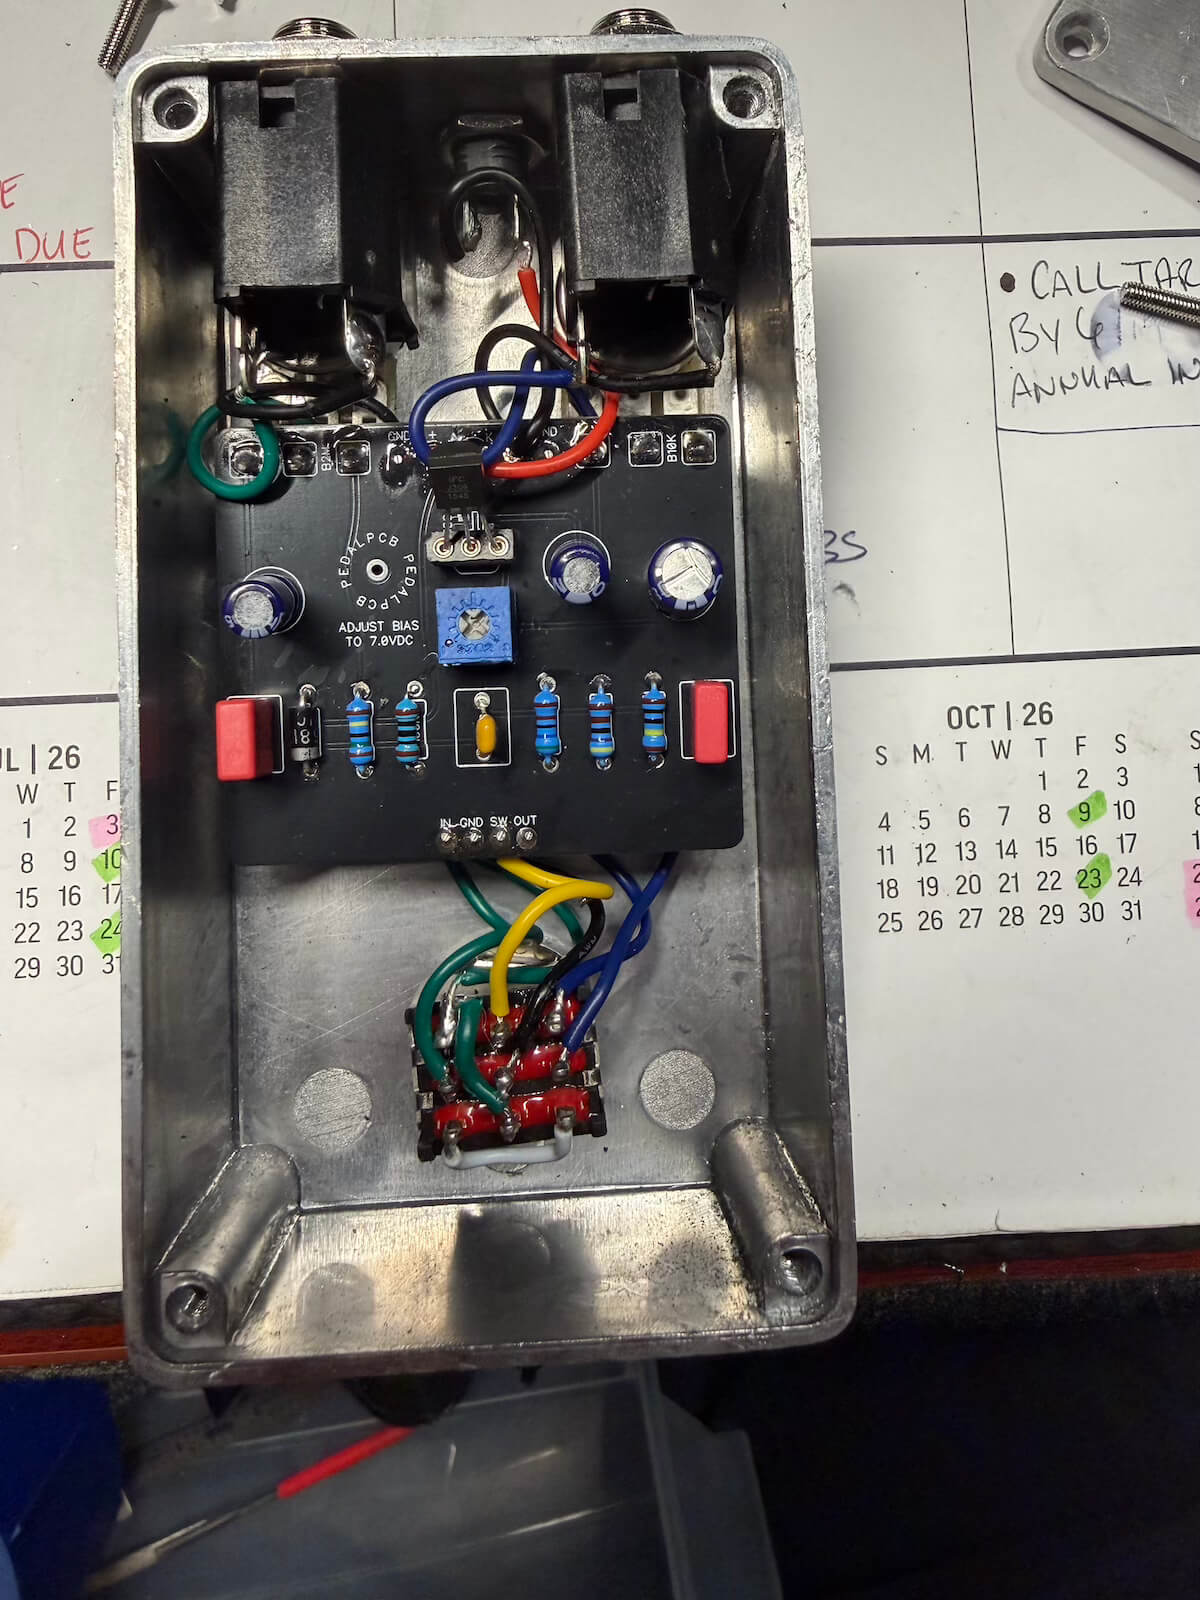
The Seaweed Fuzz is a Fuzzhugger Algal Bloom-style clone. Like the other builds here, the job was more than soldering components to a board: controls, jacks, switching and enclosure wiring all had to come together as one reliable unit.
05 • Green Screamer
The build that turned into a troubleshooting job.
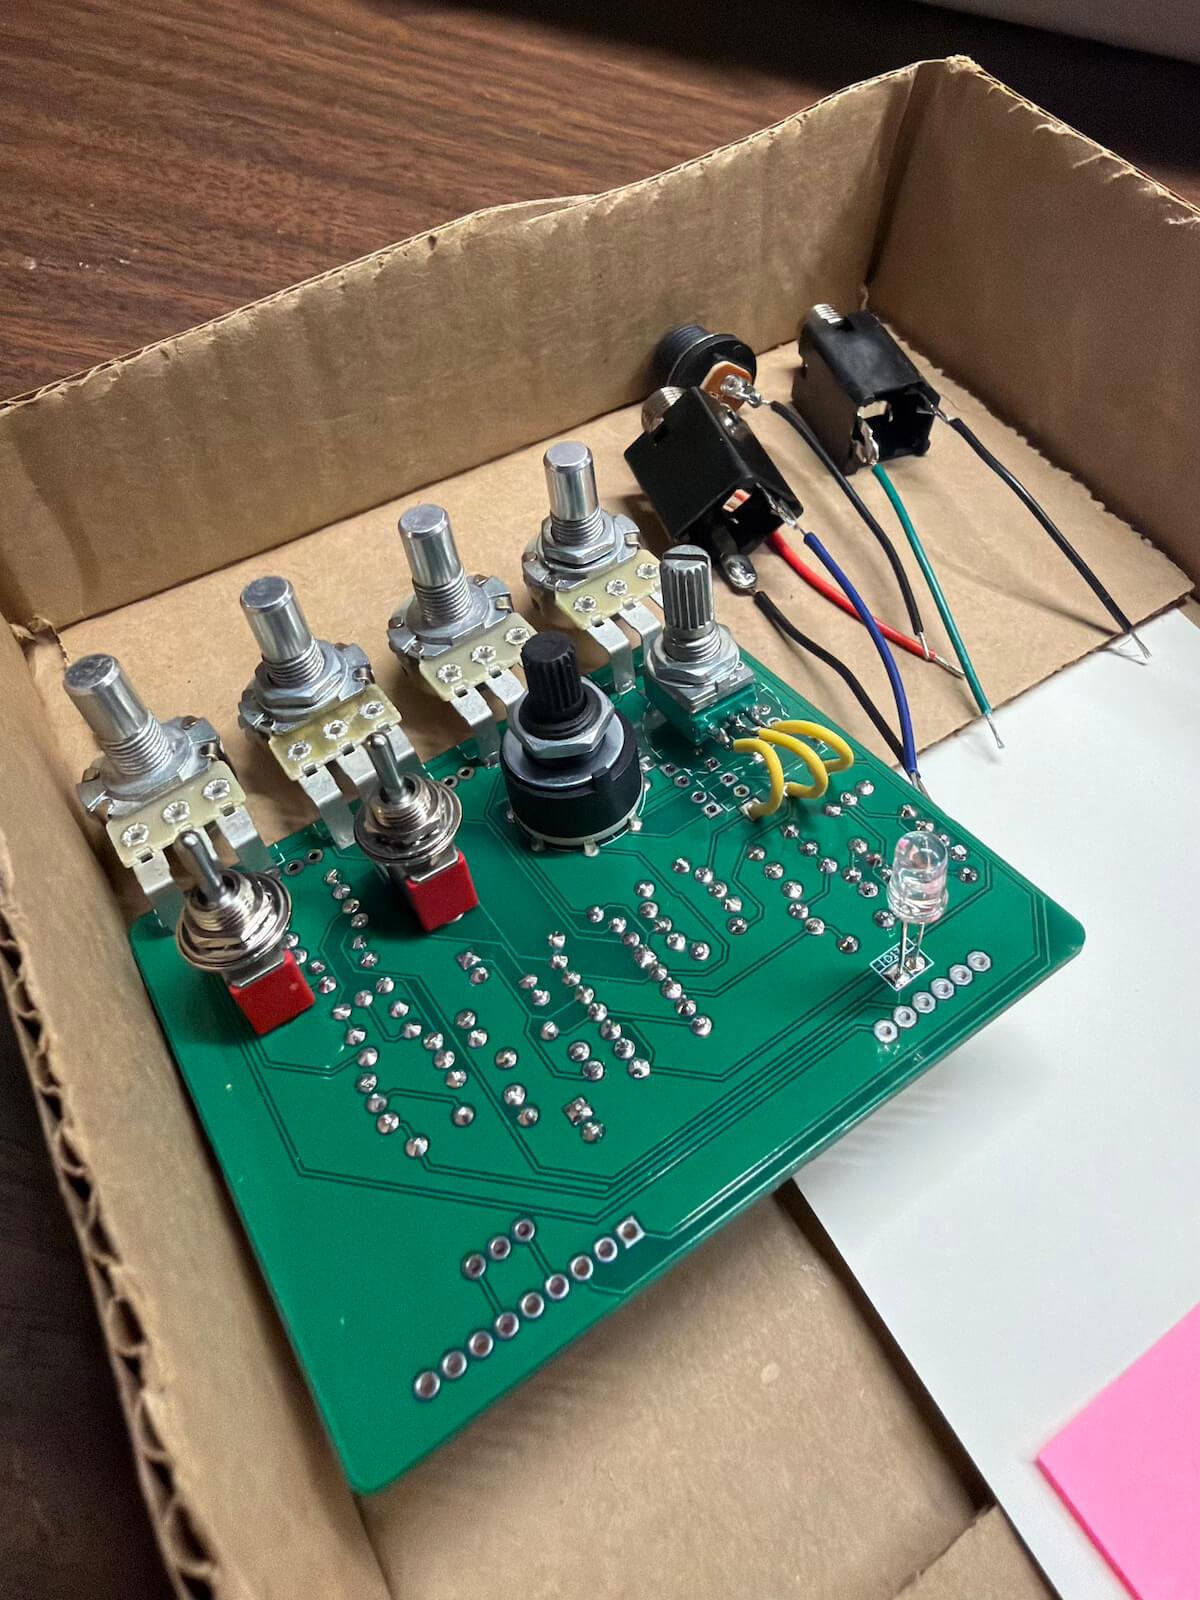
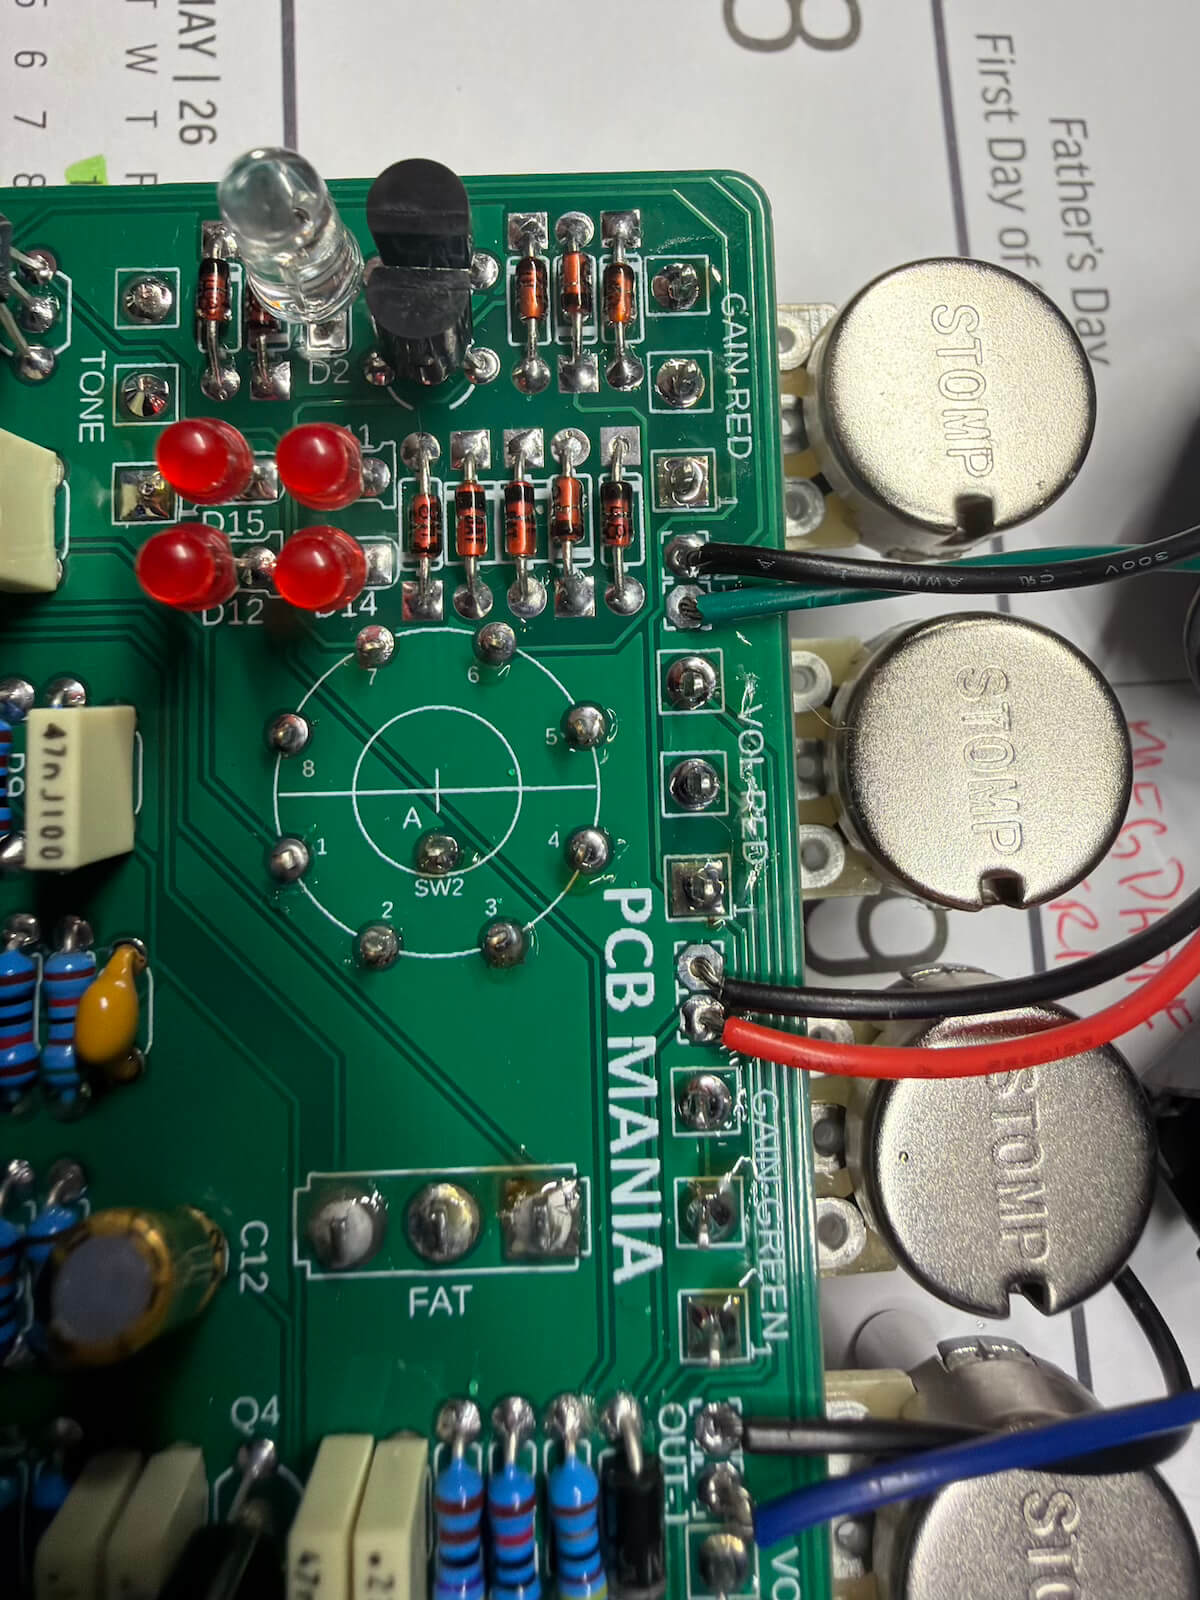
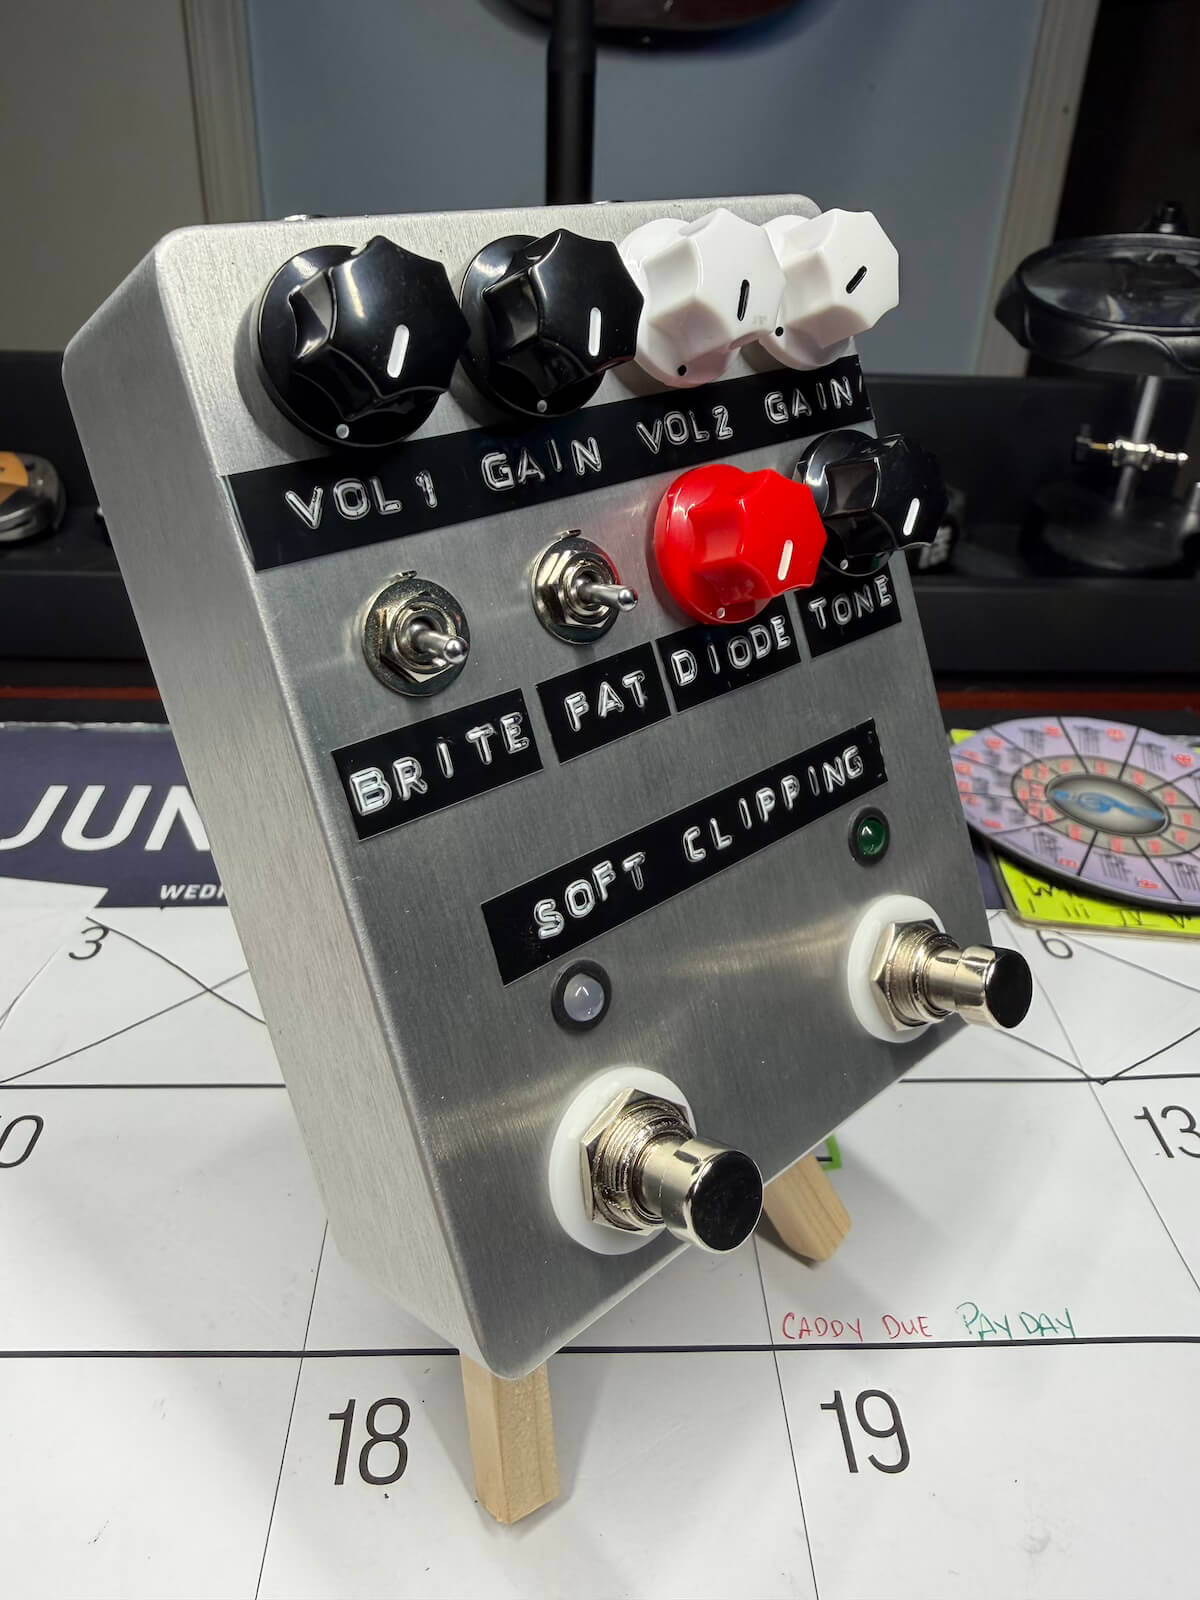
The Green Screamer is a dual-channel Tube Screamer-style build with a seven-position rotary selector. During testing, one rotary position refused to behave correctly.
Instead of treating the PCB as a black box, I traced the problem back through the board and found that the issue was in the PCB implementation. The circuit was modified so that position would work correctly with the transistors I had on hand. That is the part of kit building I enjoy most: when assembly turns into diagnosis and the solution requires understanding what the circuit is actually doing.
06 • More Than Assembly
A kit can still require real bench work.
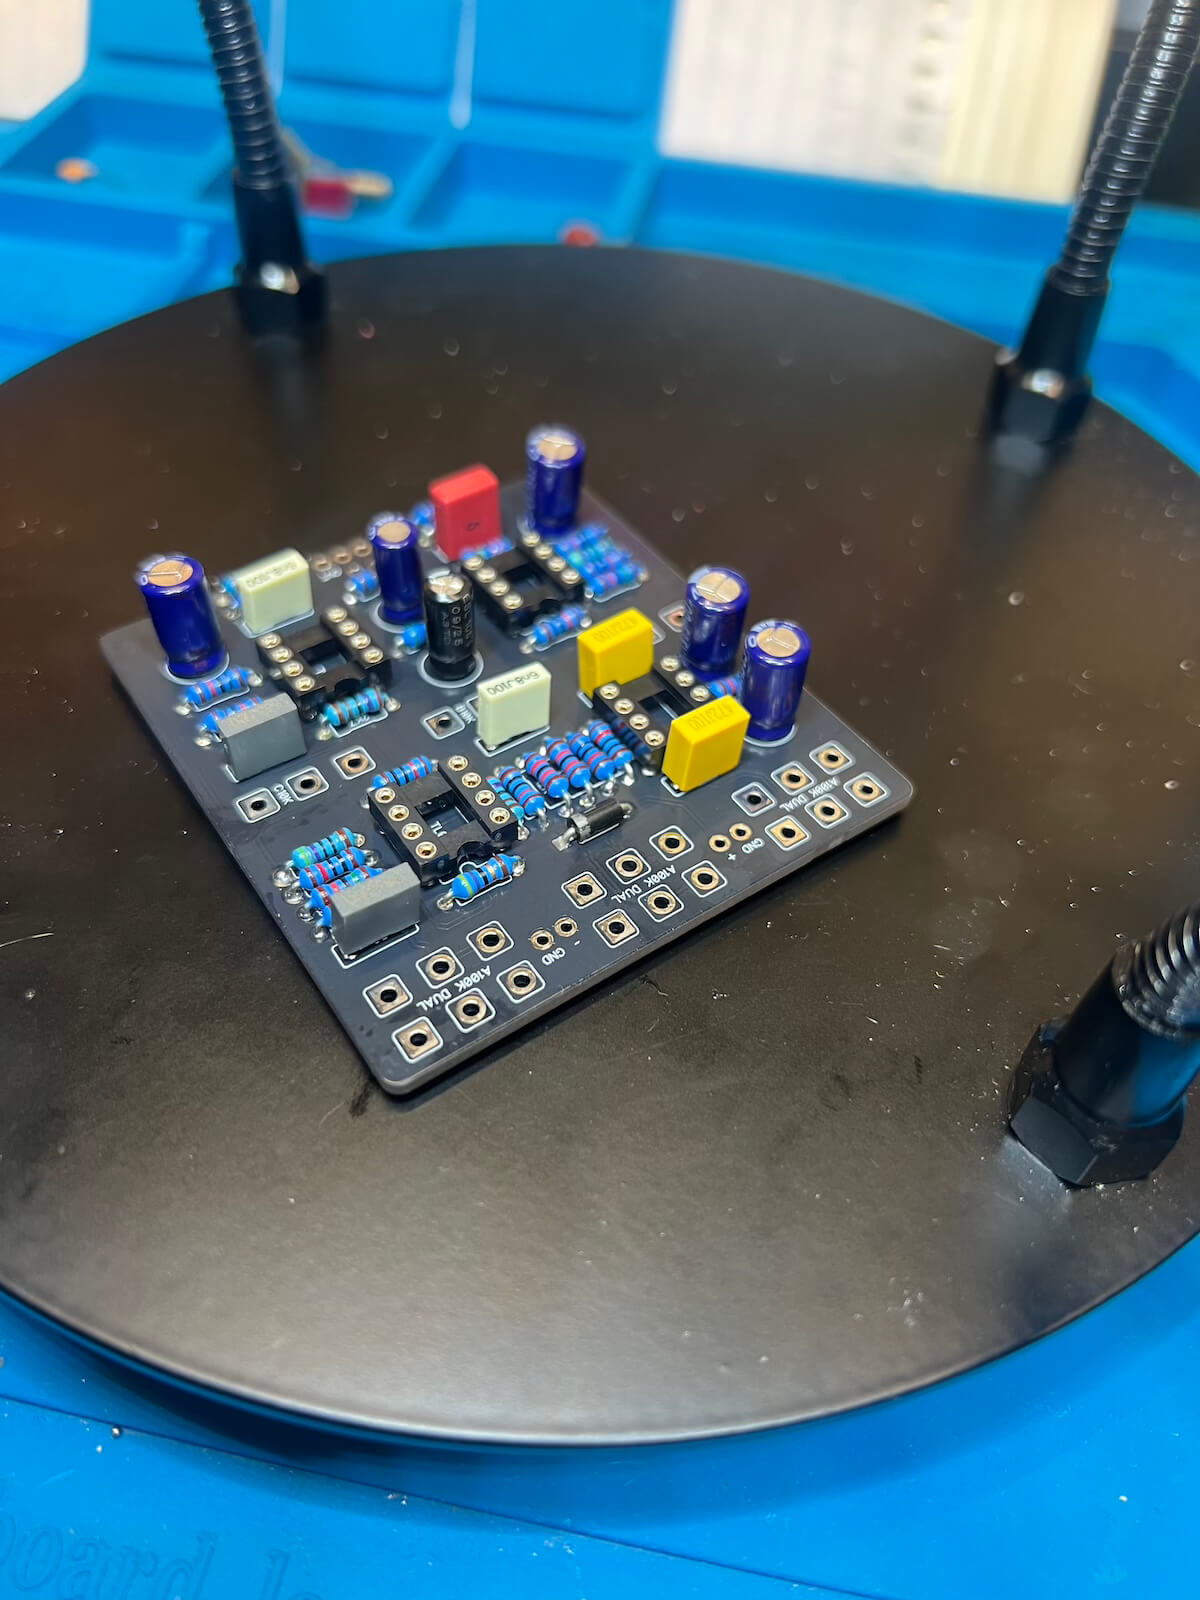
DIY kits and ready-made PCBs remove some of the circuit-design work, but they do not remove the need for good soldering, clean mechanical work, careful wiring and troubleshooting. When something does not work, the schematic and PCB become the map for figuring out why.
That makes kit builds useful in two ways: they produce great pedals, and they are one of the best ways to learn what is happening inside them.
Got a Kit Collecting Dust?
Let’s build it.
Already have a DIY pedal kit, or have a pedal circuit you want built? Get in touch and we can talk through the kit, PCB, enclosure and finishing options.
Discuss a Pedal Build